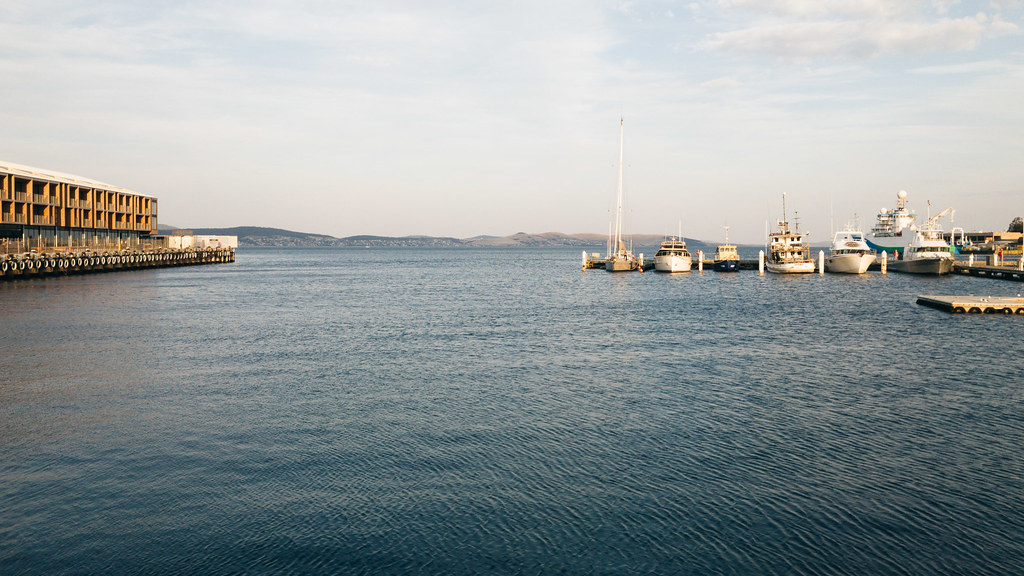
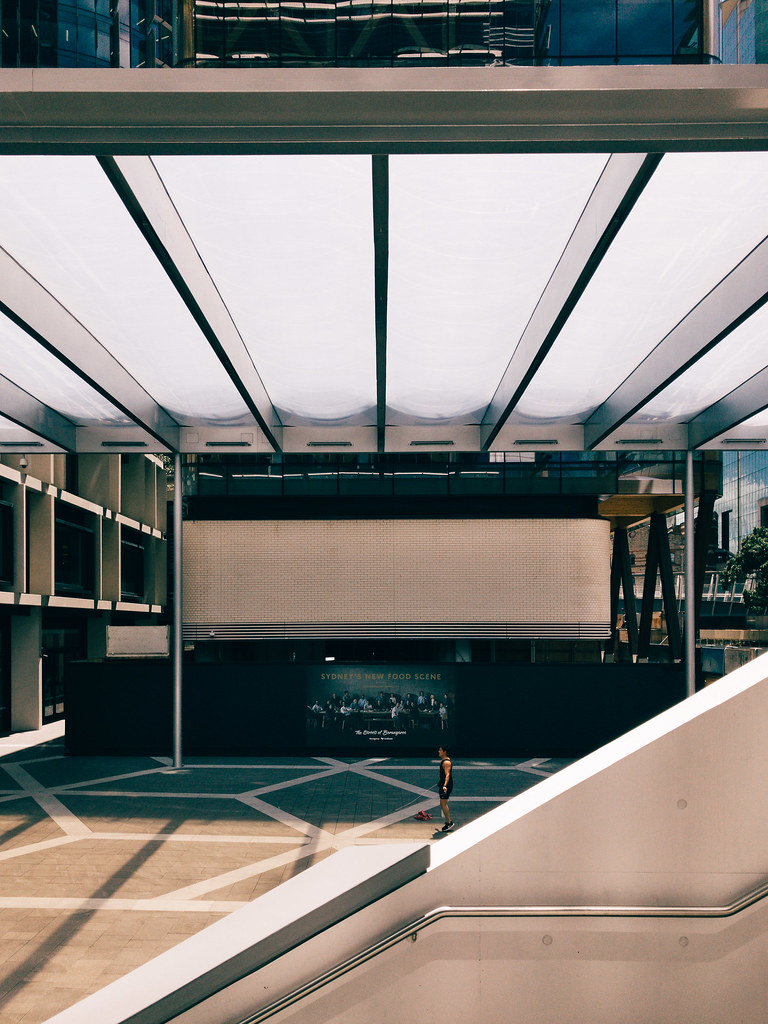
A photographical upgrade

Last Wednesday, we upgraded from our trusty Canon EOS 7D to a brand-new Canon EOS 5D Mark IV! It’s a hell of an upgrade in terms of basically every single aspect… the 7D originally came out in 2009 and the 5D4 was only last year and is full-frame to boot, 18 megapixels versus 30, and the 5D4 also has the insanely awesome autofocus system from Canon’s flagship ~$8k-for-the-body-alone EOS 1DX.

I fairly obsessively tag my photos on Flickr so it’s easy to find things, and the final tally for photos taken with the 7D is 2641!

The very first photo taken was of this flower at my parents’ place, when I got our original 35mm f/2 lens for my birthday in 2010 (the camera and lens are not mine alone, both Kristina and I share it equally, but getting the lens for my birthday was a handy way to not have pay the entire cost of it ourselves :P).

Untitled

It’s difficult to pull only a handful of favourite photos out of twenty-six hundred, but these would definitely be amongst them, in many cases more for the memory than any particular quality of the photograph…

Kristina being nibbled by a horse on our first wedding anniversary—
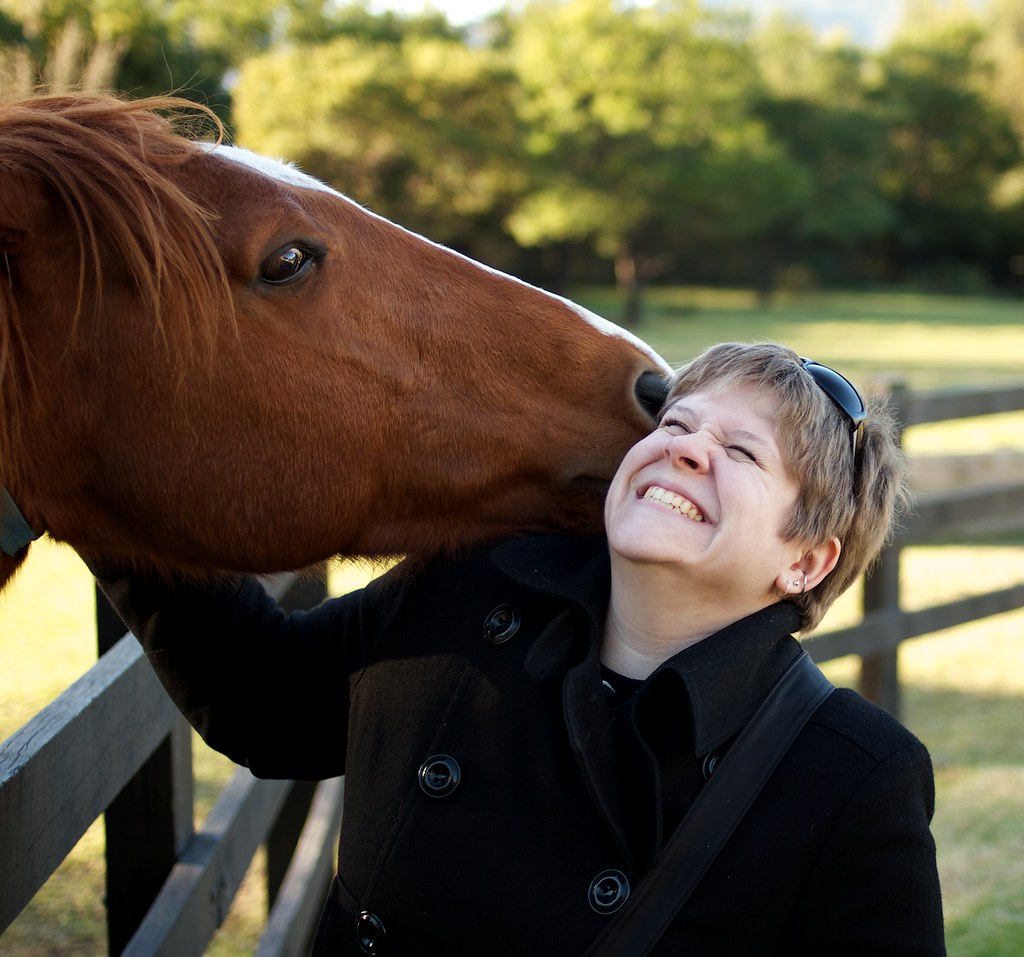
Horsey Nibbles

Meerkats warming themselves at Taronga Zoo—
Warming glowing warming glow

Dan looking right at a well-placed “Look right” sign—
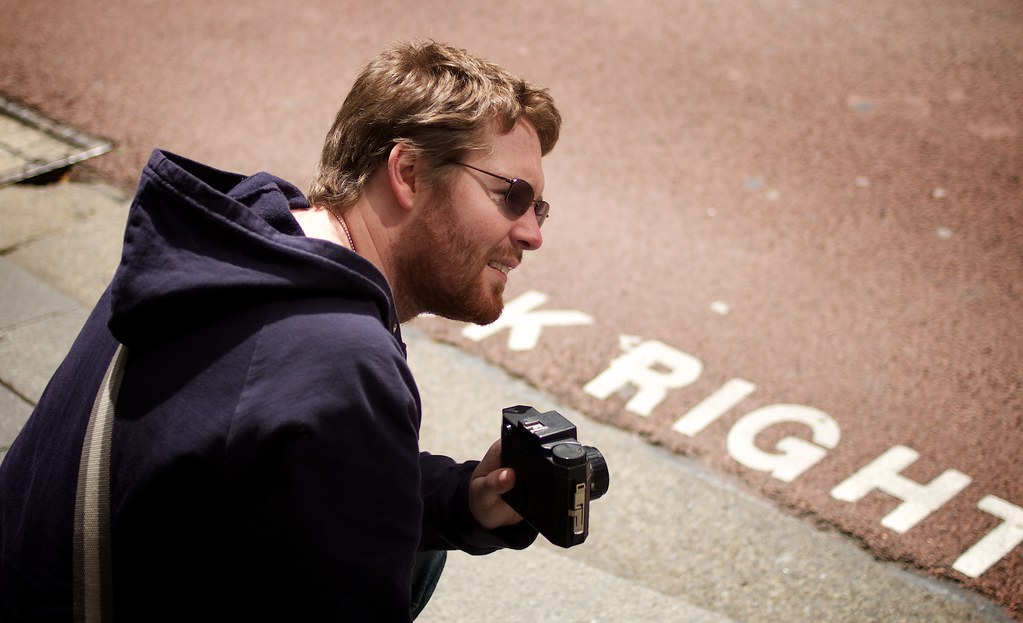
Dan is waiting for a bus

Kristina looking stunning with our ring-flash—
My beautiful wife

Lily writing her name—
Writing

The train tunnels at Wynyard—
Into the tunnels

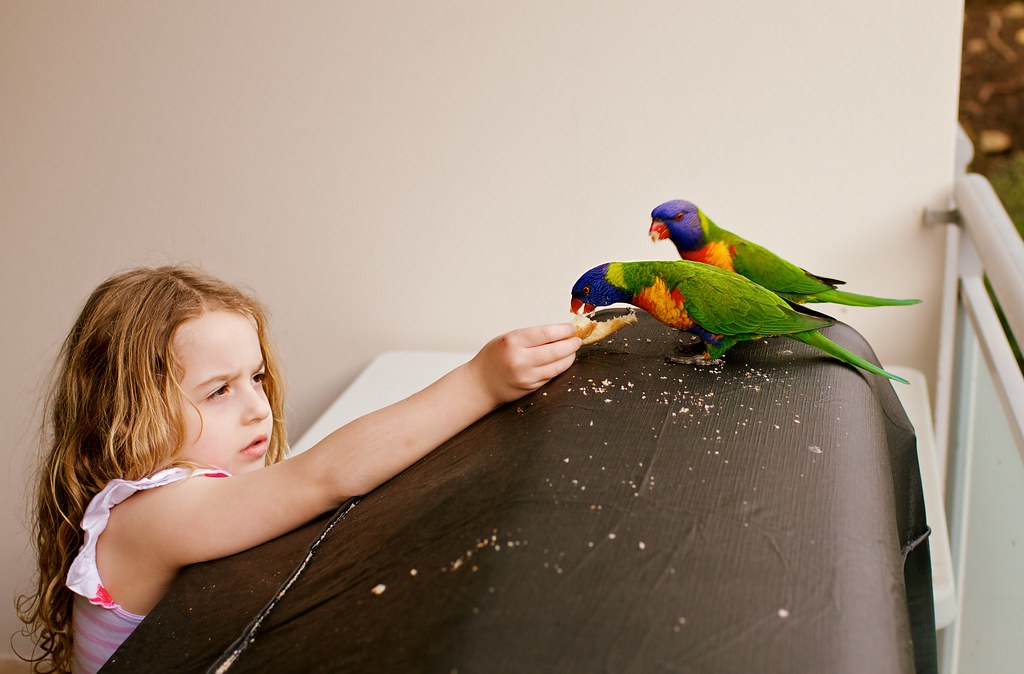
Lily feeding the lorikeets—
Feeding the lorikeets

A toothy grin—
Toothy grin

Christmas excitement—
Excitement

The first photo taken in our new house—

Tedison's new home

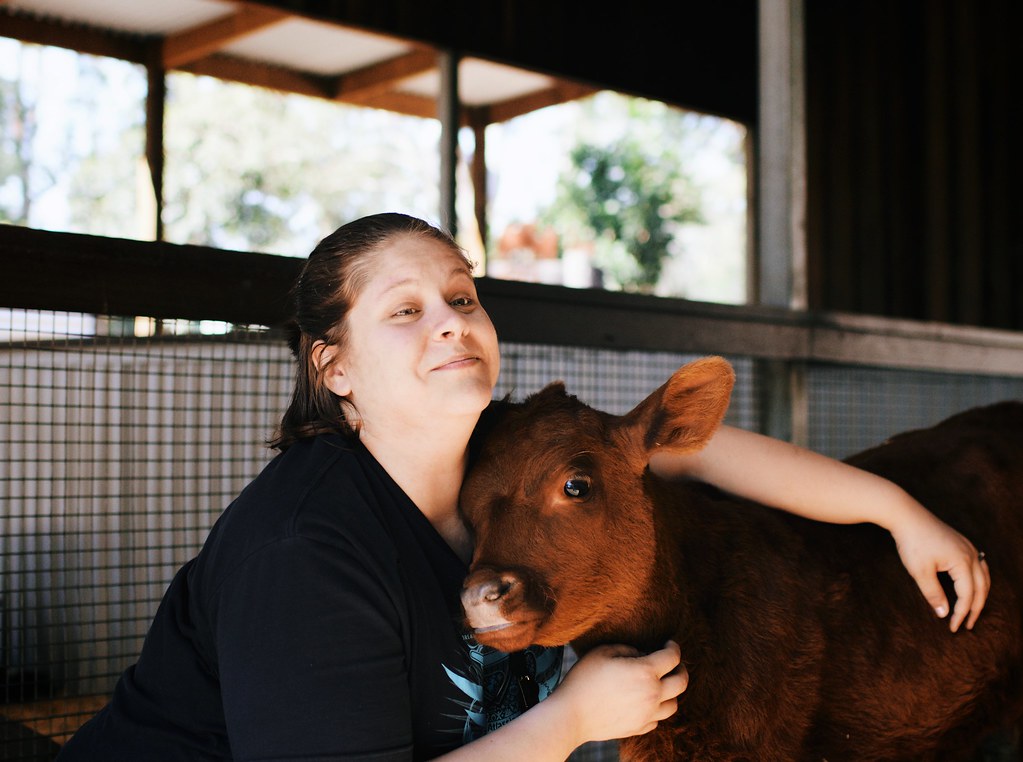
Kristina being extremely nudged by a calf at Featherdale—
Untitled

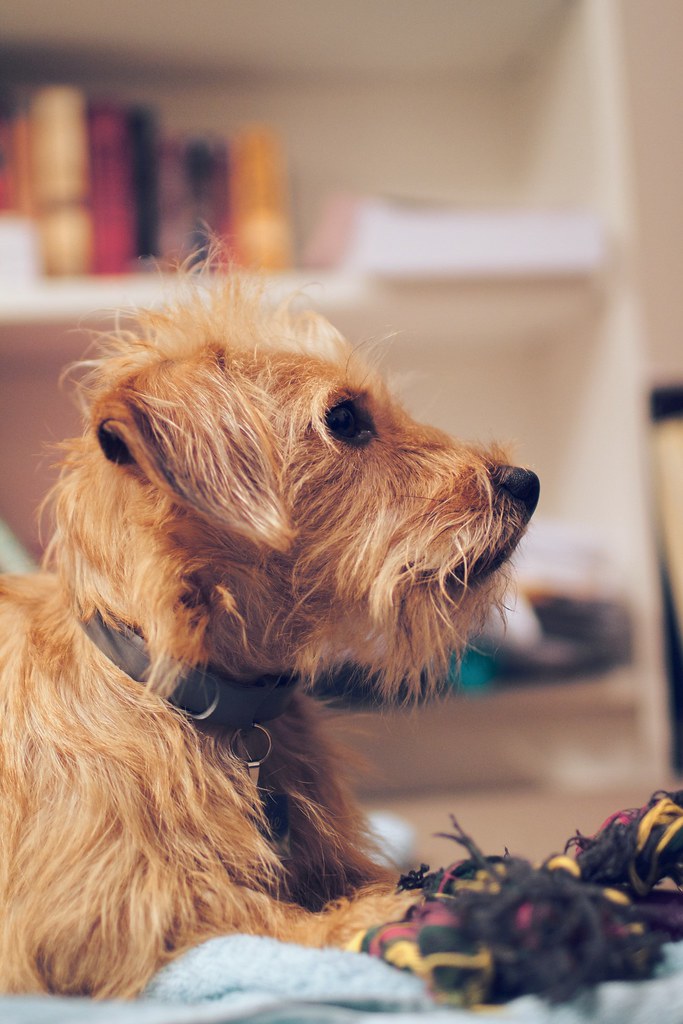
My very first photo of Beanie when we got him—

Untitled

Nanny at Christmas hugging one of Lily’s presents—

Nanny hugging Lily's pillow pet

Beanie in the office—
In the office

One of the several actresses we got in at work one Halloween, who were done up as zombies and CREEPY AS FUCK—
Zombiegirl #3

Kristina cracking up at how ridiculous Beanie is—

Cracking up

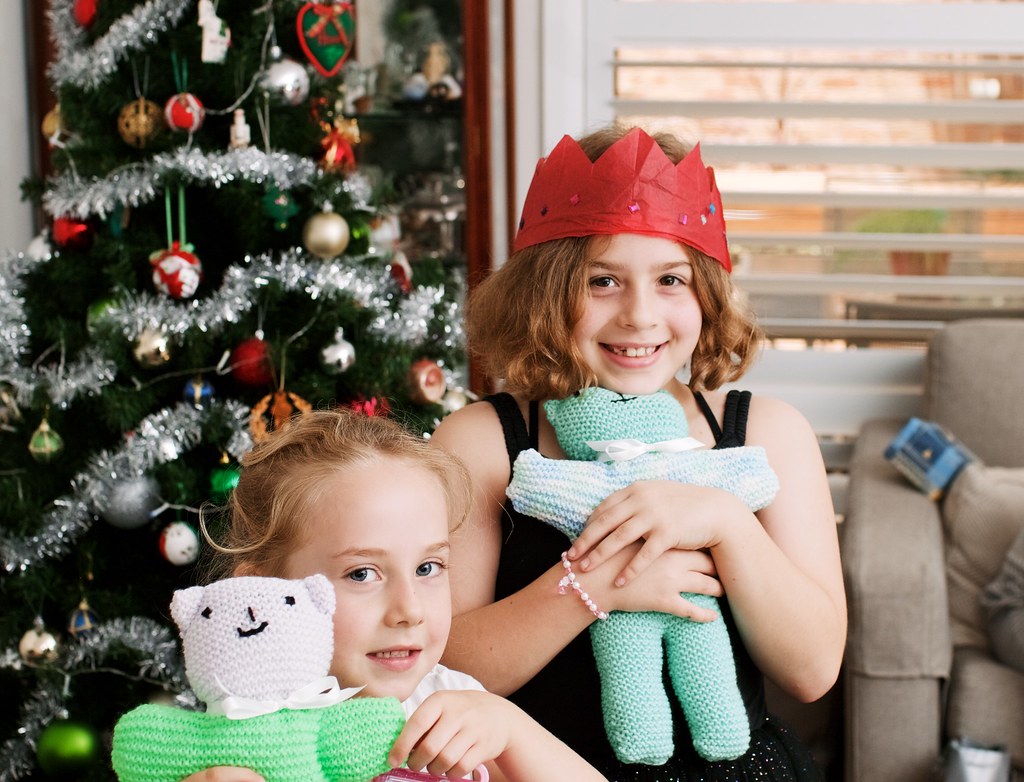
Lily and Scarlett’s matching bears at Christmas—
New bears

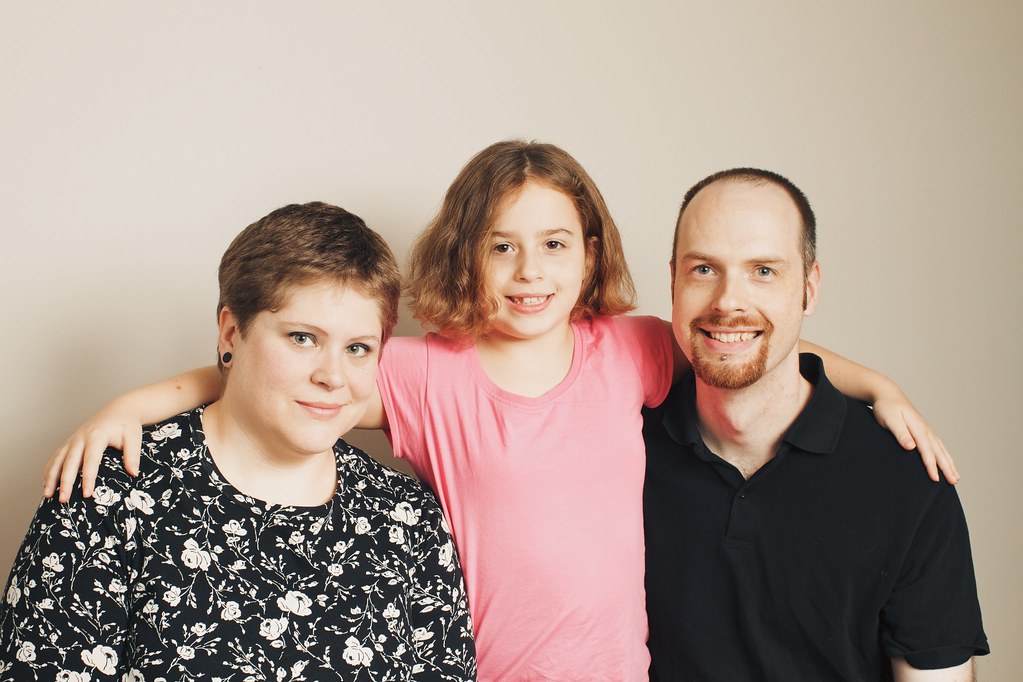
Family photo—
Family photo!

The fantastically creepy decorations and lighting for the latest Halloween at work—

Untitled

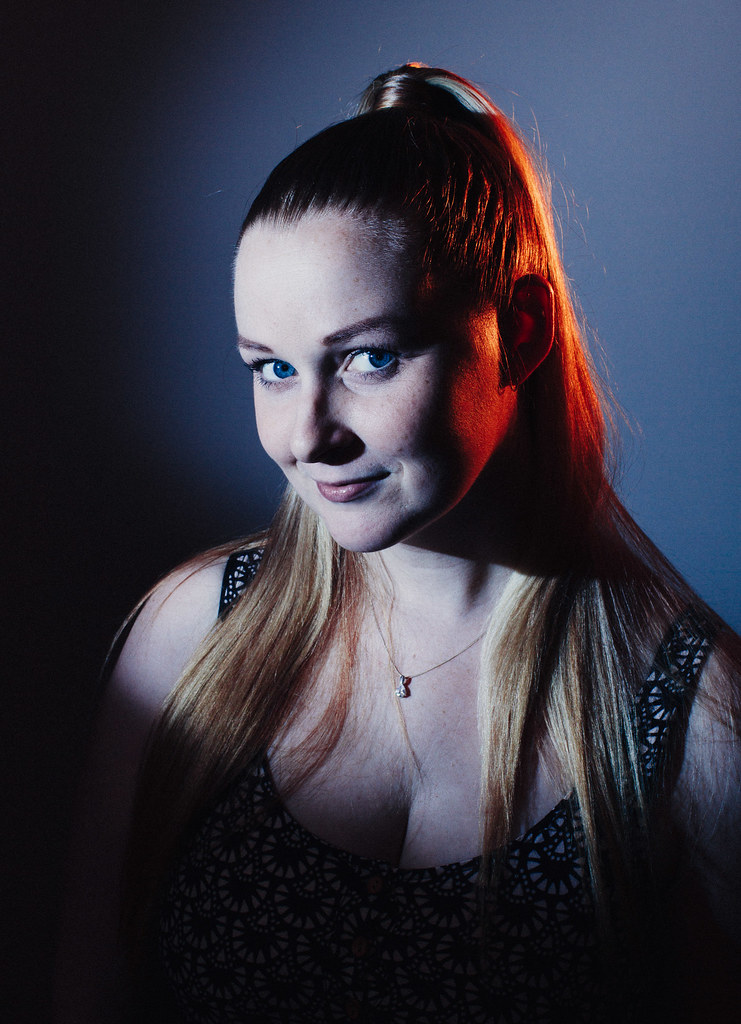
Playing around with coloured gels on our flashes with Adam and Stacey—
Untitled

Beanie playing with his best friend Leo—
Untitled

The extraordinarily epic storm aftermath we had—
Untitled

A photo walk we did at work one lunch where we had some volunteers to do a pseudo-modelling shoot—
Marlene

Leo and Beanie zooming down the hall—

Untitled

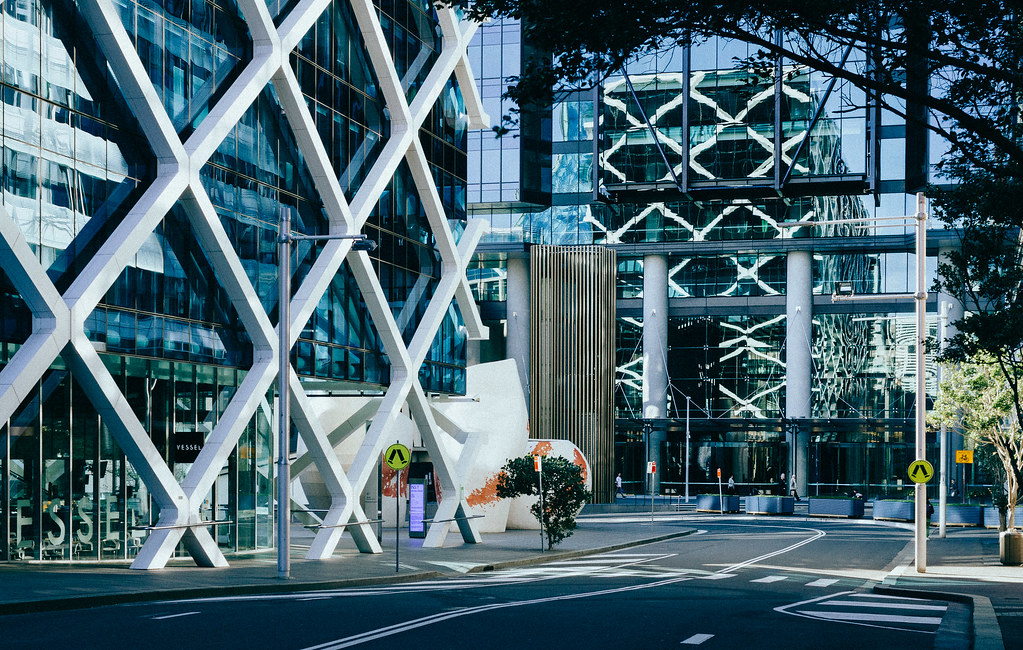
Wandering around Barangaroo before going to the Maritime Museum—
Untitled

We sold the 7D to friends, so it’s definitely going to continue on in a good home. It was an absolute workhorse, I didn’t think to check the shutter count before we sold it but it never once gave any sort of trouble whatsoever. Meanwhile, we’ve already started taking new memories with the 5D Mark IV and I’d say we ought to get at least 10 years out of it if not more.


Bandcamp is brilliant

For those unaware, Bandcamp is essentially a more indie iTunes Music Store—they don’t have any of the huge music labels there—but with a twist… you can stream entire albums before buying them (as opposed to the 90-second previews you get in iTunes), and a significantly larger percentage of the money you pay to them goes directly to the artist (Bandcamp says around 75-80%).

I found out about it around the start of this year, and it has me discovering and buying way more new music than I had previously. From 2013 to 2016, I’d added 30 albums to iTunes from various sources… this year so far I’ve bought 34 on Bandcamp! They have an iOS app that lets you browse artists by tag (usually genre, like “black metal” for instance, but there’s things like “female-fronted metal” that spans different genres, and really whatever else users have tagged the artist with), so I’ll spend an hour here and there just going through listening to new artists and adding albums to my wishlist, then once or twice a month will go back and buy a few of them.

One of the best bits is that the artists themselves set the prices and you can pay more if you’d like, and some don’t even have a minimum price. The highest I’ve come across so far us US$9.99 (currently about AU$12.50), which is a good bit cheaper than the standard AU$16.99 price you see on iTunes, and a lot have been closer to US$5.

They’ve also done some fantastic things like donating all their proceeds for a day when Trump tried his so-called “Muslim ban” back in January, and more recently doing a similar thing with the proposed ban on transgender service members in the US military.

So basically, if you like music and supporting artists, stop buying music anywhere else and start buying it on Bandcamp!

Adventures with Docker

For a few years now, the new hotness in the software world has been Docker. It’s essentially a very-stripped-down virtual machine, where instead of each virtual machine needing to run an entire operating system as well as whatever application you’re running inside it, you have just your application and its direct dependencies and the underlying operating system handles everything else. This means you can package up your application along with whatever other crazy setup or specific versions of software is required, and as long as they have Docker installed, anyone in the world can run it on pretty much anything.

The process of converting something to run in Docker is called “Dockerising”, and I’d tried probably two or so years ago to Dockerise my website (which was at the time still in its Perl incarnation), but without success. Most of it was not properly understanding Docker but also Docker’s terminology not being hugely clear and information on Dockering Perl applications being a bit thin on the ground at the time.

My new job involves quite a lot of Docker so I figured I should probably have another crack at it, so I sat down in June and managed to get my website running in a Docker container! The two-or-so-years between when I tried it last and now definitely helped, as did having had a little bit of experience with it in the new job.

I think the terminology was one of the bits that I struggled with most, so maybe this explanation will help someone… you have a Docker image, that’s basically a blueprint for a piece of software and all its associated dependencies. From that image (blueprint), you start up one or more containers which are the actual running form of the image. If one container dies (the application inside crashes or whatever), you don’t care and just start up another one and it’s identical each time. To build your own image, you start with a Dockerfile that tells Docker exactly how to construct your application and all the different parts that are required to support it (see my Lessn Archive’s Dockerfile for an example). There really wasn’t any substitute for actually going in and doing it; by struggling and failing I eventually got there in the end.

Since my initial success with my website, I’ve gone on to put both my old site archive and my URL shortener in Docker containers as well! Next stop is Kristina’s website, but that’s still using Perl and Mojolicious and my initial attempts have not been successful. 😛

Internet history

On Twitter recently, Mark had downloaded the whole archive of his Twitter account’s history and had been poking through it and randomly retweeting amusing old tweets. I downloaded my own Twitter history and quickly realised that a lot of the old things I’d linked to weren’t accessible because I’d been using my own custom URL shortener (this was before the days of Twitter doing their own URL shortening) and it wasn’t running anymore. Fortunately I’d had the foresight to take a full copy of all of my data and databases from Dreamhost before I shut down my account, and one of those databases was the one that had been backing my URL shortener. A quick import to PostgreSQL Workers KV and a hacky Node.js Cloudflare Workers application later, it’s all up and running! I’m under no illusions that it’s almost ever going to be accessed by anyone except me, but it’s nice to have another part of my internet history working. I’ve been hosting my own website and images and whatnot (things like pictures I’ve posted on my blog née LiveJournal, or in threads on Ars Technica) in one form or another since about 2002, and the vast majority of those links and images still work!

Speaking of my website, about four years ago now I went and tried to collect all my old websites into a single archive so I could look back and see the progression. The majority of them I actually still had the original source code to, though my very first one or two have been totally lost. The earliest I still have is from March of 1998 when I was not quite fifteen years old! I started out with just HTML, then discovered CSS and Javascript rollover images, and then around 2001 I started using PHP. I had to go in and hack up some of the PHP-based sites in order to get them to work, and oh dear god 18-year-old me was a FUCKING AWFUL coder. One of the sites consisted of a bit over three thousand lines in a single file, with all sorts of duplication and terribleness, and every single one of the sites that was hooked into MySQL had SQL injection vulnerabilities. I’m very proud of just how much my code has improved over the years.

I went back this weekend and managed to recover another handful of sites, and also included exports of the Photoshop files where the original site source wasn’t available. I’ve packed them all up into a Docker container (I’ll write another post about my experiences with Docker at some point soon) and chucked them up on archive.virtualwolf.org for the entire Internet to marvel at how terrible they all were! There’s a little bit more background there, but it’s a lot of fun just looking back at what I did.

Better Raspberry Pi audio: the JustBoom DAC HAT

I decided that the sound output from the Pi’s built-in headphone jack wasn’t sufficient after all and so went searching for better options (a DAC—digital-to-analog converter).

The Raspberry Pi foundation created a specification called “HAT” (Hardware Attached on Top) a few years ago which specifies a standard way for devices to automatically identify and configure a device and drivers that’s attached to the Pi via its GPIO (General Purpose Input/Output) pins. There’s a number of DACs now that conform to this standard, and the one I settled on is the JustBoom DAC HAT. It’s a UK company but you can buy them locally from Logicware (with $5 overnight shipping no less).

The setup is incredibly simple: connect the plastic mounting plugs and attach the DAC to the Pi, then start it up and edit /boot/config.txt to comment out the default audio setting:

#dtparam=audio=on

Then add three new lines in:

dtparam=audio=off
dtoverlay=i2s-mmap
dtoverlay=justboom-dac

Then reboot. (If you’re running Raspbian Stretch or newer, the i2s-mmap line should not be added).

To say that I’m impressed would be an understatement! I didn’t realise just how crappy the audio from the Pi’s built-in headphone jack was until I’d hooked up the new DAC and blasted some music out. I’m not an audiophile and it’s hard to articulate, but I’d compare it most closely to listening to really low-quality MP3s on cheap earbuds versus high-quality MP3s on a proper set of headphones.

If you’re going to be hooking your Pi into a good stereo system, I can’t recommend JustBoom’s DAC HAT enough!

Raspberry Pi project: AirPlay receiver

I bought a Raspberry Pi almost exactly a year ago, intending on eventually replacing my Ninja Block and its sometimes-unreliable wireless sensors with hardwired ones (apart from the batteries needing occasional changing, there’s something that interferes with the signal on occasion and I just stop receiving updates from the sensor outside for several hours at a time, and then suddenly it starts working again). To do that, I need to physically run a cable from outside under the pergola to inside where the Raspberry Pi will live and I don’t really want to go drilling holes through the house willy-nilly. I want to eventually get the electrician in to do some recabling so I’m going to get him to do that as well, but until then the Pi was just sitting there collecting dust. I figured I should find something useful to do it with, but having a Linode meant that any sort of generic “Have a Linux box handy to run some sort of server on” itch was already well-scratched.

I did a bit of Googling, and discovered Shairport Sync! It lets you use the Raspberry Pi as an AirPlay receiver to stream music to from iTunes or iOS devices, a la an Apple TV or AirPort Express. We already have an Apple TV but it’s plugged into the HDMI port on the Xbox One which means that to simply stream audio to the stereo we have to have the Xbox One, TV, and Apple TV all turned on (the Apple TV is plugged into the Xbox’s HDMI input so we can say “Xbox, on” and the Xbox turns itself on as well as the TV and amplifier, then “Xbox, watch TV” and it goes to the Apple TV; it works very nicely but is a bit of overkill when all you want to do is listen to music in the lounge room).

Installing Shairport Sync was quite straightforward, I pretty much just followed the instructions in the readme there then connected a 3.5mm to RCA cable from the headphone jack on the Raspberry Pi to the RCA input on the stereo. It’s mentioned in the readme, but this issue contains details on how to use a newer audio driver for the Pi that significantly improves the audio output quality.

The only stumbling block I ran into was the audio output being extremely quiet. Configuring audio in Linux is still an awful mess, but after a whole lot of googling I discovered the “aslamixer” tool (thanks to this blog post), which gives a “graphical” interface for setting the sound volume, and it turned out the output volume was only at 40%! I cranked it up to 100% and while it’s still a bit quieter than what the Apple TV outputs, it doesn’t need a large bump on the volume dial to fix—there’s apparently no amplifier or anything on the Raspberry Pi, it’s straight line-level output. The quality isn’t quite as good as going via the Apple TV, but it gets the job done! I might eventually get a USB DAC or amplifier but this works fine for the time being.

On macOS it’s possible to set the system audio output to an AirPlay device, so you can be watching a video but outputting the audio to AirPlay, and the system keeps the video and audio properly in sync. It works extremely well, but the problem we found with having the Apple TV hooked up to the Xbox One’s HDMI input is that there’s a small amount of lag from the connection. When the audio and video are both coming from the Apple TV there’s no problem, but watching video on a laptop while outputting the sound to the Apple TV meant that the audio was just slightly out of sync from the video. Having the Raspberry Pi as the AirPlay receiver solves that problem too!

UPDATE: Two further additions to this post. Firstly, and most importantly, make sure you have a 5-volt, 2.5-amp power supply for the Raspberry Pi. I’ve been running it off a spare iPhone charger which is 5V but only 1A, and the Pi will randomly reboot under load because it can’t draw enough power from the power supply.

Secondly, the volume changes done with the “alsamixer” tool are not saved between reboots. Once you’ve set the volume to your preferred level, you need to run “sudo alsactl store” to persist it (this was actually mentioned in the blog post I linked to above, but I managed to miss it).

New job!

No, I haven’t left Atlassian, but come Monday I’m starting in a new role!

We have the concept of a role called a “Shield” that’s essentially support but for helping our own internal developers and users (as opposed to external customers), and the idea is that it’s the first point of contact for developers who need help or have questions about the particular service/platform/whatever that the Shield is supporting, as well as being able to step back and look at the bigger picture in terms of pain points that those developers run into and what sort of things could be done to minimise that. The name “shield” comes from the fact that you’re essentially shielding the rest of the developers on the team from the distractions that come from other people constantly contacting them throughout the day, and letting them get on with what they do best (actual coding and improvements to the product). I’ll also have the opportunity to actually do some coding and make improvements too, though. \o/

The team I’m joining runs our internal microservices platform that an increasing number of our applications are being run on, and though the microservices themselves can be pretty much any language you’d like (it’s all Docker-based), the code that the platform itself runs on is Node.js which ties in rather nicely with all my learning over it over the past almost eighteen months.

I’ve been doing external customer-facing support for over thirteen and a half years so this is going to be a lovely change! It’s going to be really weird starting anew where I know next to nothing about the inner workings of the thing I’m supporting though. 😛 I expect my brain is going to be dribbling out my ears come the end of next week.

Back to Tasmania

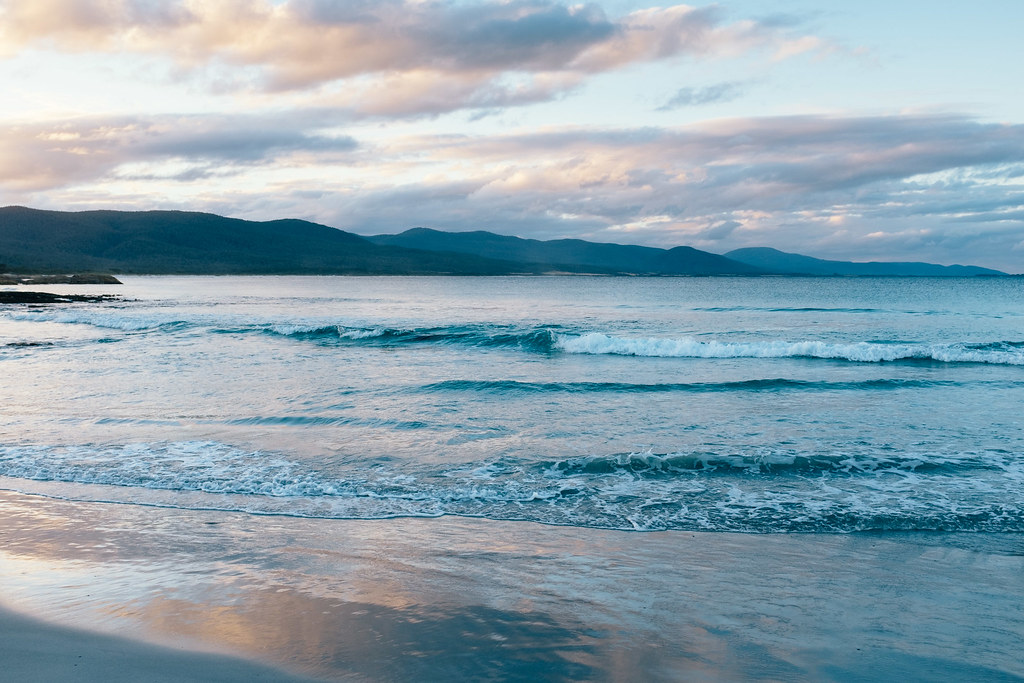
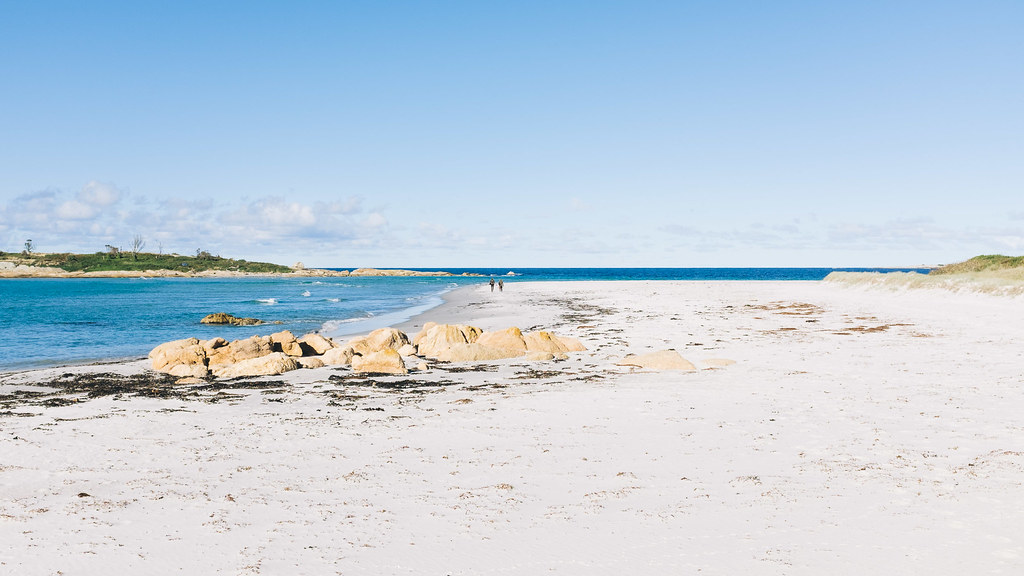
We went back to Tasmania again last week, and it was pretty great!

Where last time we stayed in Hobart for the whole trip, this time we drove up to Bicheno first, which is about a two and a half hour drive north of Hobart. The accomodation itself (the “Diamond Island Retreat”) was not great, the house was built in probably the 1970s and had clearly had next to nothing done with it since. The kitchen was terrible and the two frying pans were both quite burnt and scratched up, and there was zero internet access (at least in terms of wifi, thankfully there was plenty of 4G reception). It was completely clean and tidy, at least.

That being said, the location was amazing. This was the view from the back deck –

Diamond Island

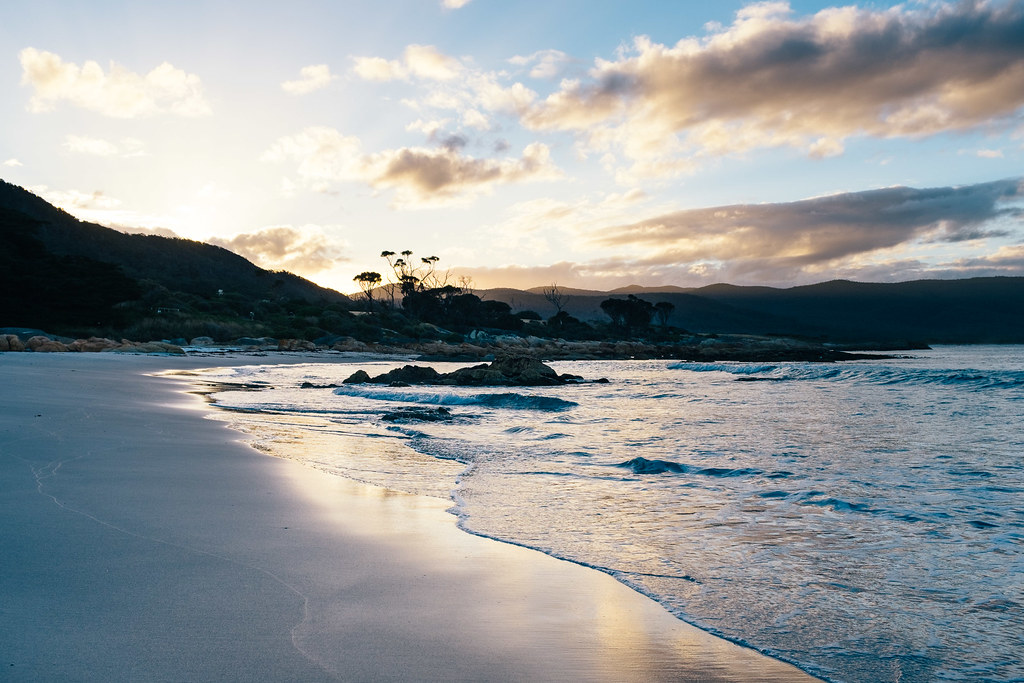
You could walk down the paddock and down to the beach, which had some of the whitest sand I’ve seen. The first sunset was pretty epic as well.

Sunset

Reflections

Walking

More patterns

They do “penguin tours” right near where we were staying, there’s a whole section of land that’s restricted to the public and they get lots of penguins living and breeding there. We went during the decidedly off-season and so only saw a couple of penguins, but one of them waddled its way up the beach and right past us to its burrow! The other penguins we could only see in the distance down on the rocks near the beach. The tours are done after the sun has set and the guides have special torches that emit really yellow light so as not to hurt the penguins’ eyes. During the breeding season you can apparently see upwards of a hundred penguins all coming ashore to feed their chicks.

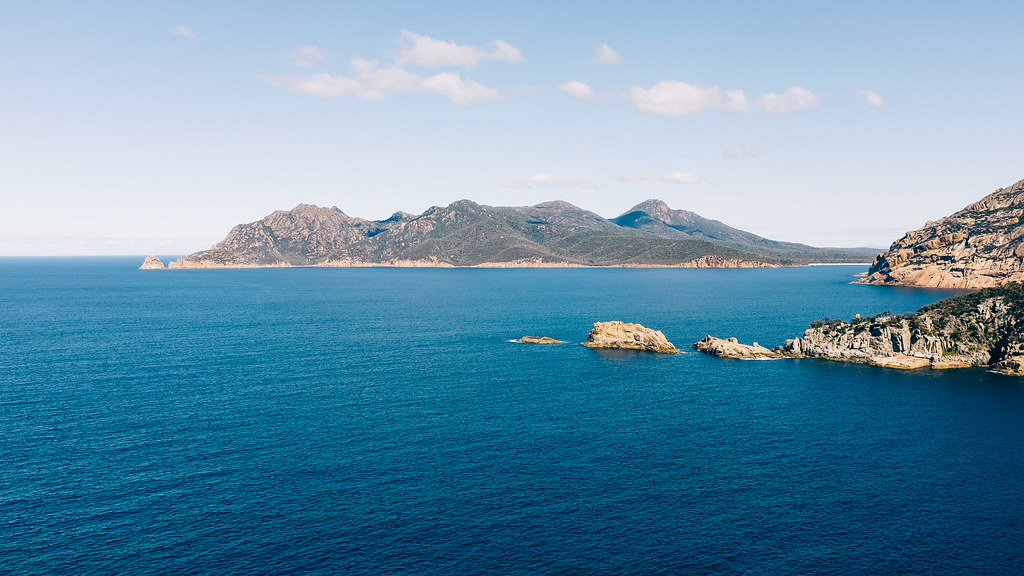
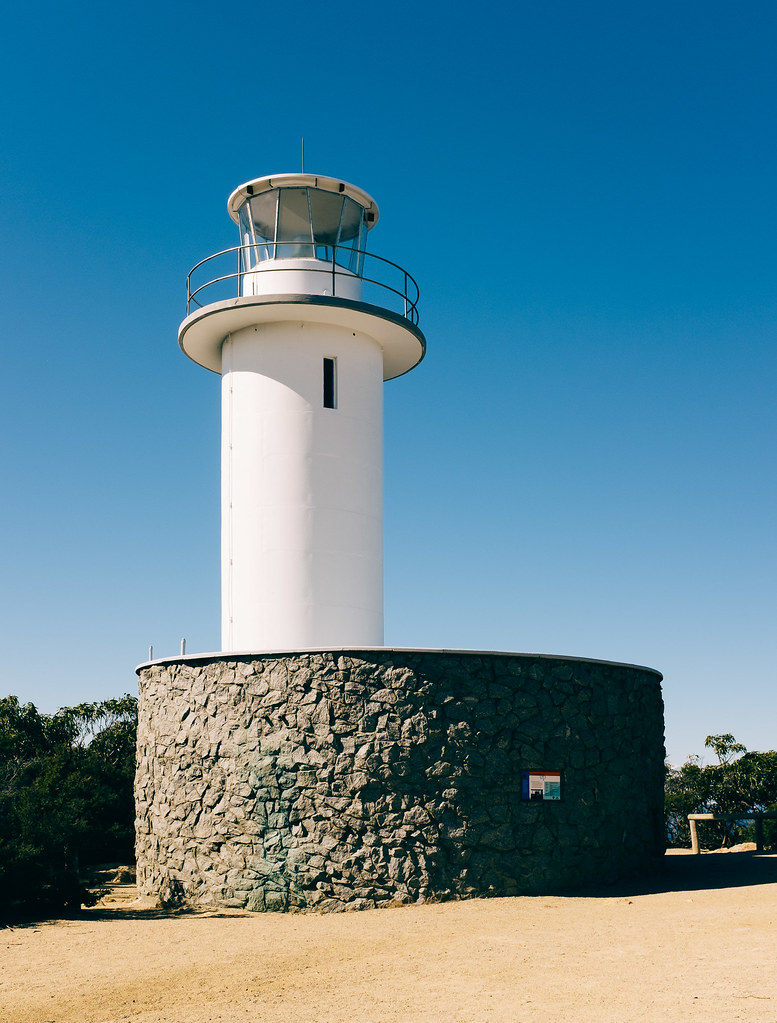
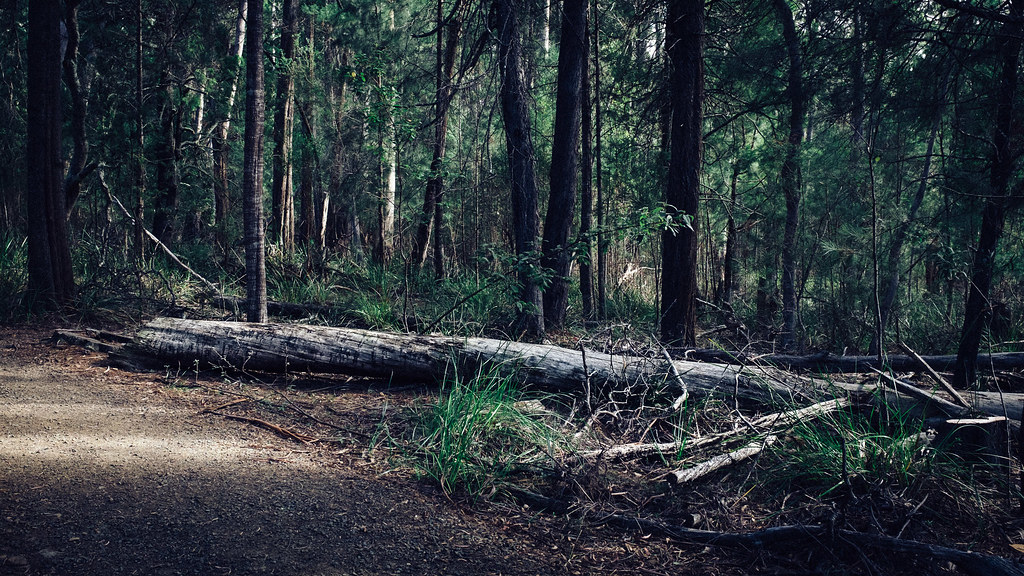
There’s a few other things to do around Bicheno as well, one is Freycinet National Park which has some epic hiking trails through it (neither Kristina nor I are hikers so we opted to just go by what we could reach by car).

Untitled

Untitled

Cape Tourville Lighthouse

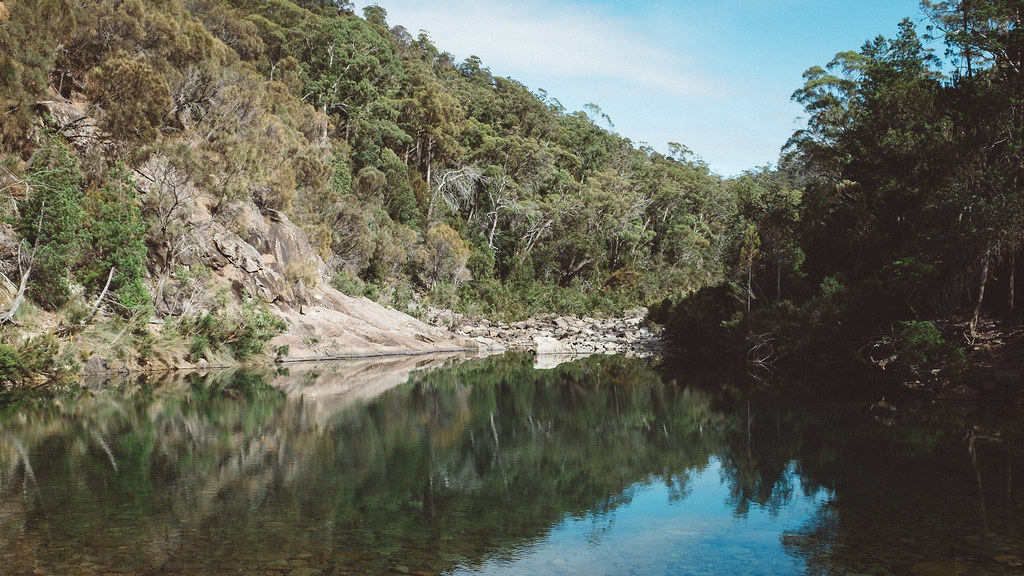
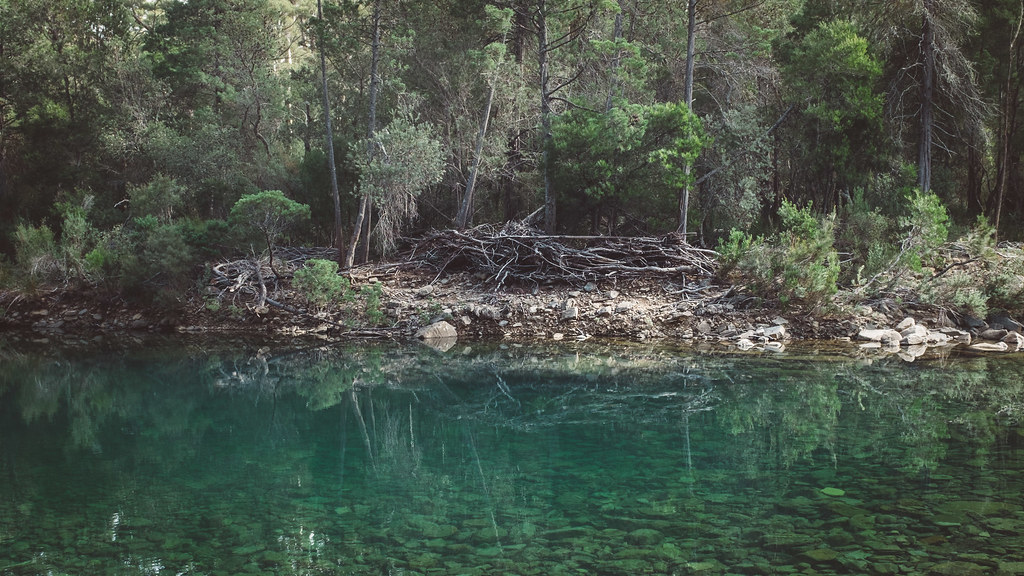
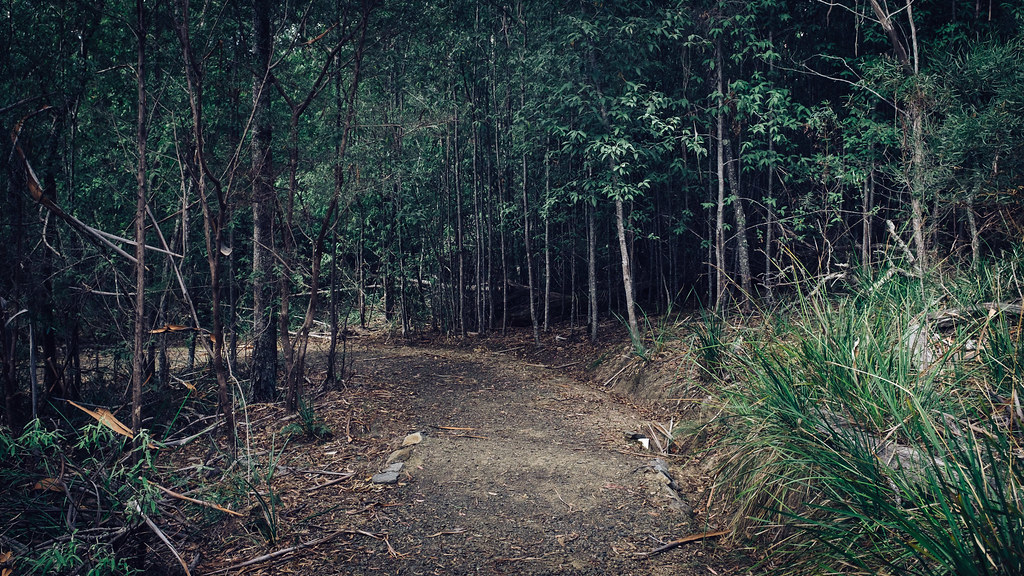
Then right up the road from where we were staying is Douglas-Apsley National Park, which is the same deal as Freycinet with the hiking, and requires a good couple of kilometres of dirt road to get to the carpark.

Untitled

Untitled

Untitled

Untitled

Untitled

(There’s a few more photos from each in the photoset).

The last bit of Bicheno we saw was East Coast Natureworld, a big wildlife sanctuary and conservation area.

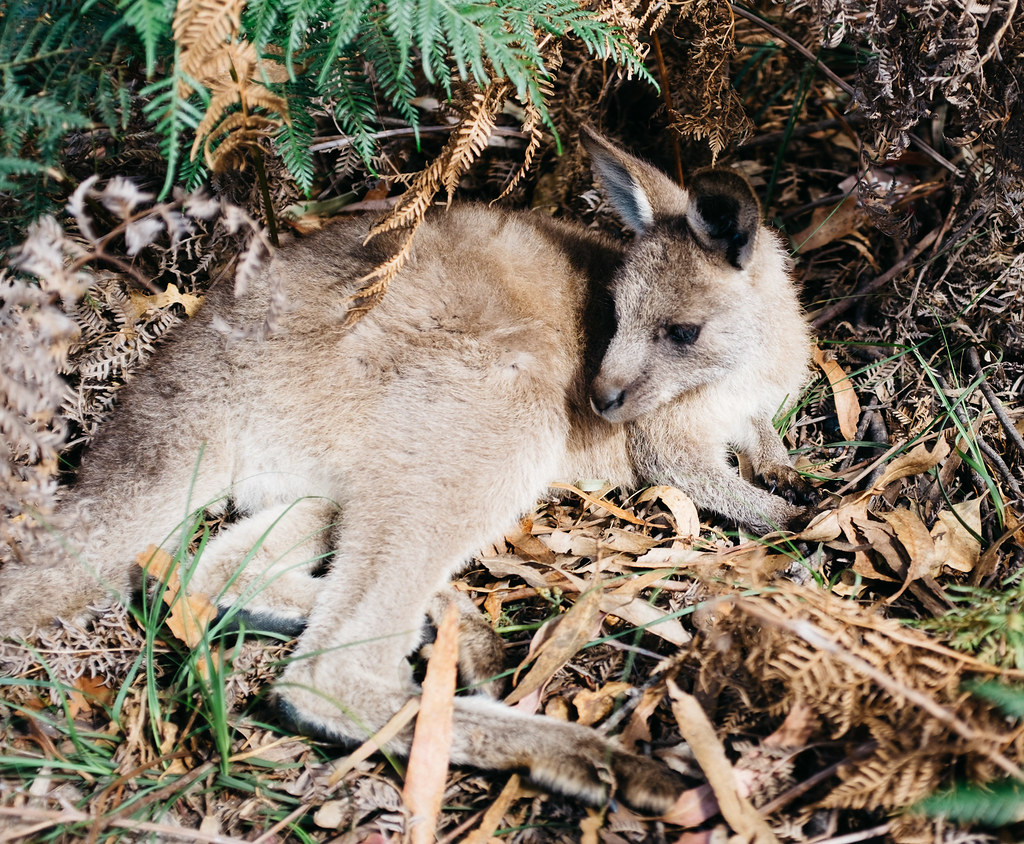
Esther the wombat

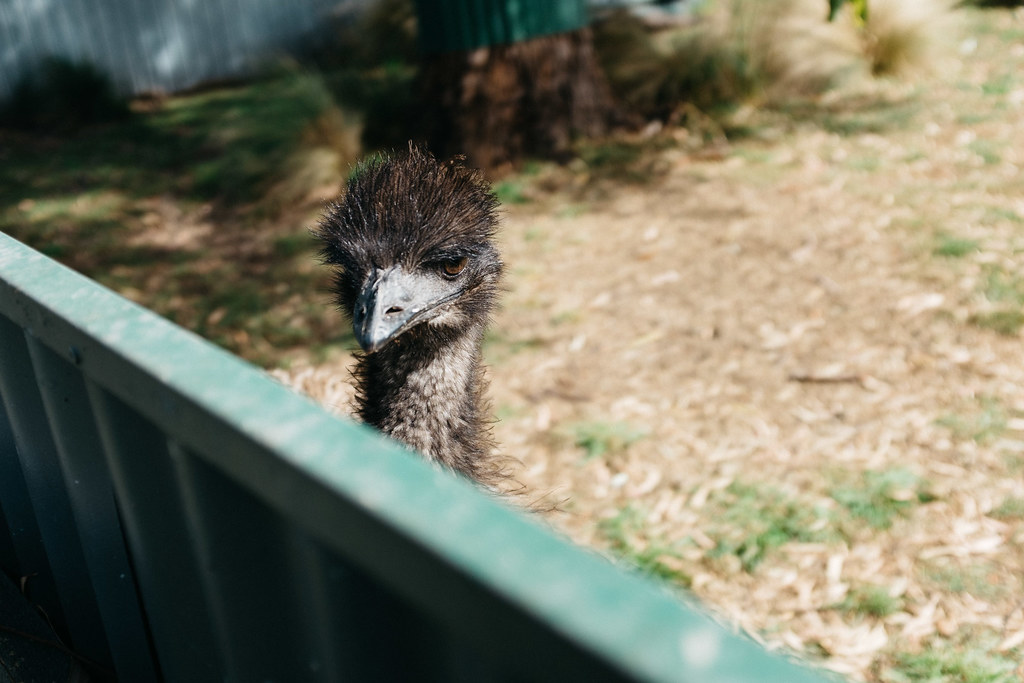
Emu

Lazing

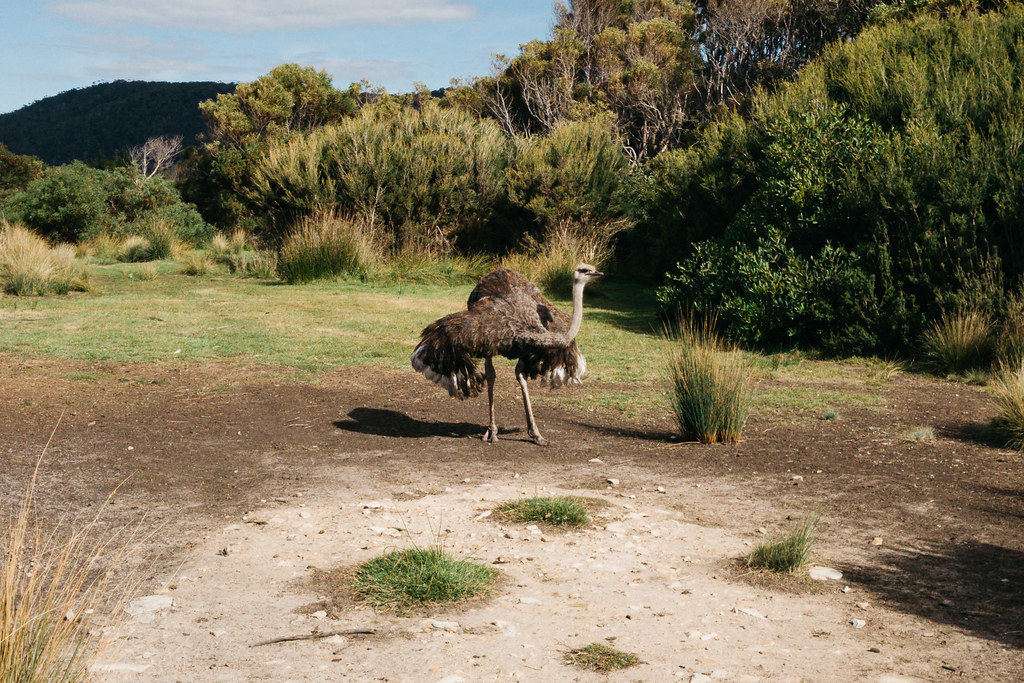
Ostrich

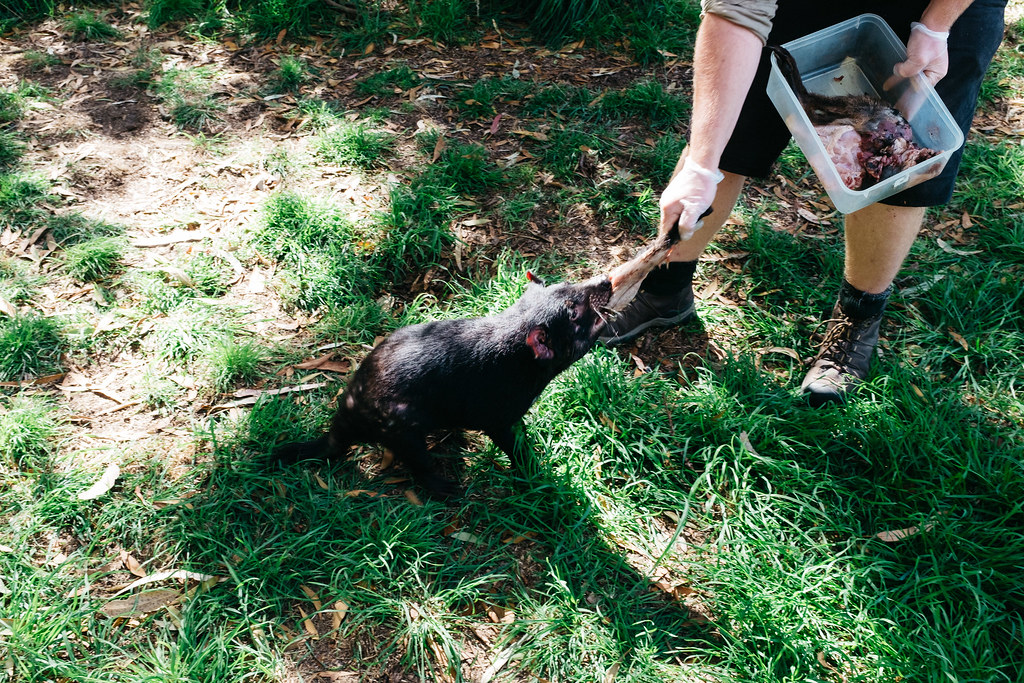
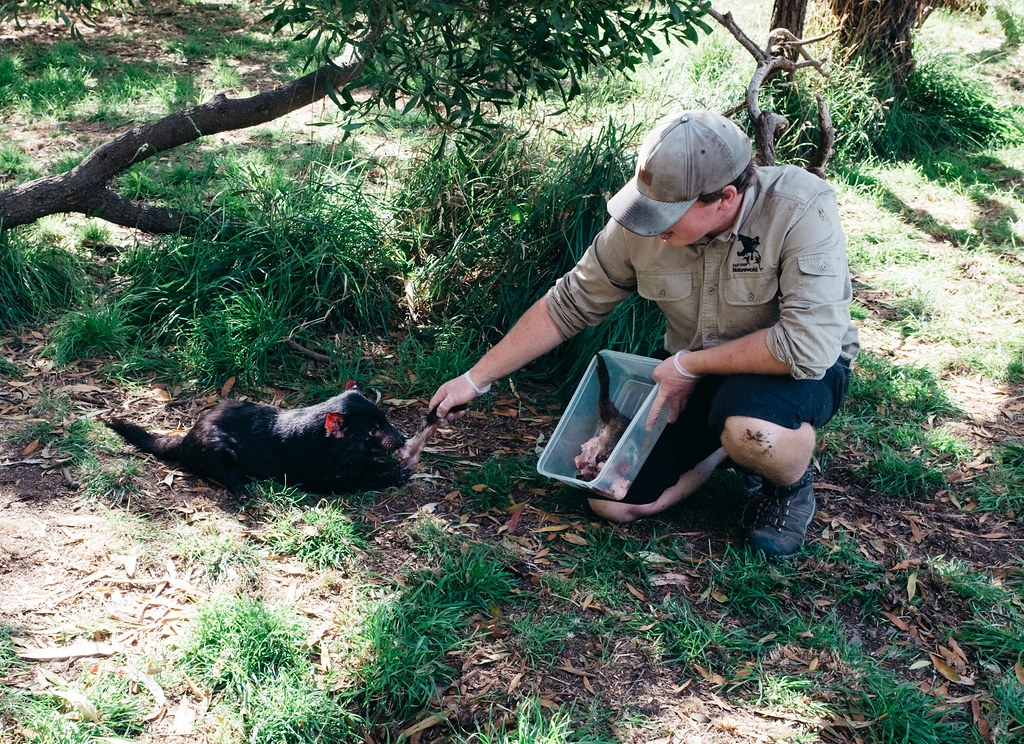
Don’t ask me why there was an ostrich there, I don’t know. 😛 The baby wombat at the top is named Esther, and she was just sitting there in the keeper’s arms dozing while the keeper was talking. They also do conservation and breeding for Tasmanian devils there, and we got to see one of them being fed which was pretty neat!

Feeding Dennis the Tasmanian Devil

Nom nom nom

After that, we drove back down to Hobart and spent the rest of the trip just wandering around some more.
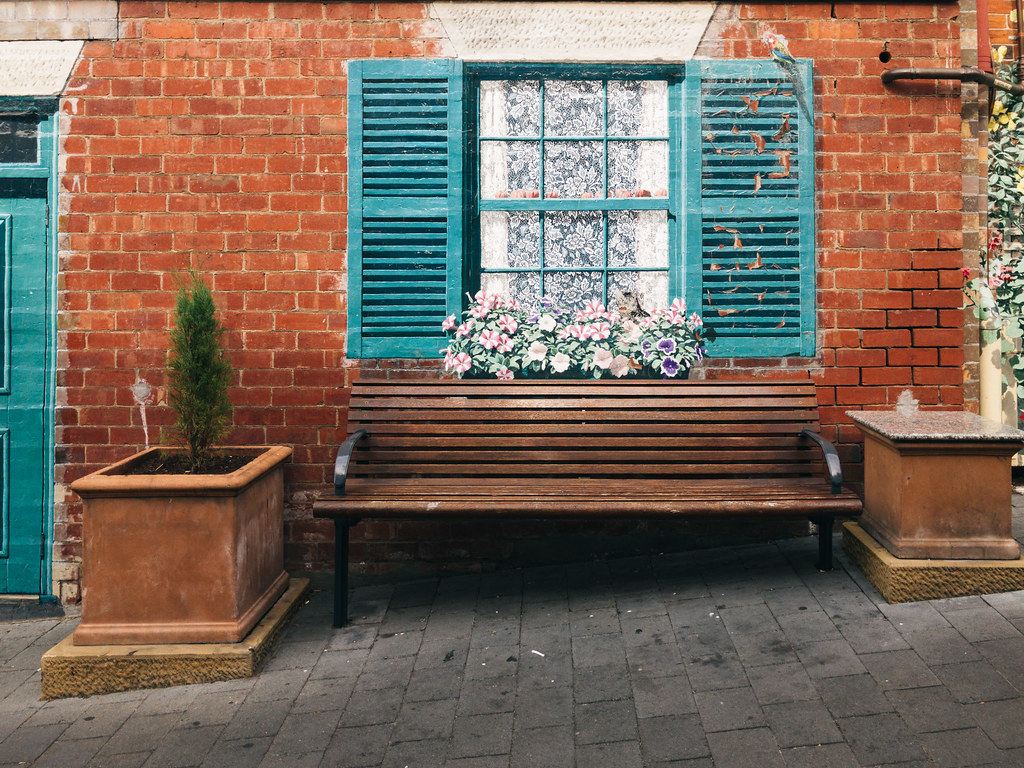
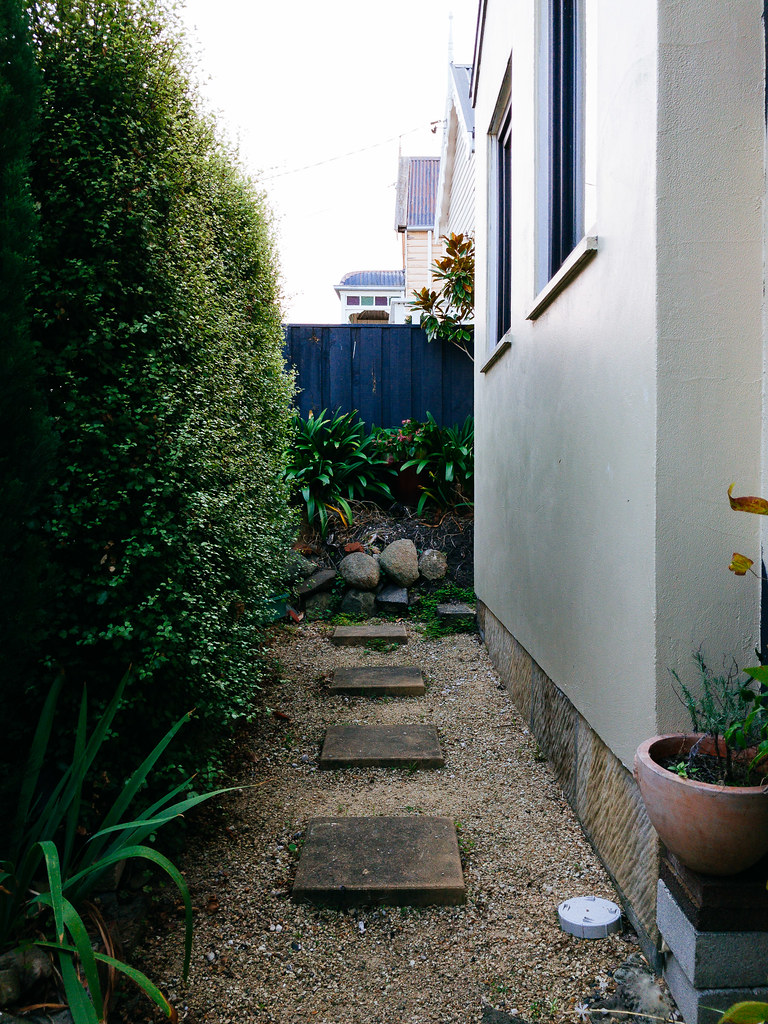
The side path

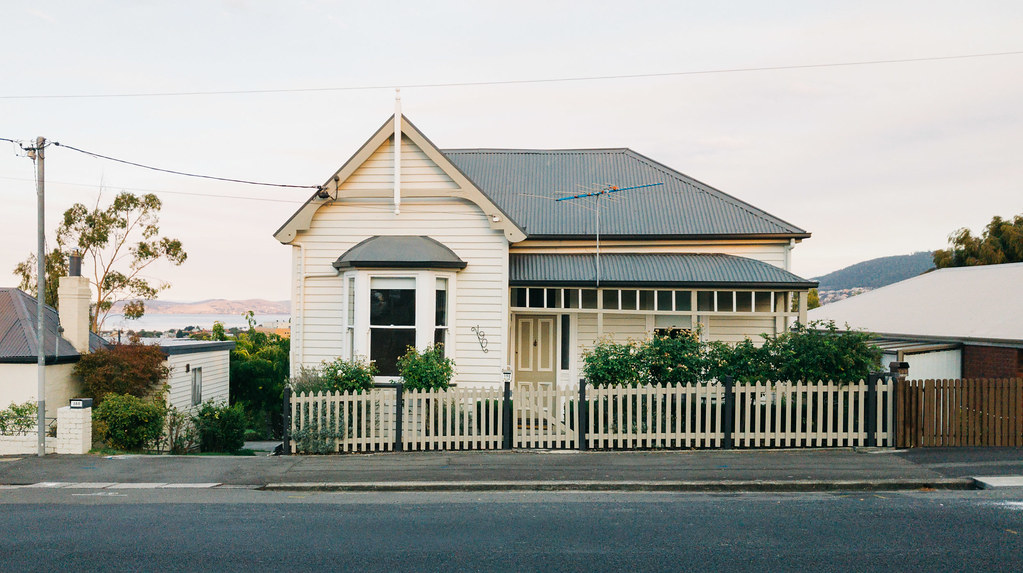
190

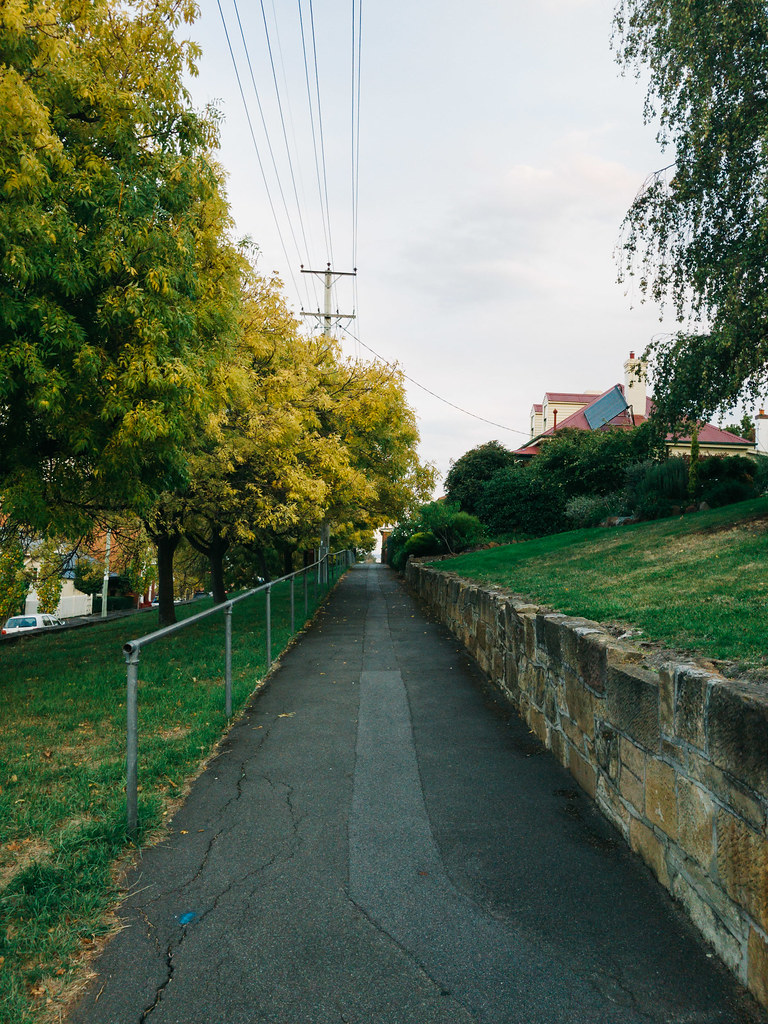
Up the hill

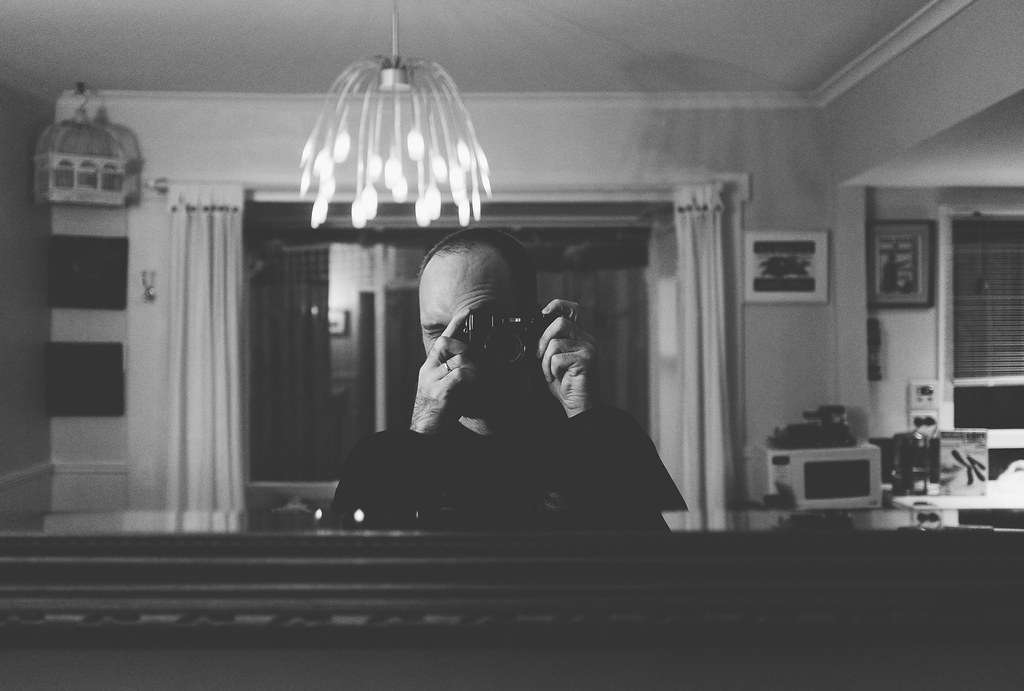
Mirror selfie

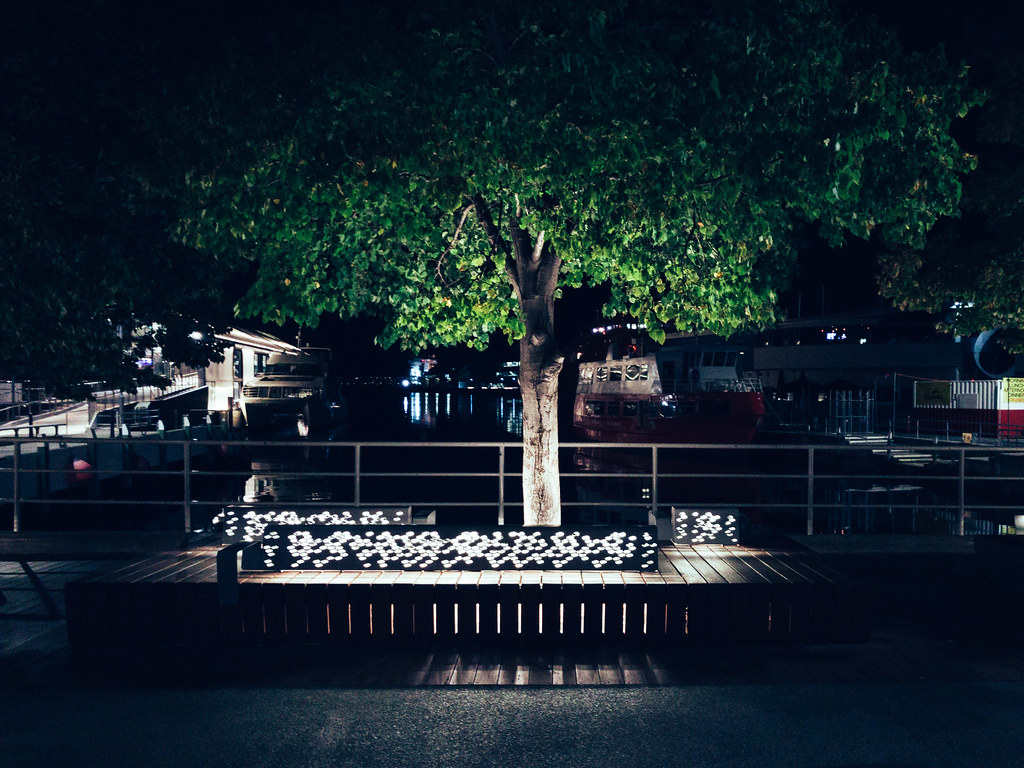
Lit from below

Aurora Australis

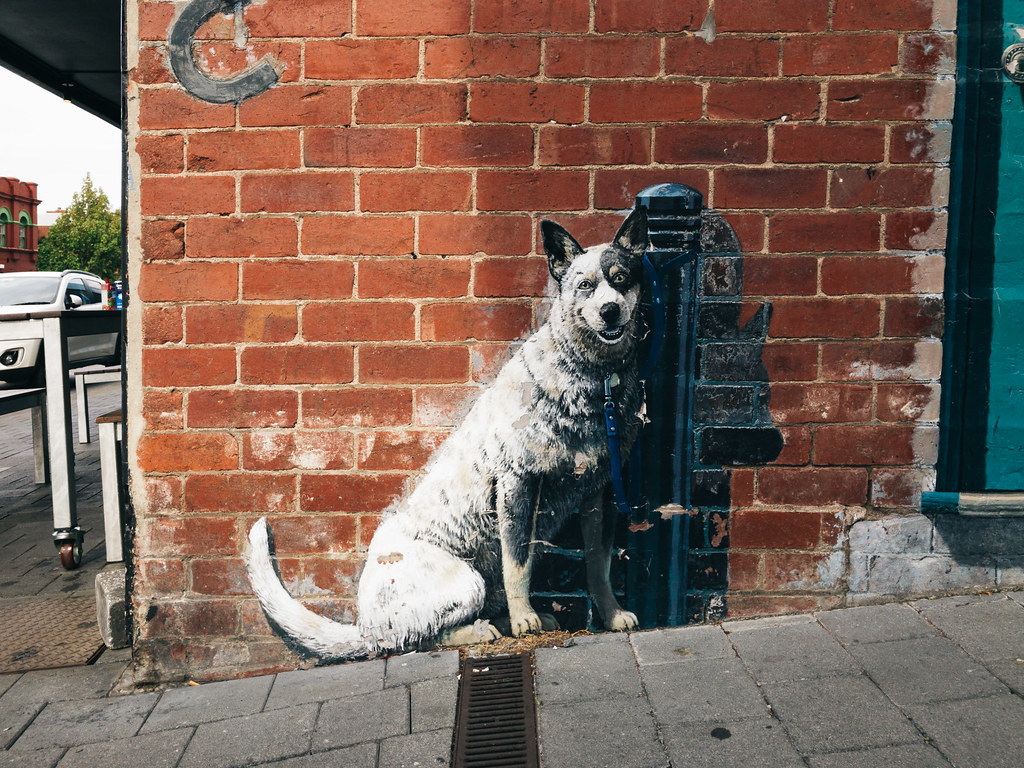
Grafitti

Happy doggo grafitti

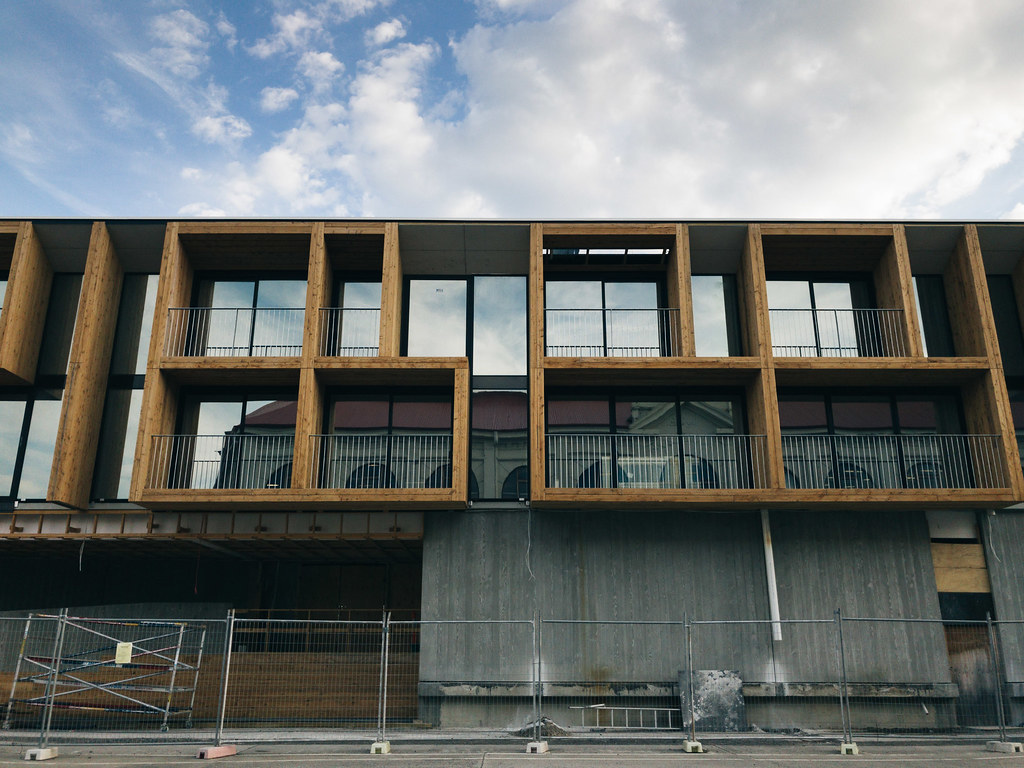
Under construction

Docked

The huge orange ship is an icebreaker

Aurora Australis is an Australian icebreaker. Built by Carrington Slipways and launched in 1989, the vessel is owned by P&O Maritime Services, but is regularly chartered by the Australian Antarctic Division (AAD) for research cruises in Antarctic waters and to support Australian bases in Antarctica.
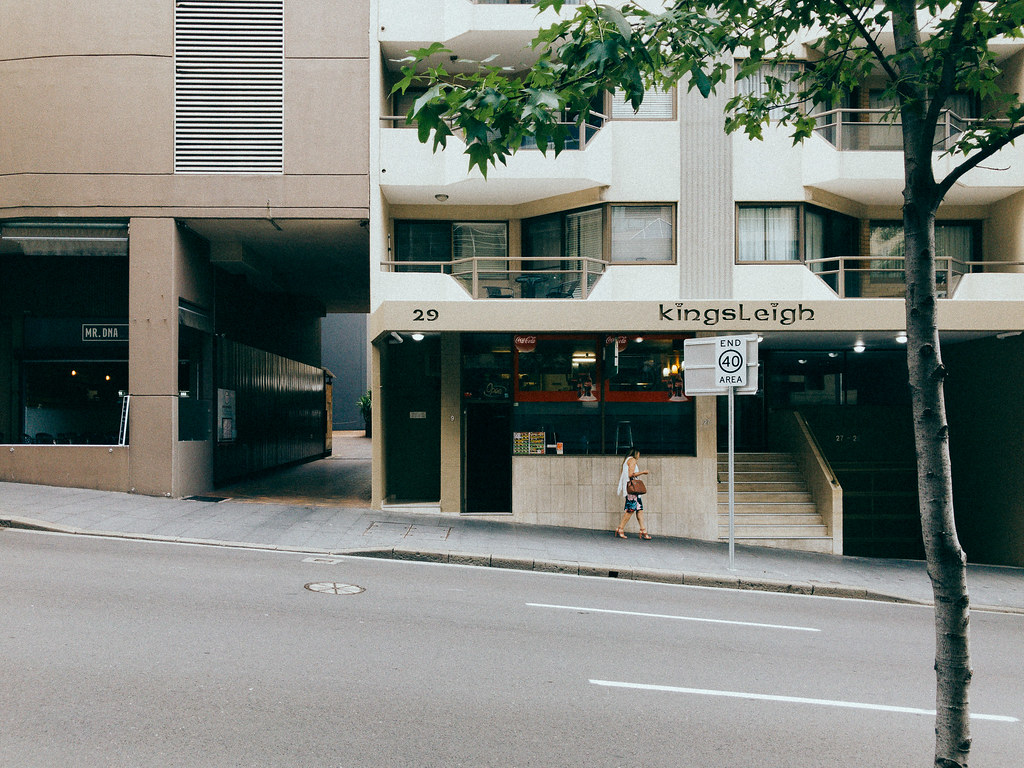
And it’s quite an impressive sight in person!

We also went up to Mount Nelson, which is the next-highest mountain in Hobart, but unfortunately they were doing hazard-reduction burns (basically controlled bushfires) so it was really smokey and you mostly couldn’t see anything. 🙁

Despite that, all in all it was an excellent trip.

iPhoneography

Both Kristina and I upgraded to the iPhone 7 last month, I’d heard the camera was good but I took it out for a spin last week when I went on a lunchtime photo walk with some co-workers, and man. I can see why the point-and-shoot market is dying! I processed all these photos in Lightroom on my iMac so it wasn’t solely done on the iPhone, but even so, I’m incredibly impressed.

It’s not going to replace a full DSLR setup in low-light or shallow depth-of-field situations, but where I’d be wandering around during the day taking photos at f/8 anyway…

Untitled

Untitled

Untitled

Untitled

Untitled

Untitled

Untitled

Untitled

Untitled

A year of Node.js

Today marks one year exactly since switching my website from Perl to Javascript/Node.js! I posted back in March about having made the switch, but at that point my “production” website was still running on Perl. I switched over full-time to Node.js shortly after that post.

From the very first commit to the latest one:

$ git diff --stat 030430d 6b7c737
[...]
177 files changed, 11313 insertions(+), 2110 deletions(-)

Looking back on it, I’ve learnt a hell of a lot in that one single year! I have—

  • Written a HipChat add-on that hooks into my Ninja Block data (note the temperature in the right-hand column as well as the slash-commands; the button in the right-hand column can be clicked on to view the indoor and outdoor temperatures and the extremes for the day)
  • Refactored almost all of the code into a significantly more functional style, which has the bonus of making it a hell of a lot easier to read
  • Moved from callbacks to Promises, which also massively simplified things (see the progression of part of my Flickr– and HipChat-related code)
  • Completely overhauled my database schema to accomodate the day I eventually replace my Ninja Block with my Raspberry Pi (the Ninja Block is still running though, so I needed to have a “translation layer” to take the data in the format that the Ninja Block sends and converts it to what can be inserted in the new database structure)
  • Added secure, signed, HTTP-only cookies when changing site settings
  • Included functionality to replace my old Twitter image hosting script, and also added a nice front-end to it to browse through old images

Along with all that, I’ve been reading a lot of software engineering books, which have helped a great deal with the refactoring I mentioned above (there was a lot of “Oh god, this code is actually quite awful” after going through with a fresh eye having read some of these books)—Clean Code by Robert C. Martin, Code Complete by Steve McConnell, The Art of Readable Code by Dustin Boswell and Trevor Foucher.

I have a nice backlog in JIRA of new things I want to do in future, so I’m very interested to revisit this in another year and see what’s changed!