I’ve been a Mac user my entire life, originally just because my dad used them at his work and so bought them for home as well. My earliest memories are of him bringing his SE/30 home and playing around in MacPaint. We also had an Apple IIe that we got second-hand from my uncle that lived in my bedroom for a few years, though that doesn’t count as a Mac.
The first Mac my dad bought for us at home was the LC II in 1992 (I was 9!), and I can remember spending hours trawling through Microsoft Encarta being blown away at just how much information I could look up immediately. I also remember playing Shufflepuck Café and Battle Chess, and I’m sure plenty of others too that didn’t leave as large an impression. There was also an application that came with the computer called Mouse Practice that showed you how to use a mouse, and we had At Ease installed for a while as well until I outgrew it.
After the LC II we upgraded to the Power Macintosh 6200 in 1995, which among other things came with a disc full of demos on it including the original Star Wars: Dark Forces (which I absolutely begged my parents to get the full version of for Christmas, including promising to entirely delete Doom II which they were a bit disapproving of due to the high levels of gore), and Bungie’s Marathon 2: Durandal (which I originally didn’t even bother looking at for the first few months because I thought it was something to do with running!). Marathon 2 was where I first became a fan of Bungie’s games, and I spent many many hours playing it and the subsequent Marathon Infinity as well as a number of fan-made total conversions too (most notably Marathon:EVIL and Tempus Irae).
The period we owned the 6200 also marked the first time we had an internet connection as well (a whopping 28.8Kbps modem, no less!). The World Wide Web was just starting to take off around this time, I remember dialing into a couple of the local Mac BBSes but at that point they were already dying out anyway and the WWW quickly took over. The community that sprang up around the Marathon trilogy was the first online community I was really a member of, and Hotline was used quite extensively for chatting. Marathon Infinity came with map-making tools which I eagerly jumped into and made a whole bunch of maps and put them online. I was even able to dig up the vast majority of them, there’s only a couple of them that I’ve not been able to find. I have a vivid memory of when Marathon:EVIL first came out, it was an absolutely massive 20MB and I can recall leaving the download going at a blazing-fast 2.7KB/s for a good two or three hours, and constantly coming back to it to make sure it hadn’t dropped out or otherwise stopped.
After the Marathon trilogy, Bungie developed the realtime strategy games Myth: The Fallen Lords and its sequel Myth II: Soulblighter, both of which I also played the hell out of and was a pretty active member of the community in.
After the 6200 we then had a second-gen iMac G3 then a “Sawtooth” Power Mac G4 just for me as my sister and I kept arguing about who should have time on the computer and the Internet. 😛 The G4 was quite a bit of money as you’d imagine, so I promised to pay it back to dad as soon as I got a job and started working.
macOS (formerly Mac OS X then OS X) is obviously a far more solid operating system, but I’ve always had a soft spot for the Classic Mac OS even with its cooperative multitasking and general fragility. We got rid of the old Power Mac G4 probably eight years ago now (which I regret doing), and I wanted to have some machine capable of running Mac OS 9 just for nostalgia’s sake. Mum and dad still had mum’s old PowerBook G3 and I was able to get a power adapter for it and boot it up to noodle around in, but it was a bit awkwardly-sized to fit on my desk and the battery was so dead that if the power cord wasn’t plugged in it wouldn’t boot at all.
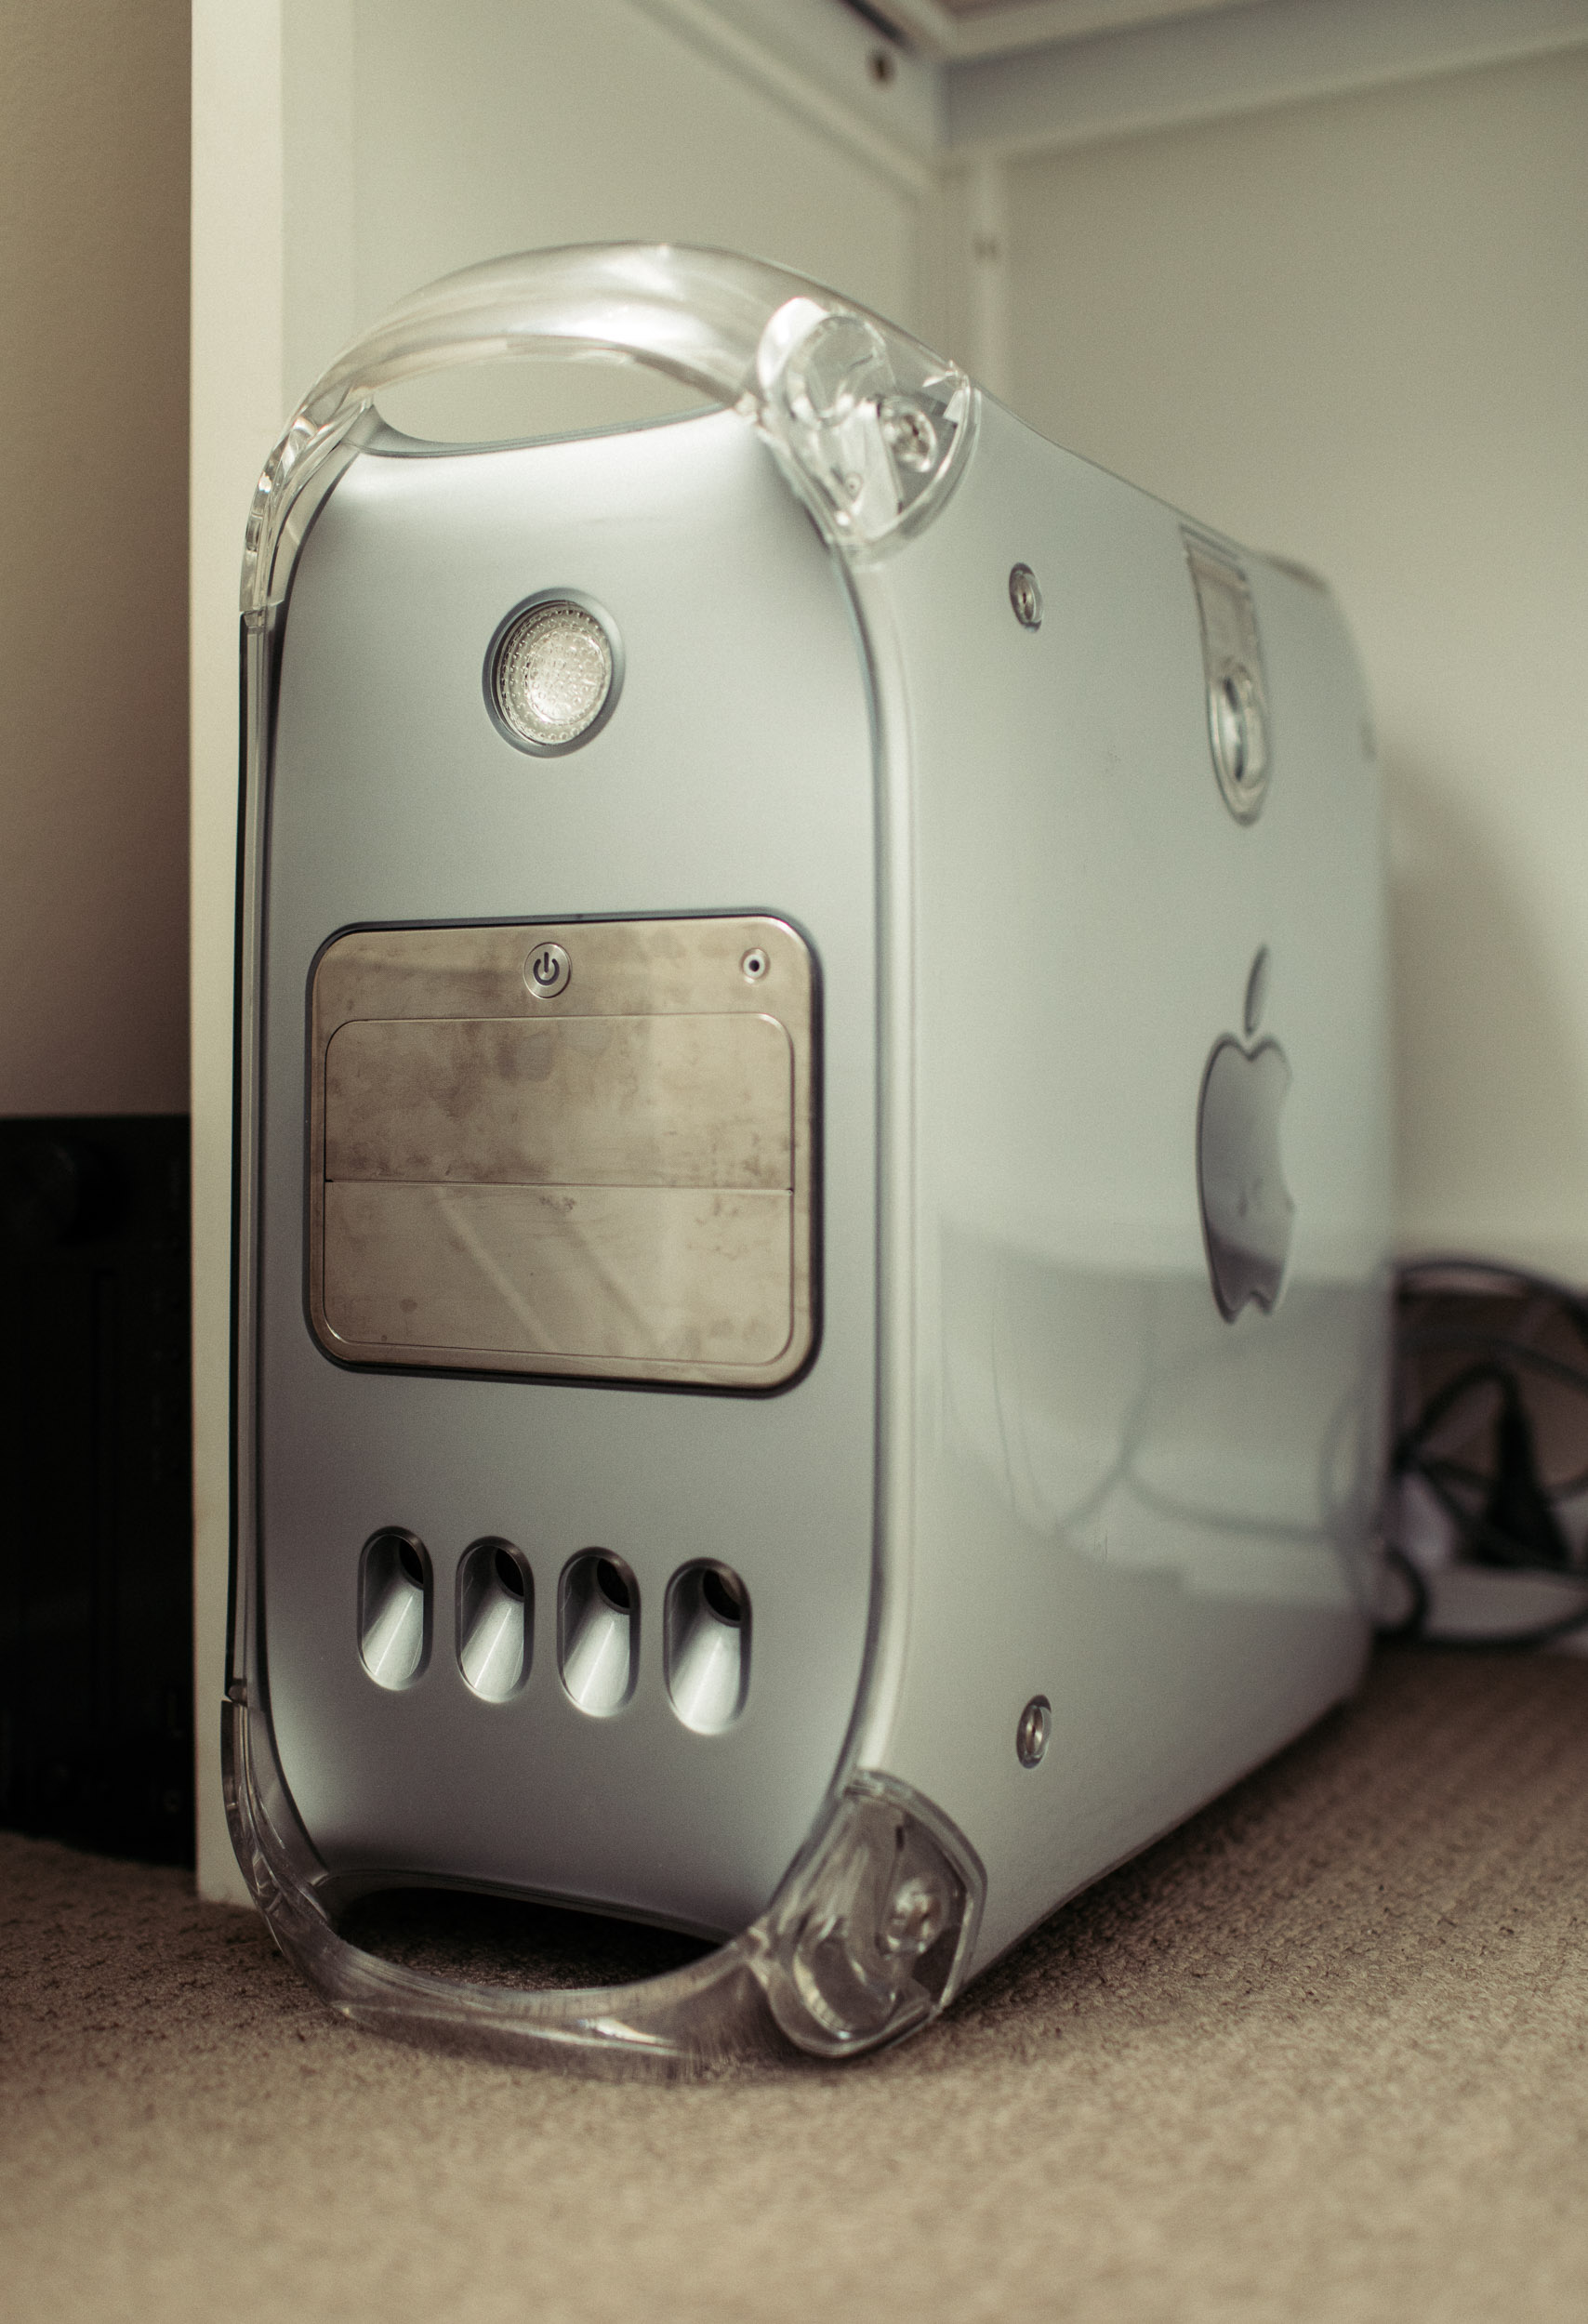
There was a thread on Ars Technica a few months ago about old computers, and someone mentioned that if you were looking at something capable of running Mac OS 9 your best bet was to get the very last of the Power Mac G4s that could boot to it natively, the Mirrored Drive Doors model. I poked around on eBay and found a guy selling one in mint condition, and so bought it as a present to myself for my birthday.
Behold!

Dual 1.25GHz G4 processors, 1GB of RAM, 80GB of hard disk space, and a 64MB ATI Radeon 8500 graphics card. What a powerhouse. 😛
There’s a website, Macintosh Repository, where a bunch of enthusiasts are collecting old Mac software from yesteryear, so that’s been my main place to download all the old software and games that I remember from growing up. It’s been such a trip down memory lane, I love it!