The spiritual successor to SimCity, Cities: Skylines

I first played the original SimCity Classic back in the early 1990s on our old Macintosh LC II, and absolutely loved it. Laying out a city and watching it grow was extremely satisfying, and the sequel, SimCity 2000 was even more detailed. I played a bit of SimCity 4, which came out in 2003, but the latest entry in the series, titled just “SimCity“, by all accounts sucked. The maps were significantly smaller in size, and it required an internet connection and was multiplayer to boot.

It’s actually possible to play SimCity 2000 on modern machines and I definitely got stuck into it a few years ago. This is a screenshot of my most recent city!
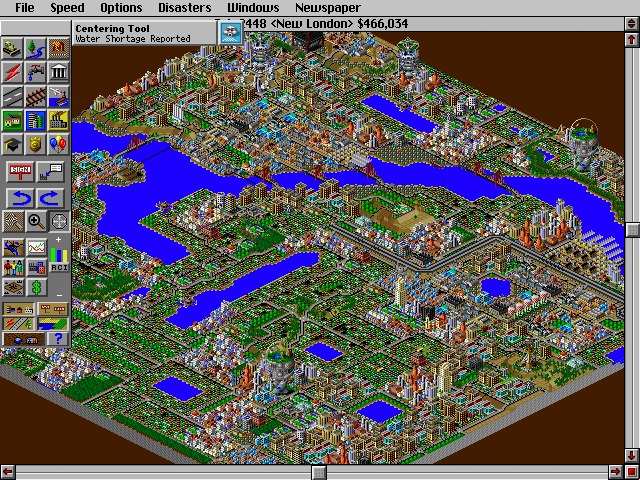
Screenshot of SimCity 2000, zoomed out and showing as much of my city as possible.

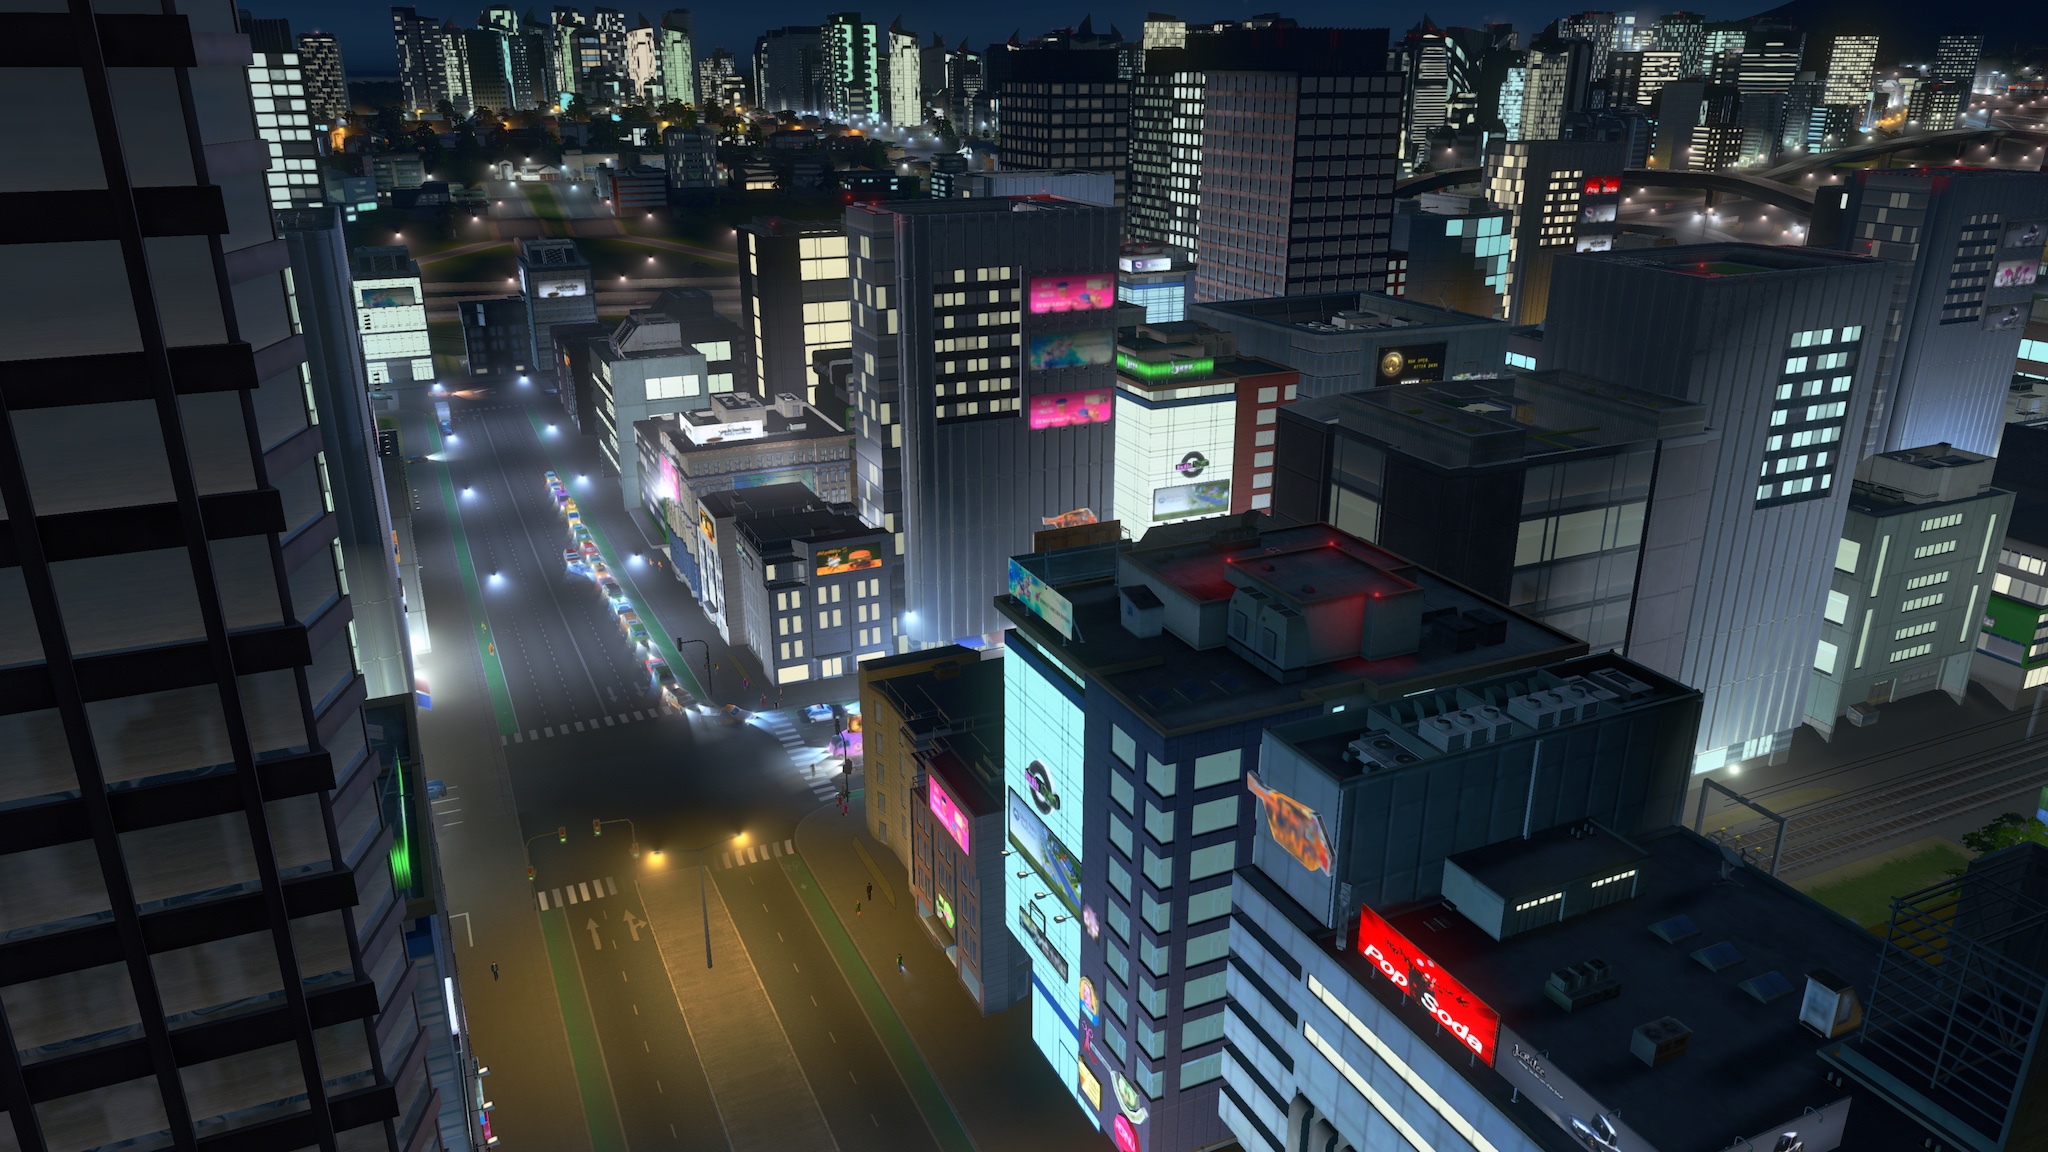
If you’re wanting a proper modern SimCity 2000-esque experience though, Cities: Skylines is what you’re after. It came out in March of 2015 on desktop, and was ported to Xbox One in April of 2017 and they did a damned good job of it, the controls are all perfectly suited to playing on a controller as opposed to with a mouse and keyboard.

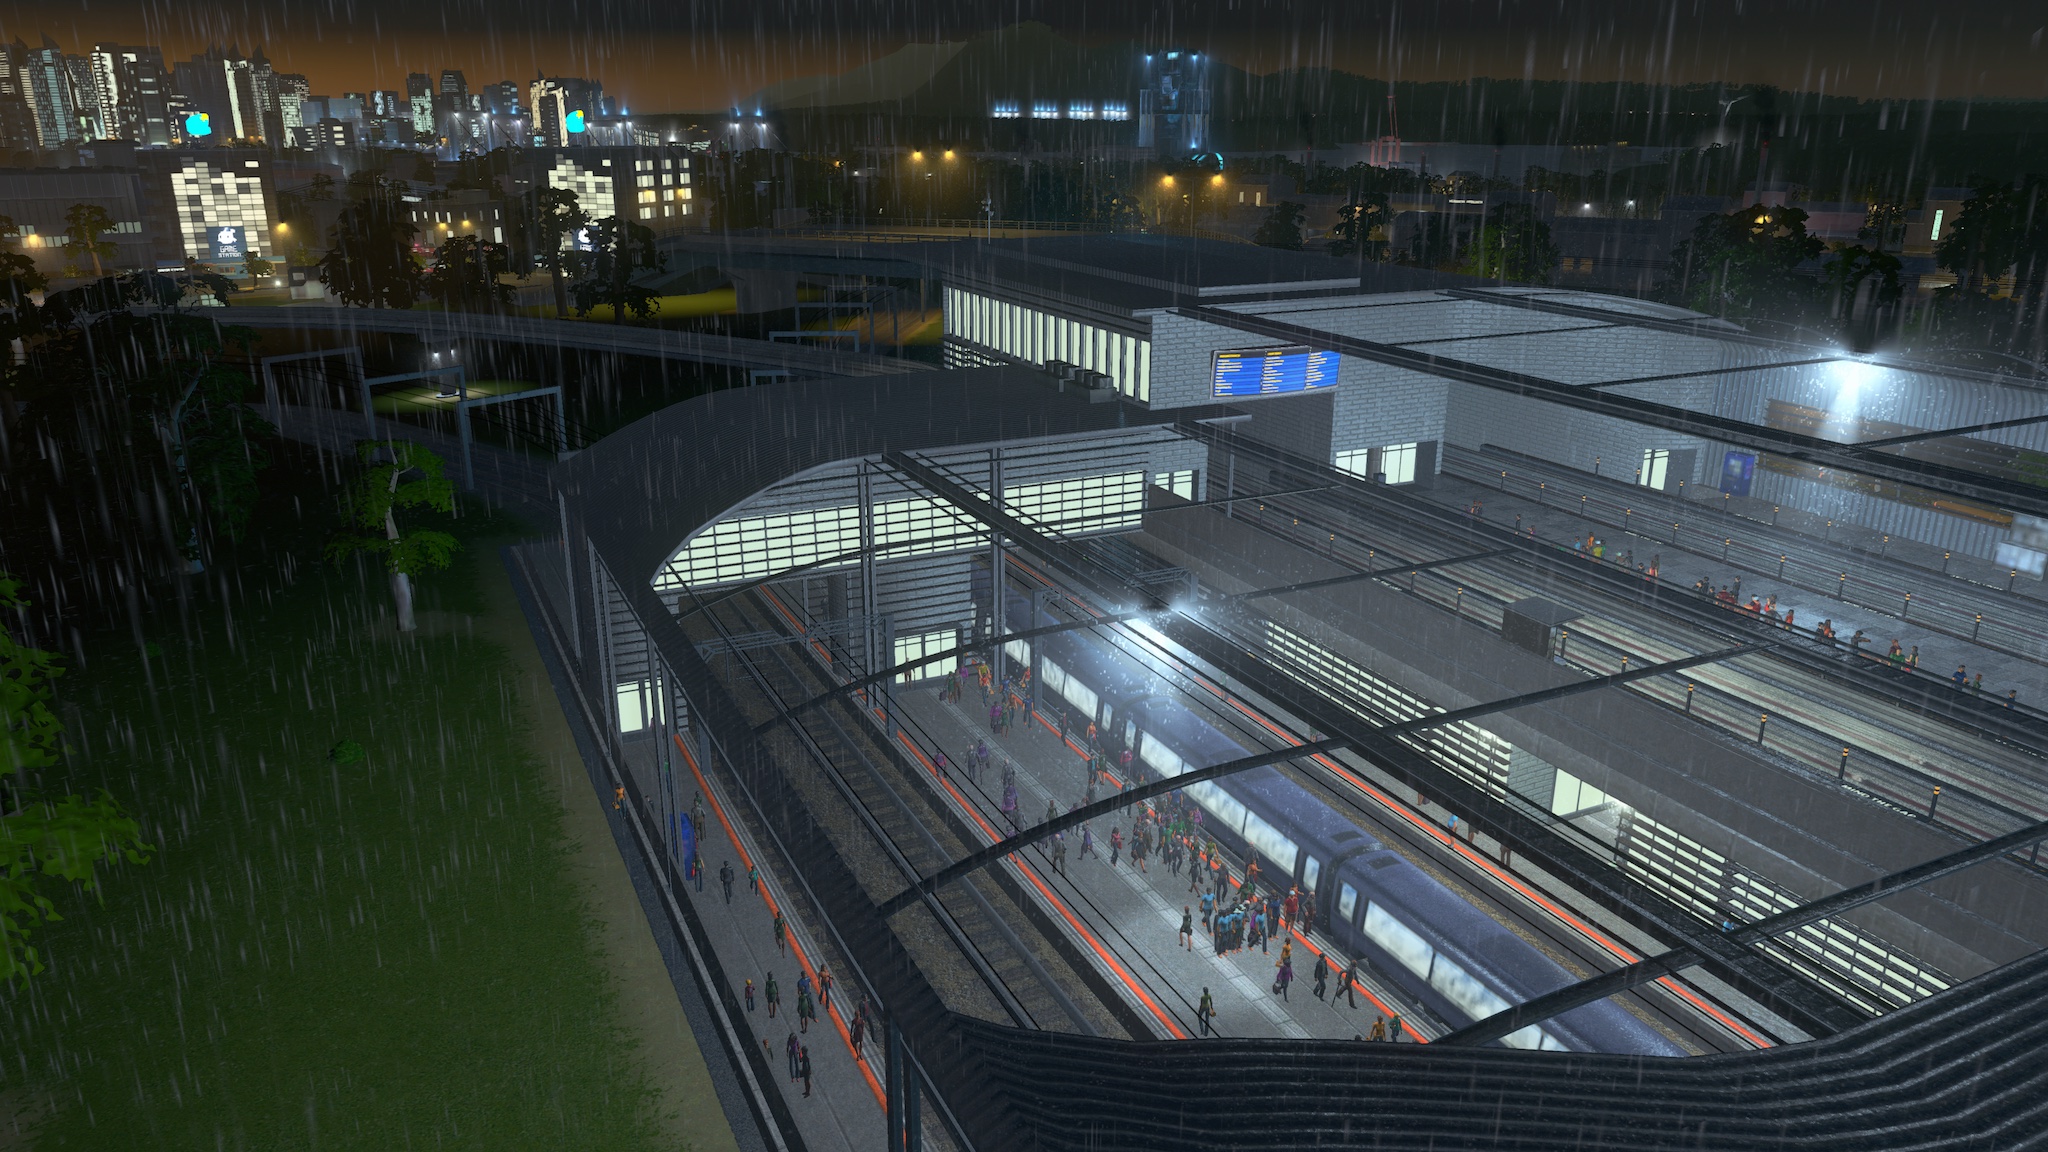
The level of detail of the simulation is fantastic, you can zoom all the way in and follow individual people (called “cims”, as opposed to SimCity’s “sims”) or vehicles and see where they’re going. There’s a robust public transport system and you can put in train lines (and buses, and trams, and a subway, and in the most recent expansion called Mass Transit, even monorails, blimps, and ferries!) and see the cims going to and from work, and how many are waiting at each station and so on.

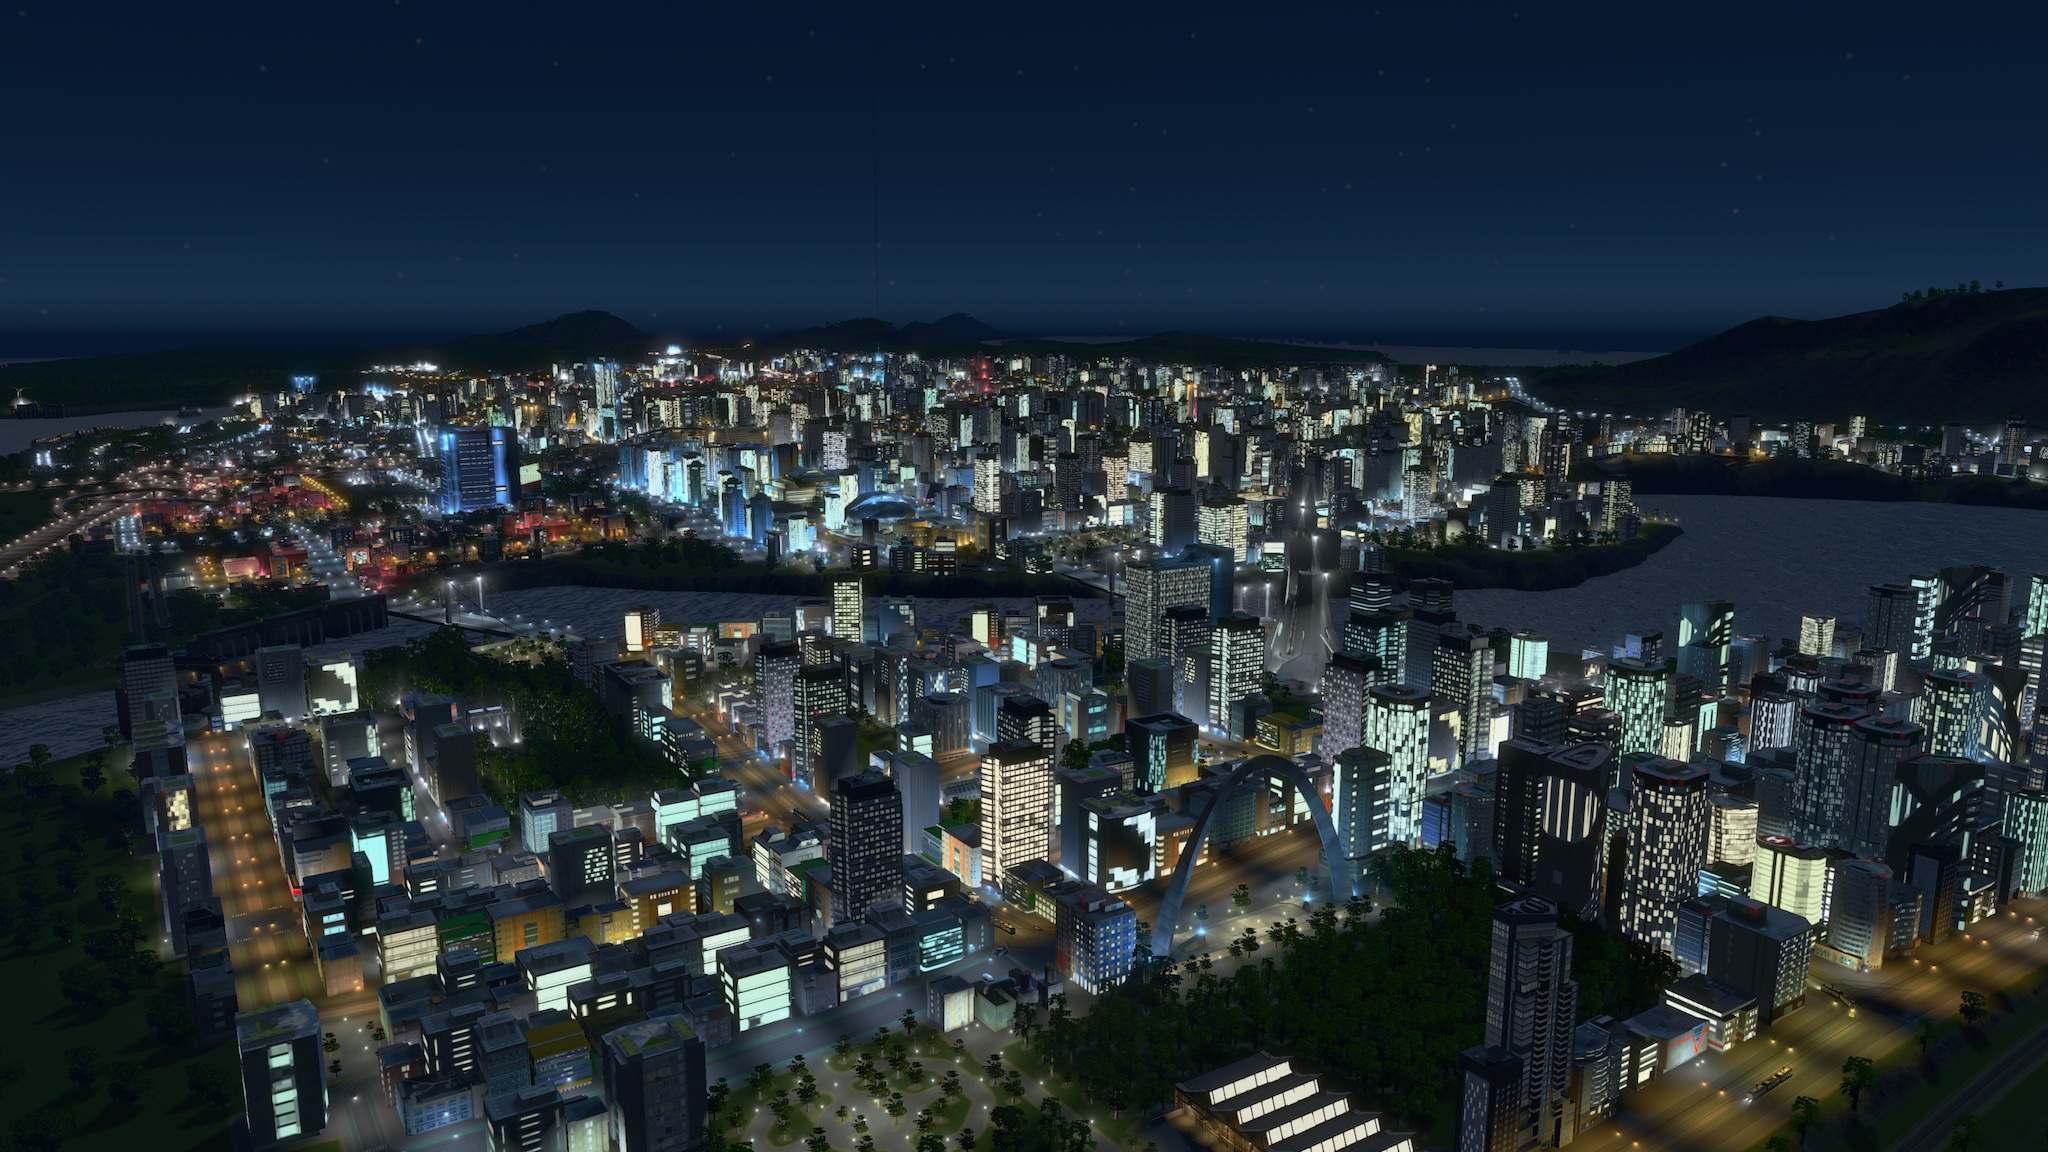
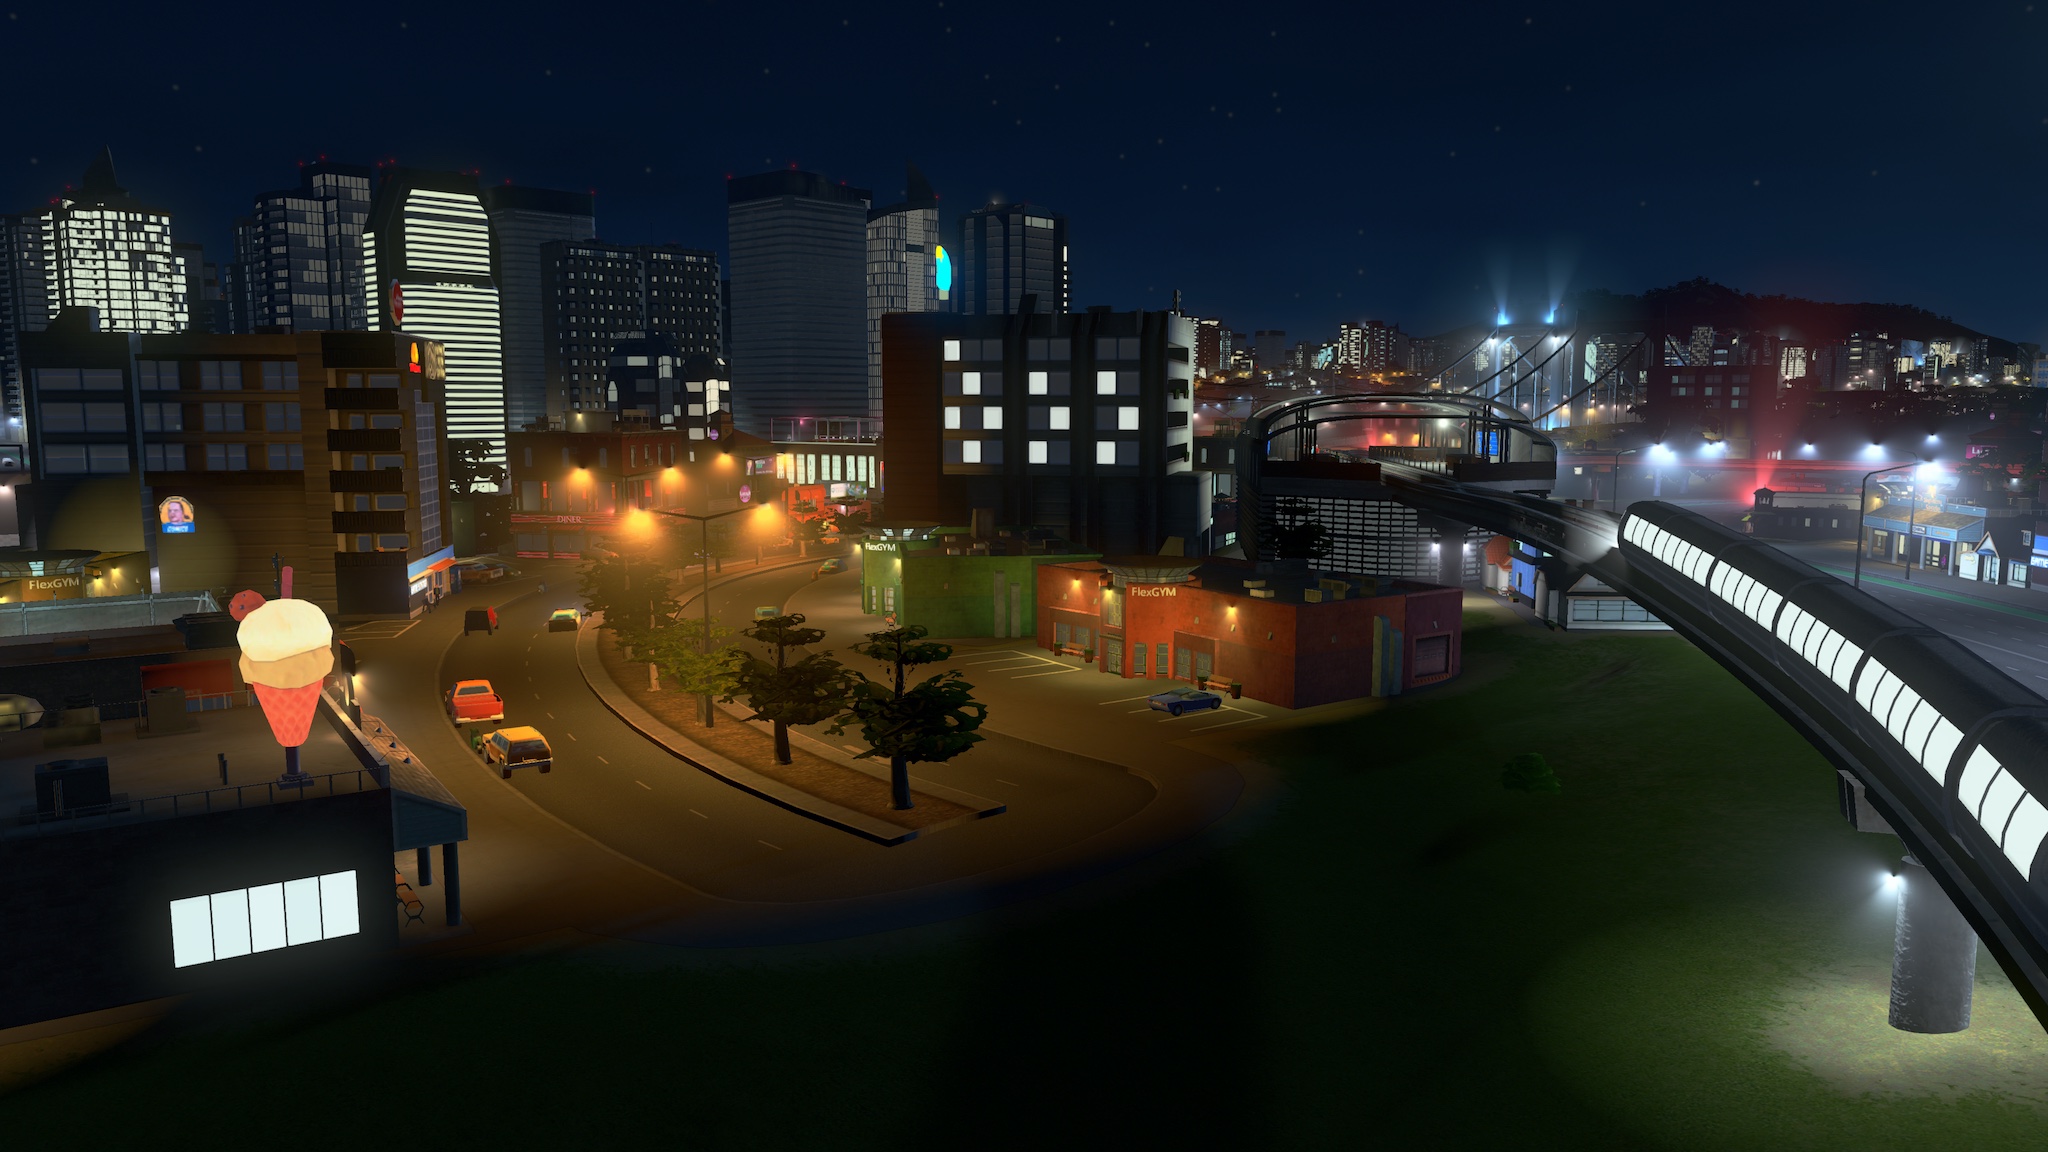
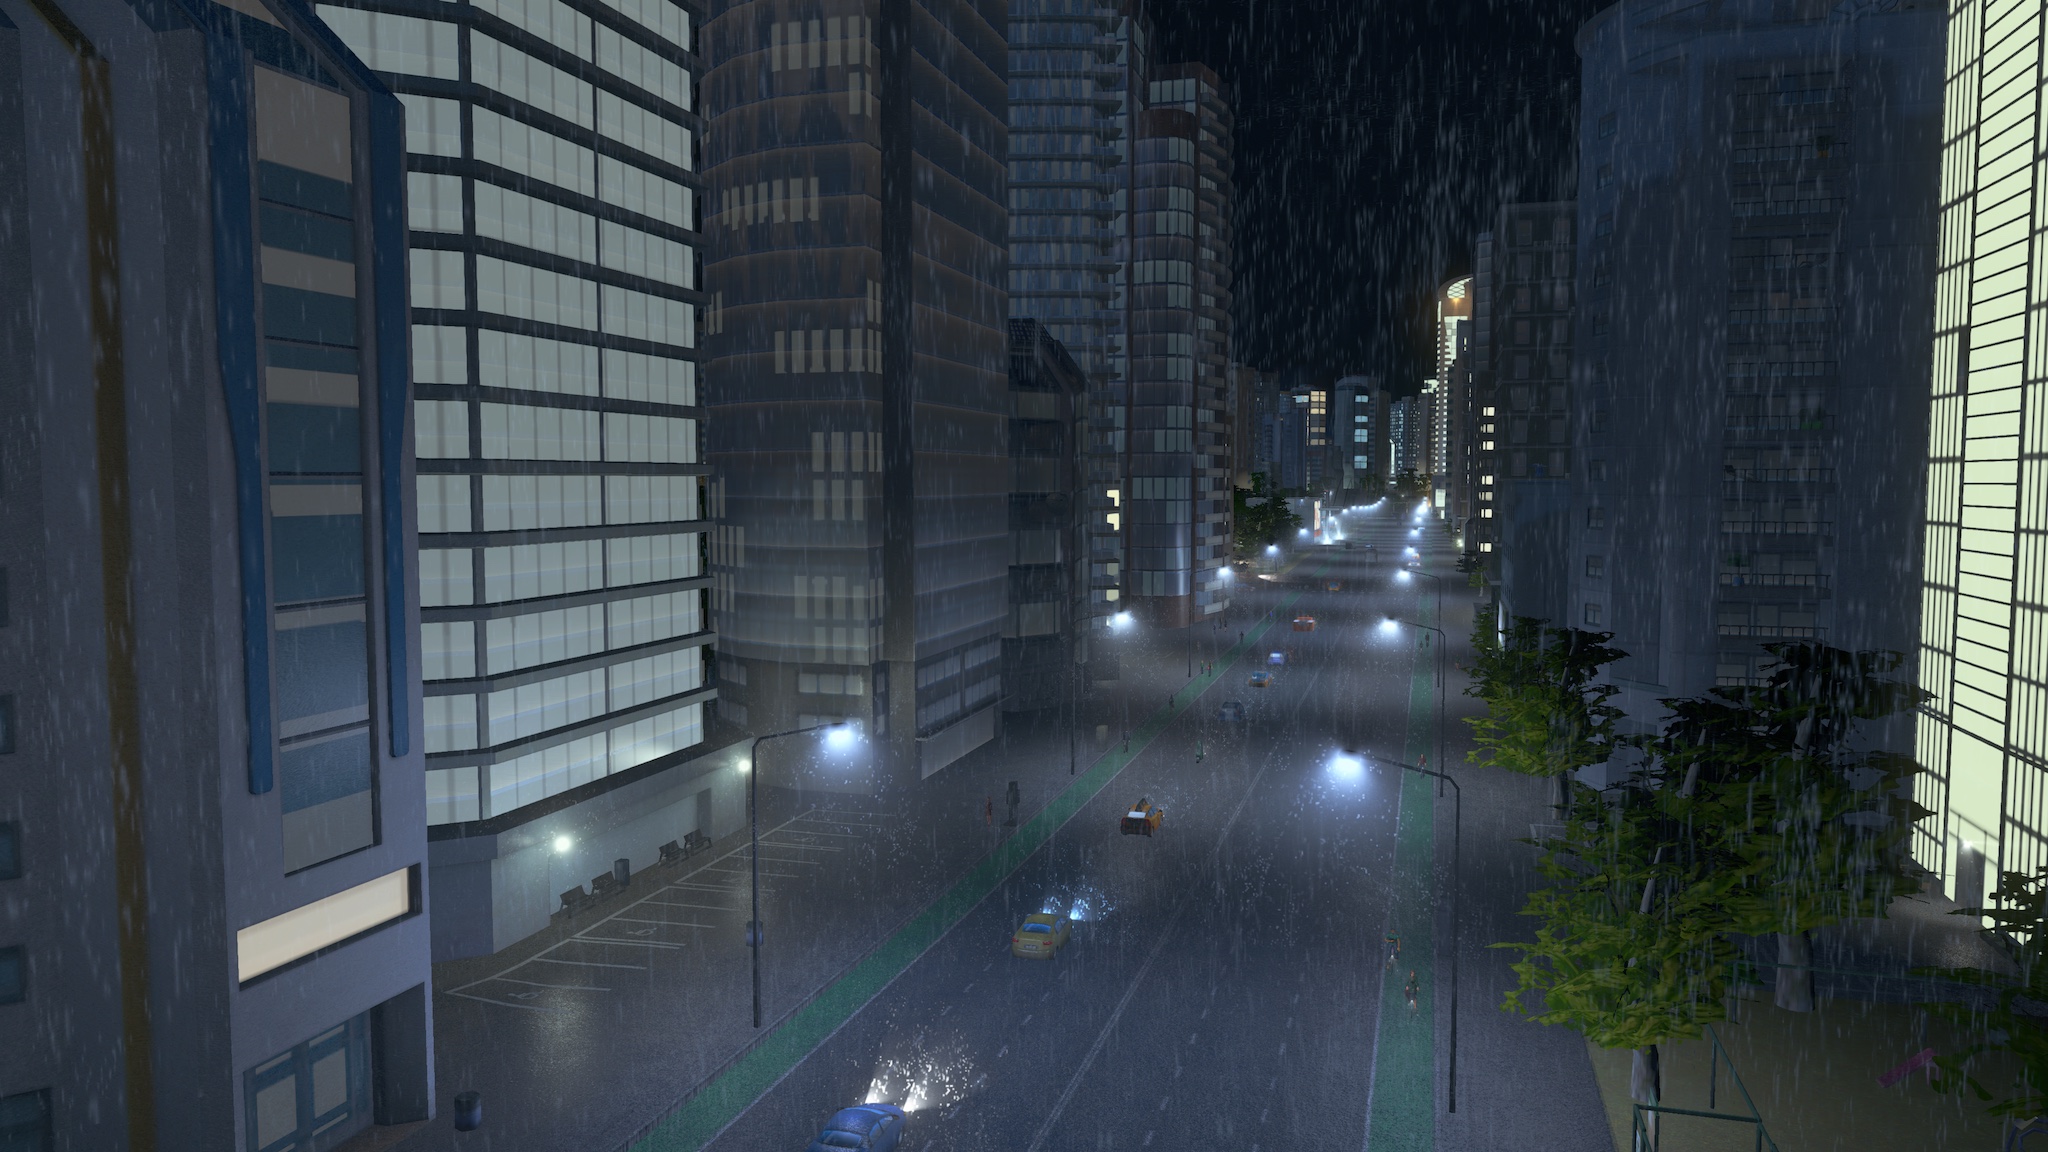
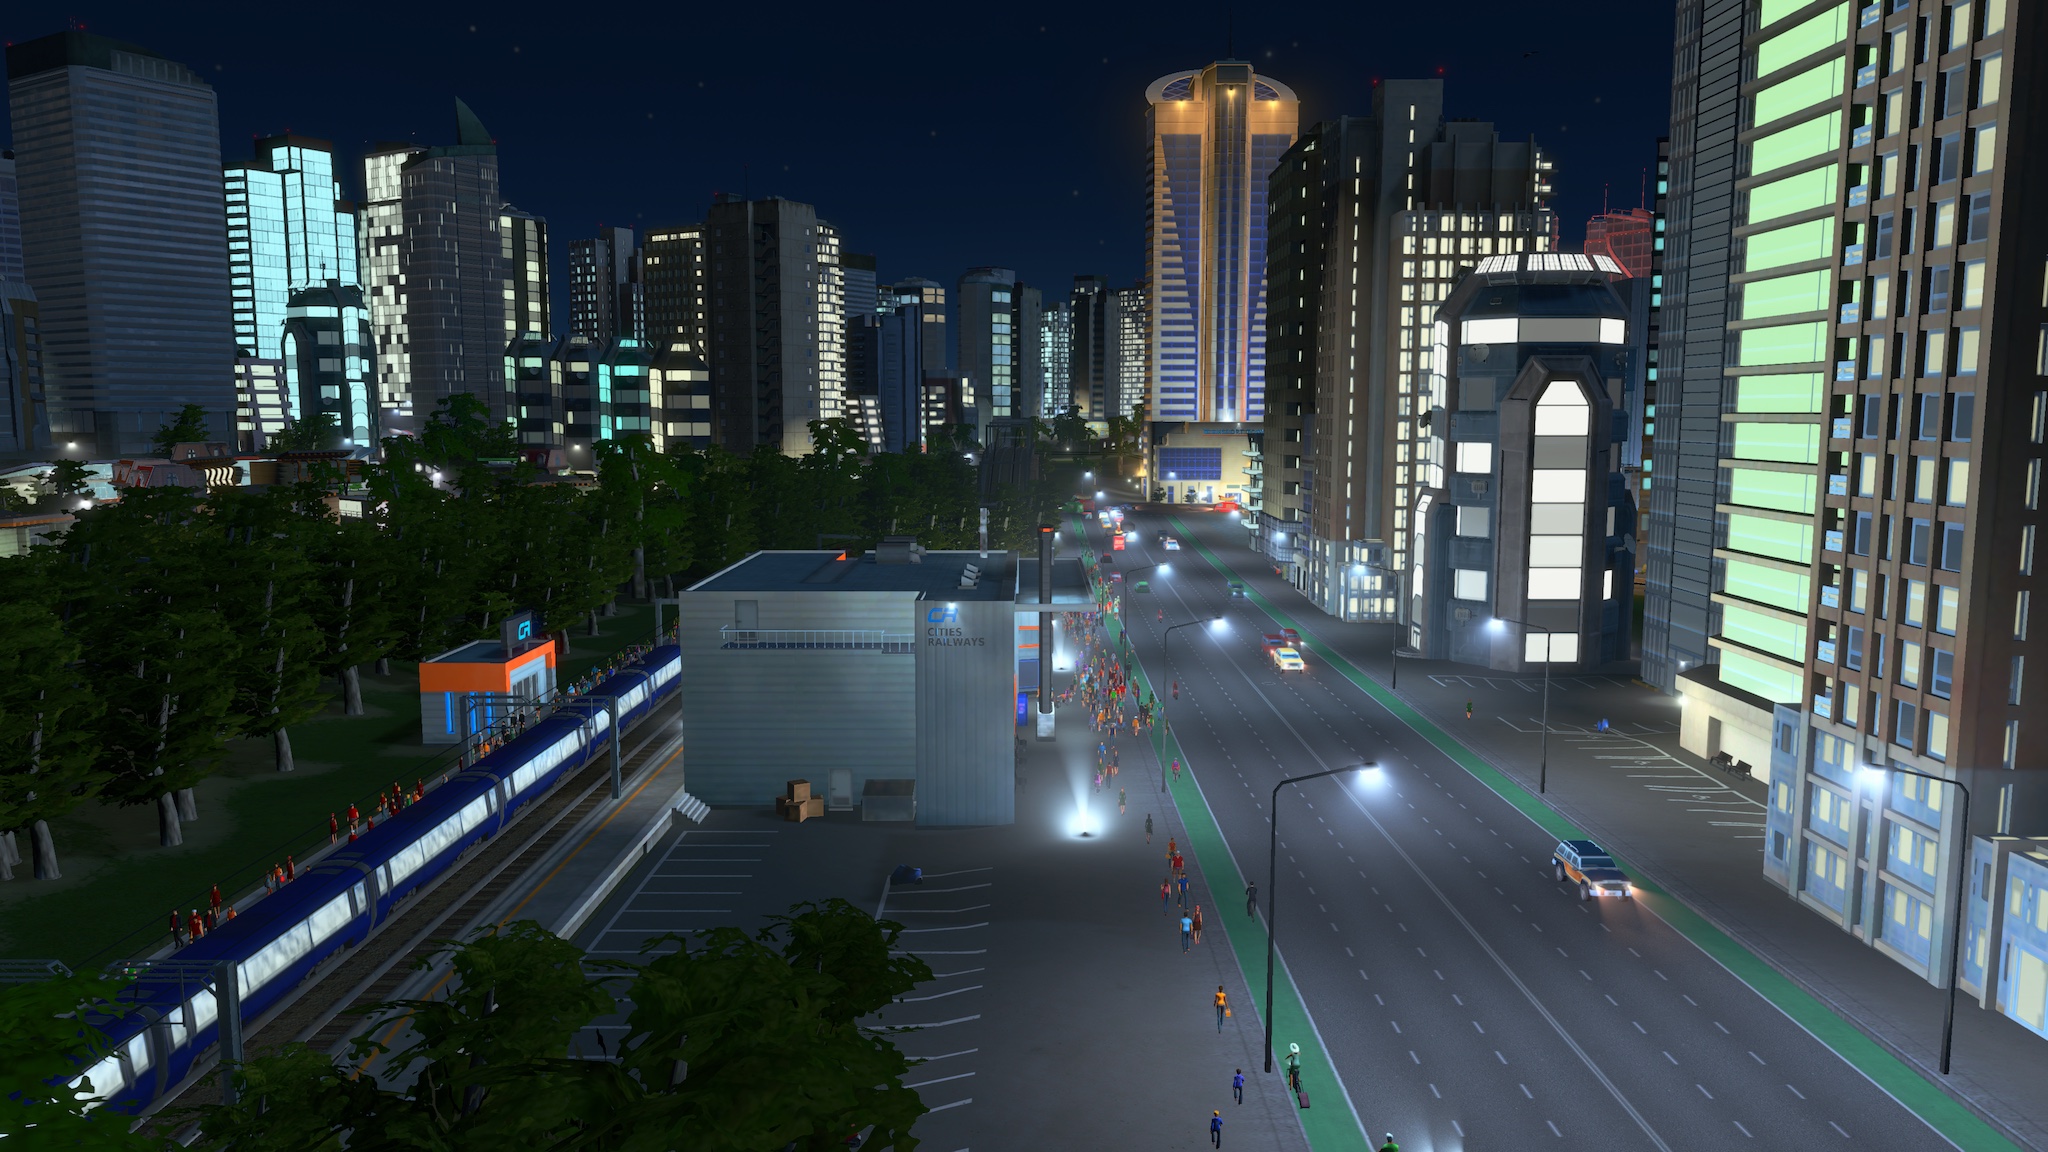
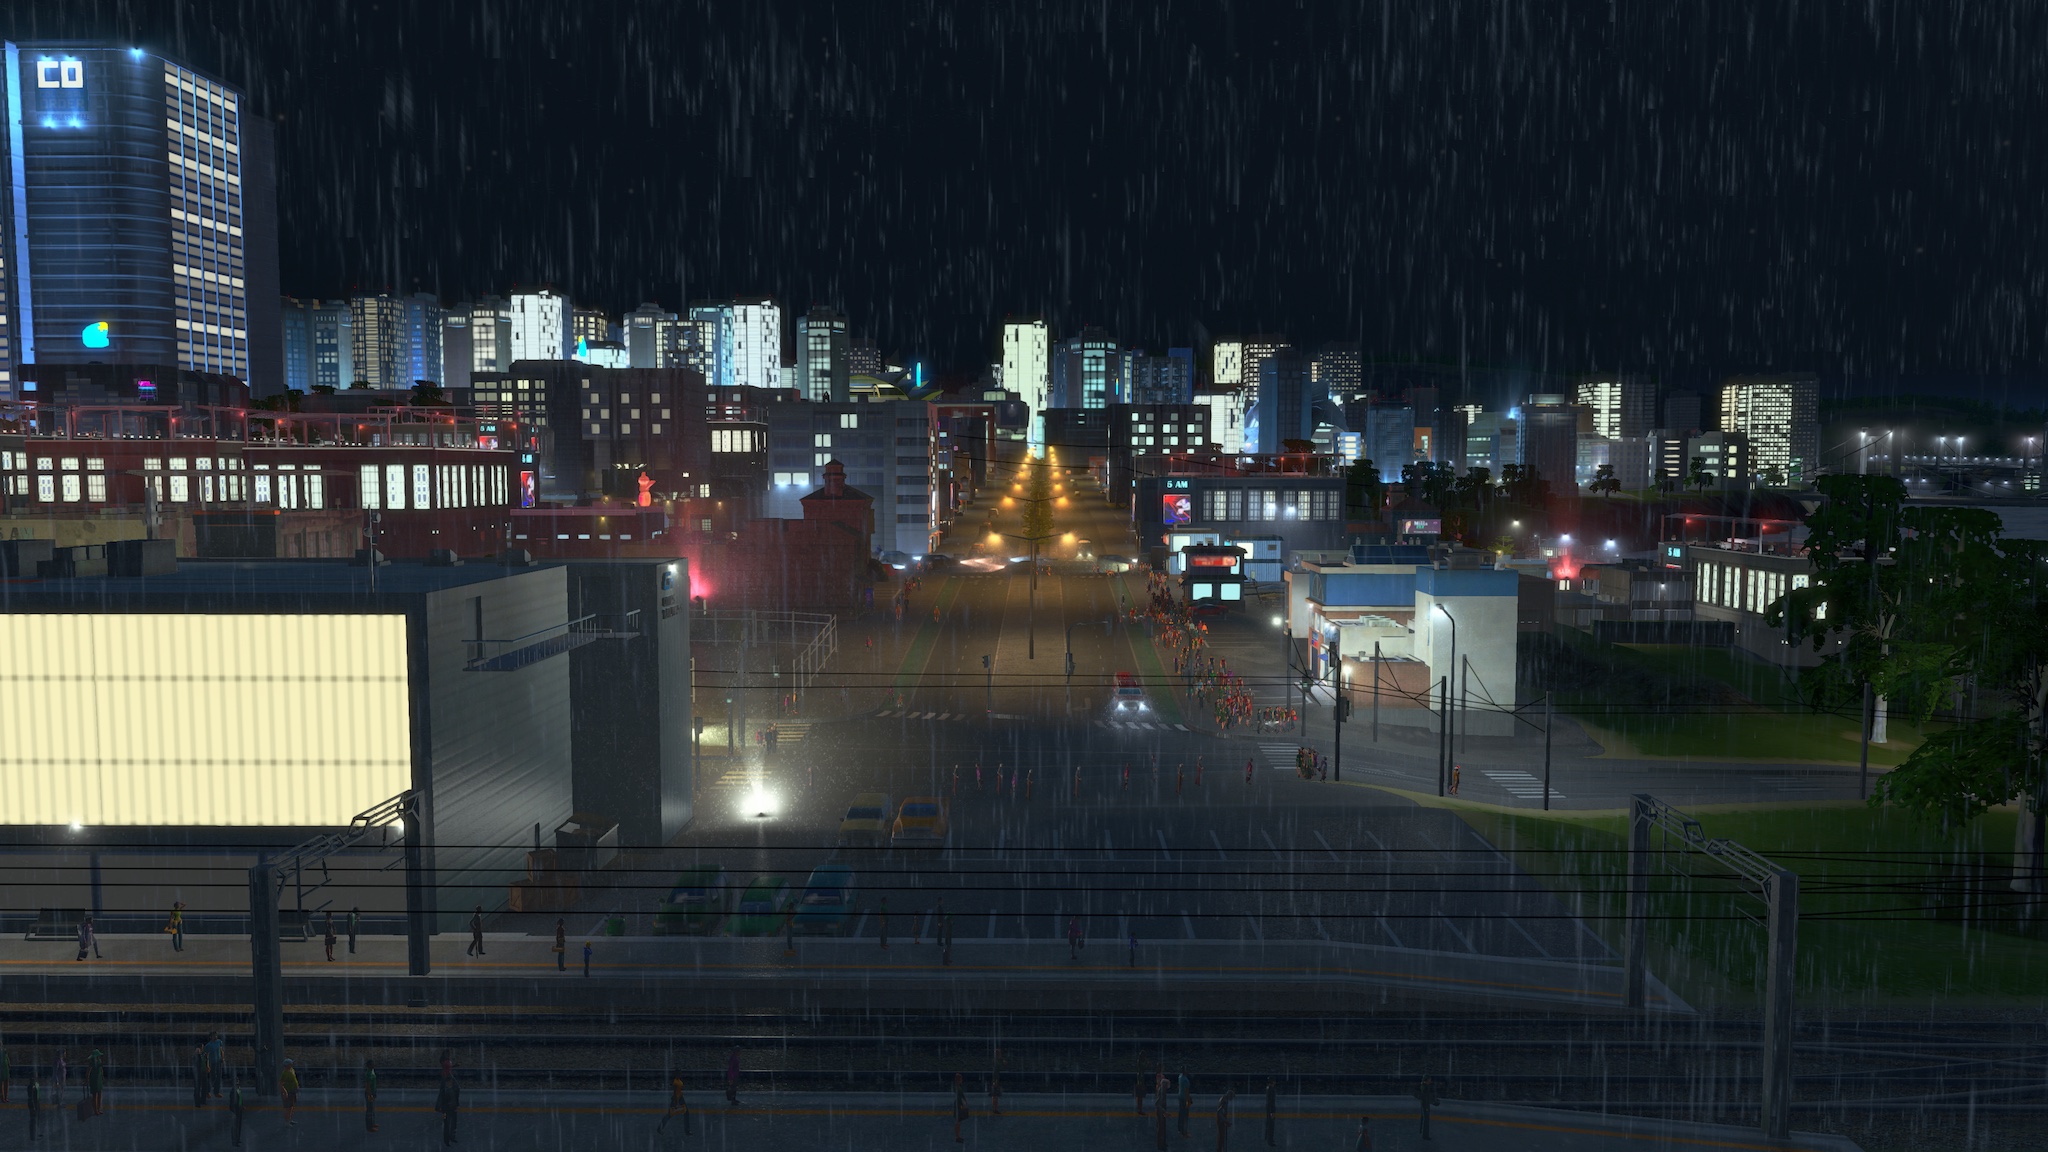
We recently upgraded to the Xbox One X and a shiny new OLED 4K TV (quite the upgrade from our nine year-old 37″ giant-bezeled LCD TV!), and it makes for some very nice screenshots. These are from my largest city called Springdale, currently home to ~140k people!
Nostalgia and the Classic Mac OS

I’ve been a Mac user my entire life, originally just because my dad used them at his work and so bought them for home as well. My earliest memories are of him bringing his SE/30 home and playing around in MacPaint. We also had an Apple IIe that we got second-hand from my uncle that lived in my bedroom for a few years, though that doesn’t count as a Mac.

The first Mac my dad bought for us at home was the LC II in 1992 (I was 9!), and I can remember spending hours trawling through Microsoft Encarta being blown away at just how much information I could look up immediately. I also remember playing Shufflepuck Café and Battle Chess, and I’m sure plenty of others too that didn’t leave as large an impression. There was also an application that came with the computer called Mouse Practice that showed you how to use a mouse, and we had At Ease installed for a while as well until I outgrew it.

After the LC II we upgraded to the Power Macintosh 6200 in 1995, which among other things came with a disc full of demos on it including the original Star Wars: Dark Forces (which I absolutely begged my parents to get the full version of for Christmas, including promising to entirely delete Doom II which they were a bit disapproving of due to the high levels of gore), and Bungie’s Marathon 2: Durandal (which I originally didn’t even bother looking at for the first few months because I thought it was something to do with running!). Marathon 2 was where I first became a fan of Bungie’s games, and I spent many many hours playing it and the subsequent Marathon Infinity as well as a number of fan-made total conversions too (most notably Marathon:EVIL and Tempus Irae).

The period we owned the 6200 also marked the first time we had an internet connection as well (a whopping 28.8Kbps modem, no less!). The World Wide Web was just starting to take off around this time, I remember dialing into a couple of the local Mac BBSes but at that point they were already dying out anyway and the WWW quickly took over. The community that sprang up around the Marathon trilogy was the first online community I was really a member of, and Hotline was used quite extensively for chatting. Marathon Infinity came with map-making tools which I eagerly jumped into and made a whole bunch of maps and put them online. I was even able to dig up the vast majority of them, there’s only a couple of them that I’ve not been able to find. I have a vivid memory of when Marathon:EVIL first came out, it was an absolutely massive 20MB and I can recall leaving the download going at a blazing-fast 2.7KB/s for a good two or three hours, and constantly coming back to it to make sure it hadn’t dropped out or otherwise stopped.

After the Marathon trilogy, Bungie developed the realtime strategy games Myth: The Fallen Lords and its sequel Myth II: Soulblighter, both of which I also played the hell out of and was a pretty active member of the community in.

After the 6200 we then had a second-gen iMac G3 then a “Sawtooth” Power Mac G4 just for me as my sister and I kept arguing about who should have time on the computer and the Internet. 😛 The G4 was quite a bit of money as you’d imagine, so I promised to pay it back to dad as soon as I got a job and started working.

macOS (formerly Mac OS X then OS X) is obviously a far more solid operating system, but I’ve always had a soft spot for the Classic Mac OS even with its cooperative multitasking and general fragility. We got rid of the old Power Mac G4 probably eight years ago now (which I regret doing), and I wanted to have some machine capable of running Mac OS 9 just for nostalgia’s sake. Mum and dad still had mum’s old PowerBook G3 and I was able to get a power adapter for it and boot it up to noodle around in, but it was a bit awkwardly-sized to fit on my desk and the battery was so dead that if the power cord wasn’t plugged in it wouldn’t boot at all.

There was a thread on Ars Technica a few months ago about old computers, and someone mentioned that if you were looking at something capable of running Mac OS 9 your best bet was to get the very last of the Power Mac G4s that could boot to it natively, the Mirrored Drive Doors model. I poked around on eBay and found a guy selling one in mint condition, and so bought it as a present to myself for my birthday.

Behold!

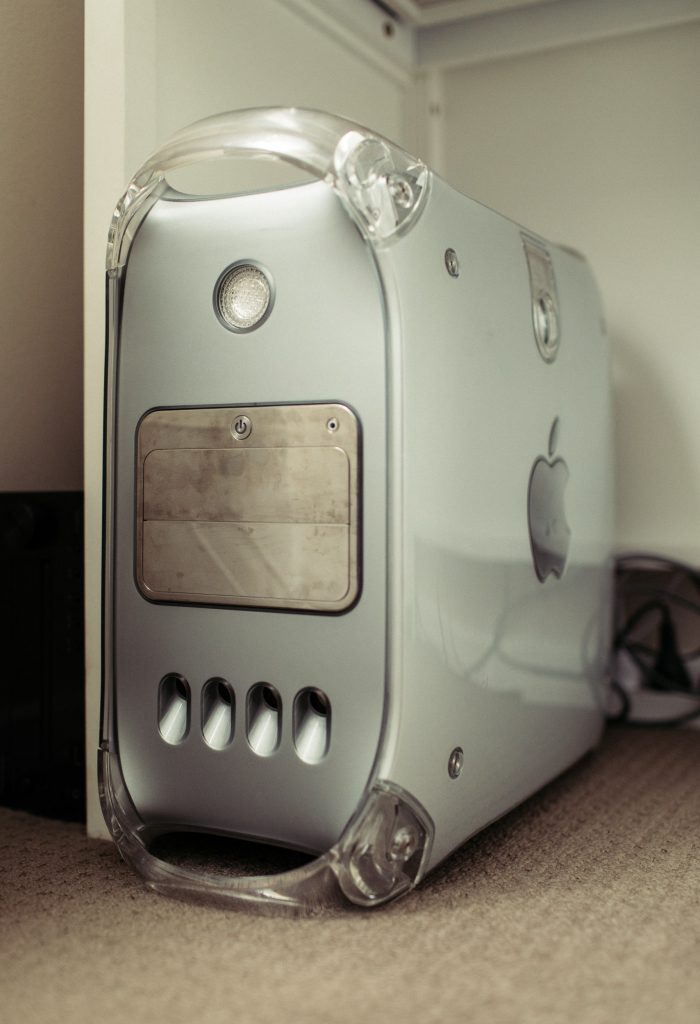
Power Mac G4 MDD

Dual 1.25GHz G4 processors, 1GB of RAM, 80GB of hard disk space, and a 64MB ATI Radeon 8500 graphics card. What a powerhouse. 😛

There’s a website, Macintosh Repository, where a bunch of enthusiasts are collecting old Mac software from yesteryear, so that’s been my main place to download all the old software and games that I remember from growing up. It’s been such a trip down memory lane, I love it!

A trip to Queenstown

Last week we finally got around to visiting New Zealand! We’d been meaning to go for a good couple of years now, but never actually did it. We started small and visited just Queenstown and surrounds, and were only there for three full days.

We flew in at night on Saturday night, and the descent in was rather long and bumpy which I guess is to be somewhat expected when it’s surrounded by mountains. We went into Queenstown for dinner first, and had one of the best burgers I’ve ever had at The World Bar.

The place we were staying was about 15 minutes drive from Queenstown, but because it was night time all we could see was brilliant yellow leaves on the trees at the side of the road where the headlights were lighting them up. We woke up the next morning, and holy crap, the view!

The Remarkables, morning light

Untitled

We went up the Skyline Gondola which has a hell of a view over Queenstown itself.

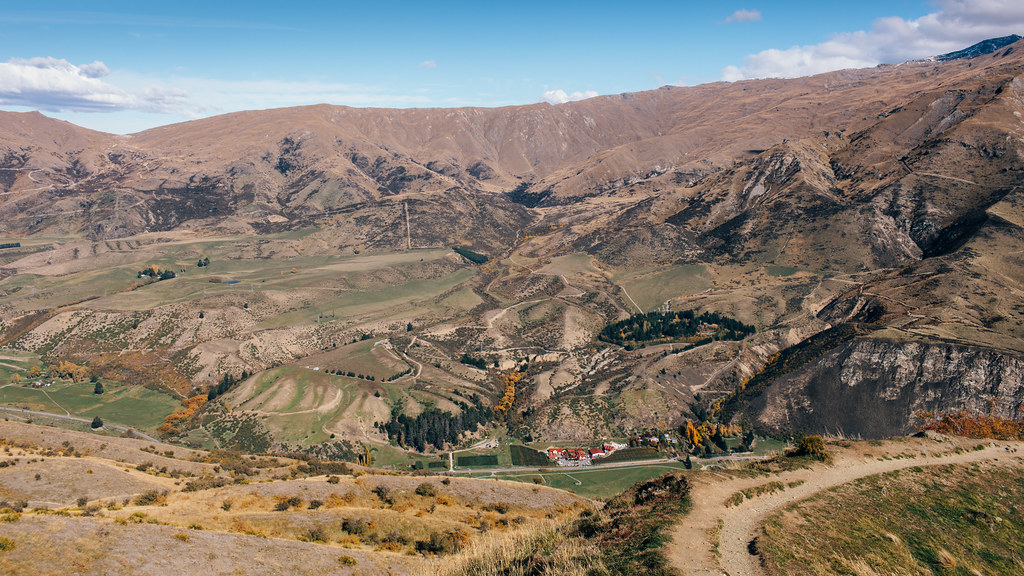
The view from Skyline Queenstown

Next we drive up to Glenorchy, which is about an hour away. Lunch was surprisingly delicious beef noodle soup from a Chinese restaurant there (there are a lot of Chinese tourists around).

On the road to Glenorchy

Kristina

Orange

Glenorchy Wharf

We spent the afternoon wandering around Queenstown Gardens and Queenstown itself. This was definitely a fantastic time to visit, the air was cool and crisp and all the leaves were changing and everything was bright yellow.

Sitting

Untitled

Secluded

Smokey

Dinner was whole baked flounder with shaved fennel and orange from Public Kitchen and it was absolutely magnificent, cooked to total perfection. The “whole fish” bit was slightly off-putting because it’s literally that, a entire fish, eyeballs and all, sitting on your plate staring up at you but I pretty quickly got over it. 😛

The morning view the next morning was even better than before.

The Remarkables, morning light 2

We paid a brief visit to Arrowtown, though there wasn’t a whole lot there and it was mostly tourist shops.

Untitled

Untitled

We then drove up to Wanaka and took the obligatory photo of the tree there.

That Wanaka Tree

The drive itself had some great scenery along the way too.

Untitled

Winding road

Untitled

Dinner was at the Pig & Whistle pub, I got the dry-rubbed steak with veggies and red wine jus and Kristina had chicken and mushroom pasta, and they were both absolutely incredible.

The final full day we were there, we drove two and a half hours up to Lake Pukaki. As before, the drive itself was quite scenic too.

Stopping at Tarras

Lindis Pass

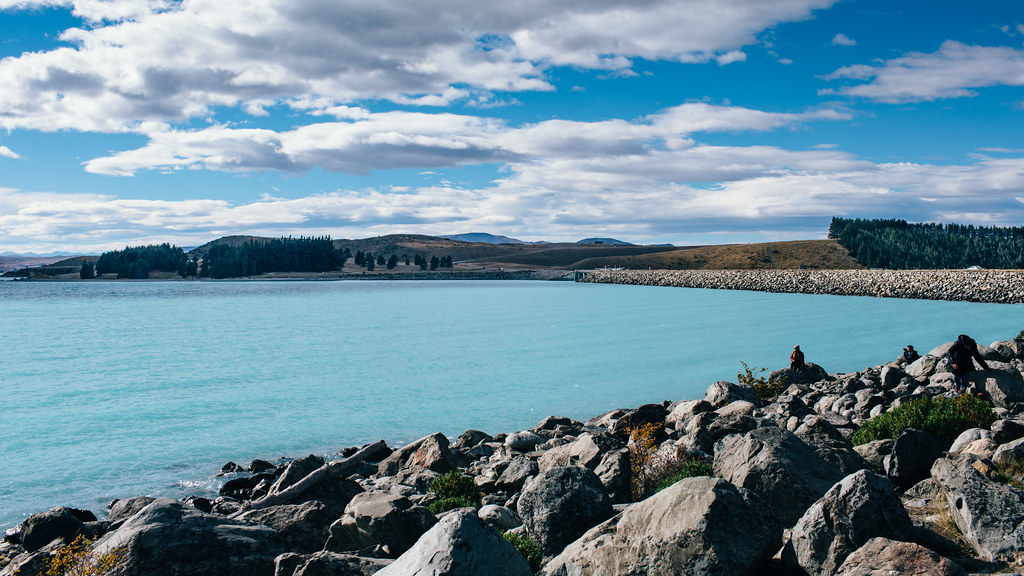
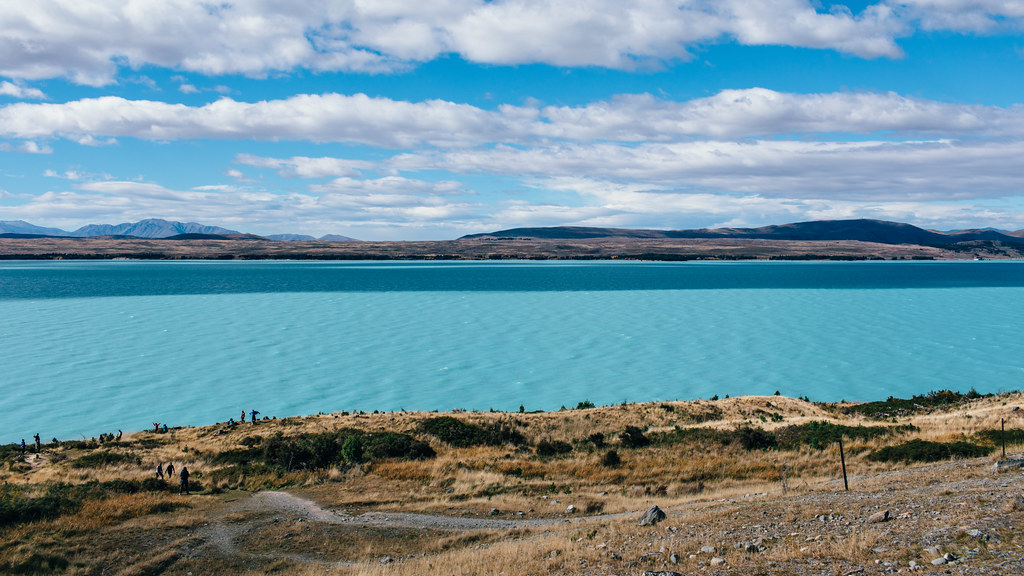
The lake itself is amazing, it’s this crazy neon-blue colour. The first two photos don’t really do it justice, but the third one is exactly how it looked even in person.

Lake Pukaki

Lake Pukaki

Lake Pukaki

We drove a little further north along the western edge of the lake to get a bit closer to Looking towards Aoraki / Mount Cook, which was looking very dramatic with its peaks covered in clouds.

Looking towards Aoraki / Mount Cook

Overall it was a fantastic trip, we definitely want to go back again but we’re thinking we’ll fly into Christchurch next time and drive around further in the north of the South Island.

The full photosets are here:

More miniatures: Warhammer 40,000 edition

Warhammer 40,000 used to be quite the complicated affair, lots of rules and looking things up on different tables to check what dice roll you needed for different effects, and needing many hours to finish a game. The 8th Edition of the game came out last year, and was apparently extremely streamlined and simplified and seems to have been received very well. Since I’d been doing well with Shadespire, I decided to get the 8th Edition core box set as well, and had almost exactly enough in Amazon gift card balance for it! It comes with Space Marines, as always, but the opposing side is Chaos this time. 7 Plague Marines, a few characters, a big vehicle, and about 20 undead daemon things. I decided to alternate between painting a handful of each side at once, so as not to get bored, and have gone with Space Wolves (big surprise, I know) as the paint scheme for the Imperial side.

Space Wolves Intercessor

There’s another five of these Space Marines but they’re all identical apart from the poses so I didn’t take photos of all of them.

The Plague Marines are all unique though, so I’ve been taking photos of each of them, my first batch was four of them.

Plague Marine 1

Plague Marine 2

Plague Marine 3

Plague Marine 4

My mobile painting table has been a great success, but after the first batch of Space Marines I realised I was getting a sore neck and back from hunching over towards the miniatures as I was painting them because everything was too low. Another trip to Bunnings, and lo and behold…

Painting table from the side, showing the two vertical blanks to give it some hight

Problem solved!

I also realised the other day why I was enjoying painting my miniatures a lot more now than I used to… it’s thanks to being able to combine my hobbies of painting and also photography. 😛 I can paint the miniatures and be happy with my work, but then also take professional-looking photos of them and share them with the world!

More Raspberry Pi adventures: the Pi Zero W and PaPiRus ePaper display

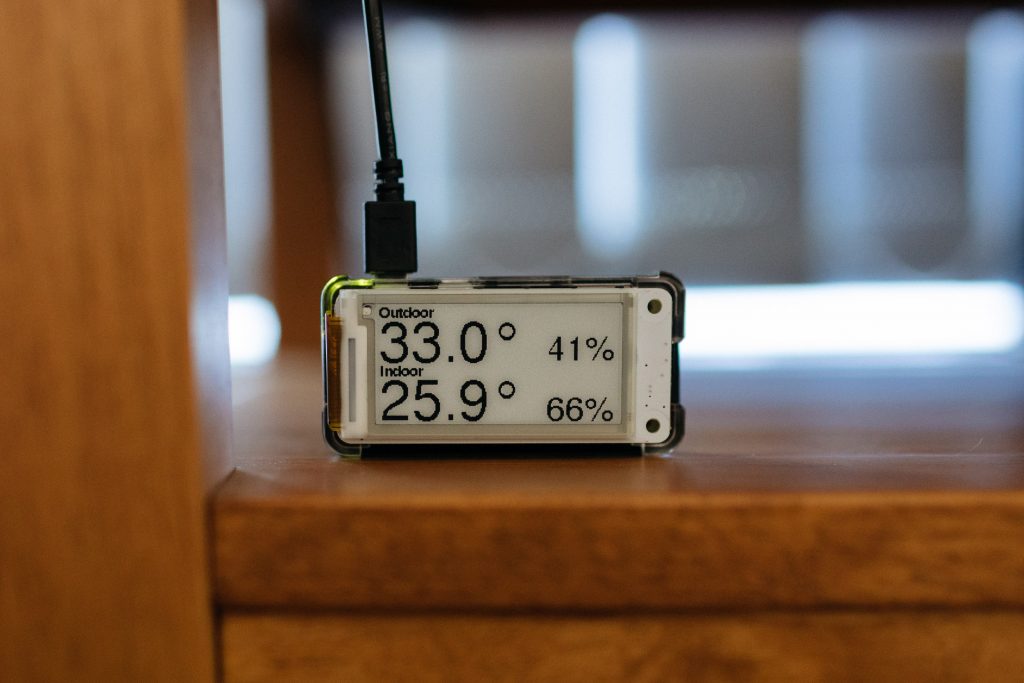
I decided I wanted to have some sort of physical display in the house for the temperature sensors so we wouldn’t need to be taking out our phones to check the temperature on my website if we were already inside at home. After a bunch of searching around, I discovered the PaPiRus ePaper display. ePaper means it’s not going to have any bright glaring light at night, and it also uses very little power.

The Raspberry Pi is hidden away under a side table, and already has six wires attached to the header for the temperature sensors, so I decided to just get a separate Raspberry Pi Zero W — which is absurdly small — and the PaPiRus display.

Setting it up

I flashed the SD card with the Raspbian Stretch Lite image, then enabled SSH and automatic connection to our (2.4GHz; the Zero W doesn’t support 5GHz) wifi network by doing the following:

1) Plug the flashed SD card back into the computer.

2) Go into the newly-mounted “boot” volume and create an empty file called “ssh” to turn on SSH at boot

3) Also in the “boot” volume, create a file called “wpa_supplicant.conf” and paste the following into it:

country=AU
ctrl_interface=DIR=/var/run/wpa_supplicant GROUP=netdev
update_config=1
network={
ssid="WIFI_SSID"
psk="WIFI_PASSWORD"
key_mgmt=WPA-PSK
}

4) Unmount the card, pop it into the Pi, add power, and wait 60-90 seconds and it’ll connect to your network and be ready for SSH access! The default username on the Pi is “pi” and the password is “raspberry”.

(These instructions are all thanks to this blog post but I figured I’d put them here as well for posterity).

The PaPiRus display connection was dead easy, I just followed Pi Supply’s guide after soldering a header into the Pi Zero W. If you want to avoid soldering, they also offer the Zero W with a header pre-attached.

Getting the Python library for updating the display was mostly straightforward, I just followed the instructions in the GitHub repository to manually install the Python 3 version.

I wrote a simple Python script to grab the current temperature and humidity from my website’s REST endpoints, and everything works! This script uses the “arrow” and “requests” libraries, which can be installed with “sudo apt-get install python3-arrow python3-requests”.

Next step is to have the Pi 3 that has the sensors run a simple HTTP server that the Zero W can connect to it, so even if we have no internet connection for whatever reason, the temperatures will still be available at home. I’ve updated my Pi Sensor Reader to add HTTP endpoints.

Another year of Node.js (now also featuring React)

I posted last year about my progress with Node.js, and the last sentence included “I’m very interested to revisit this in another year and see what’s changed”.

So here we are!

There’s been a fair bit less work on it this year compared to last:

$ git diff --stat 6b7c737 47c364b
[...]
77 files changed, 2862 insertions(+), 3315 deletions(-)

The biggest change was migrating to Node 8’s shiny new async/await, which means that the code reads exactly as if it was synchronous (see the difference in my sendUpdate() code compared to the version above it). It’s really very nice. I also significantly simplified my code for receiving temperature updates thanks to finally moving over to the Raspberry Pi over the Christmas break. Otherwise it’s just been minor bits and pieces, and moving from Bamboo to Bitbucket Pipelines for the testing and deployment pipeline.

I also did a brief bit of dabbling with React, which is a frontend framework for building single-page applications. I’d tried to fiddle with it a couple of years ago but there was something fundamental I wasn’t grasping, and ended up giving up. This time it took, though, and the result is virtualwolf.cloud! All it’s doing is pulling in data from my regular website, but it was still a good start.
There was a good chunk of time from about the middle of the year through to Christmas where I didn’t do any personal coding at all, because I was doing it at work instead! For my new job, the primary point of contact for users seeking help is via a room on Stride, and we needed a way to be able to categorise those contacts to see what users were contacting us about and why. A co-worker wrote an application in Ruby a few years ago to scrape the history of a HipChat room and apply tags to it in order to accomplish this, but it didn’t scale very well (it was essentially single-tenented and required a separate deployment of the application to be able to have it installed in another room; understandable when you realise he wrote it entirely for himself and was the only one doing this for a good couple of years). I decided to rewrite it entirely from scratch to support Stride and multiple rooms, with the backend written in Node.js and the frontend in React. It really is a fully-fledged application, and it’s been installed into nearly 30 different rooms at work now, so different teams can keep track of their contact rate!

The backend periodically hits Stride’s API for each room it’s installed in, and saves the messages in that room into the database. There’s some logic around whether a message is marked as a contact or not (as in, it was someone asking for help), and there’s also a whitelist that the team who owns the room can add their team members to in order to never have their own messages marked as contacts. Once a message is marked as a contact, they can then add one or more user-defined tags to it, and there’s also a monthly report so you can see the number of contacts for each tag and the change from the previous month.

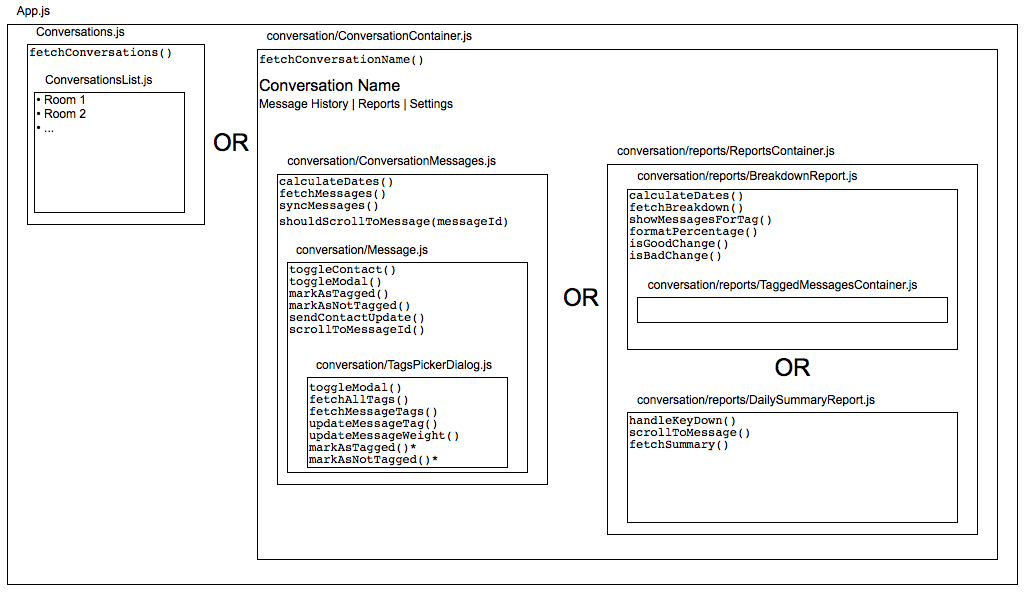
The backend is really just a bunch of REST endpoints that are called by the frontend, but that feels like I’m short-changing myself. 😛 I wrote up a diagram of the hierarchy of the frontend components a month or so ago, so you can see from this how complex it is:

And I’m in the middle of adding the ability to have a “group” of rooms, and have tags defined at the group level instead of the room level.

I find it funny how if I’m doing a bunch of coding at work, I have basically zero interest in doing it at home, but if I haven’t had a chance to do any there I’m happy to come home and code. I don’t think I have the brain capacity to do both at once though. 😛

Tea, five years later

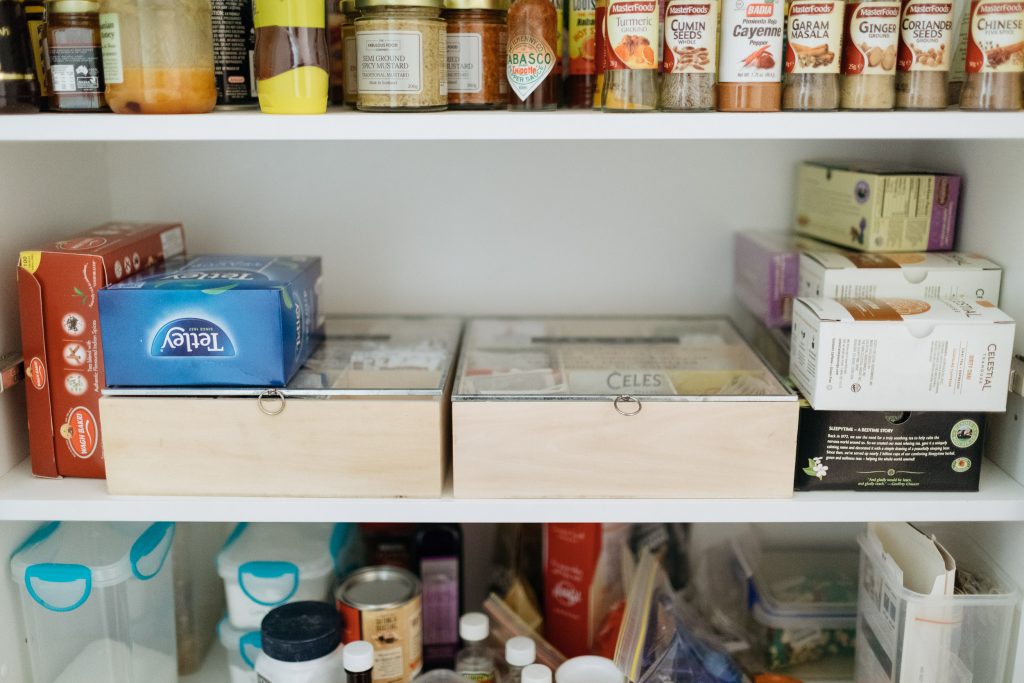
I’d posted back in May of 2013, just before we moved into our house, that I was really enjoying my nighttime cuppa, and nearly five years later we’re now at the point where we have an entire shelf of our pantry that has nothing but tea on it!

Our selection of tea

We’ve got a handful of loose-leaf teas, but I tend to forget about them because they’re buried at the back and it’s a bit of a pain to clean up afterwards. A cup of herbal tea after dinner is glorious, especially when the weather has cooled down. The brand “Celestial Seasonings” has quite a few very tasty ones, and we’ll frequently pick up a new interesting-looking type when we’re out at the shops too (hence the whole shelf of tea that we now have).

I still don’t tend to drink a lot of black tea, mostly because it’s not caffeinated enough compared to coffee, but we discovered McVitie’s digestive biscuits thanks to a British documentary series (called “Inside the Factory”) about how they’re made, and ohmygod they’re so good dunked in a nice hot cup of black tea! ?

Mobile painting

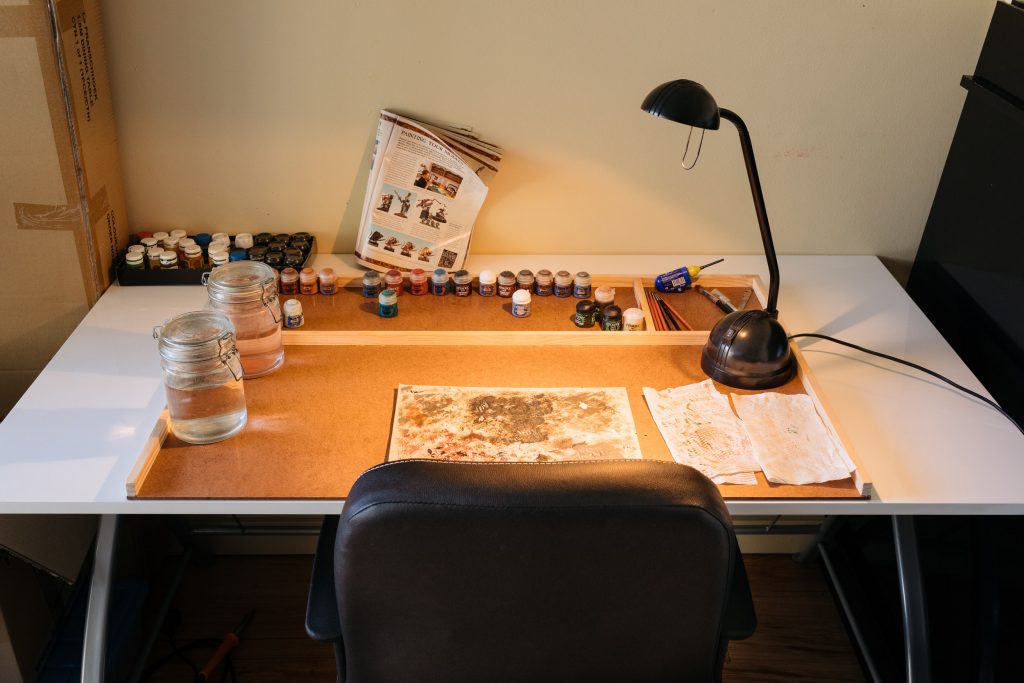
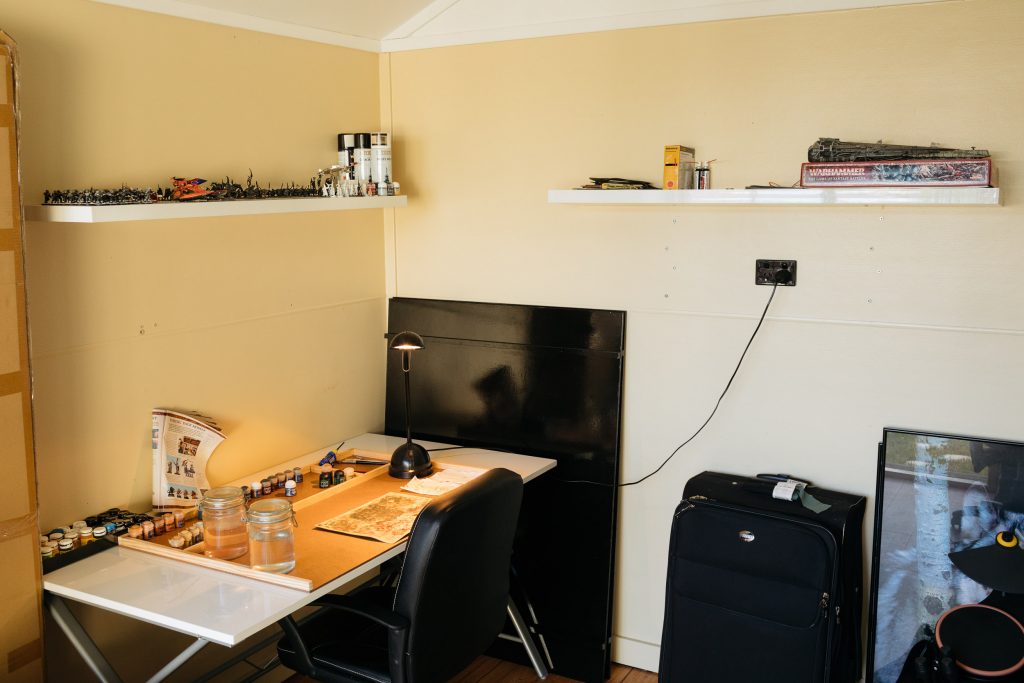
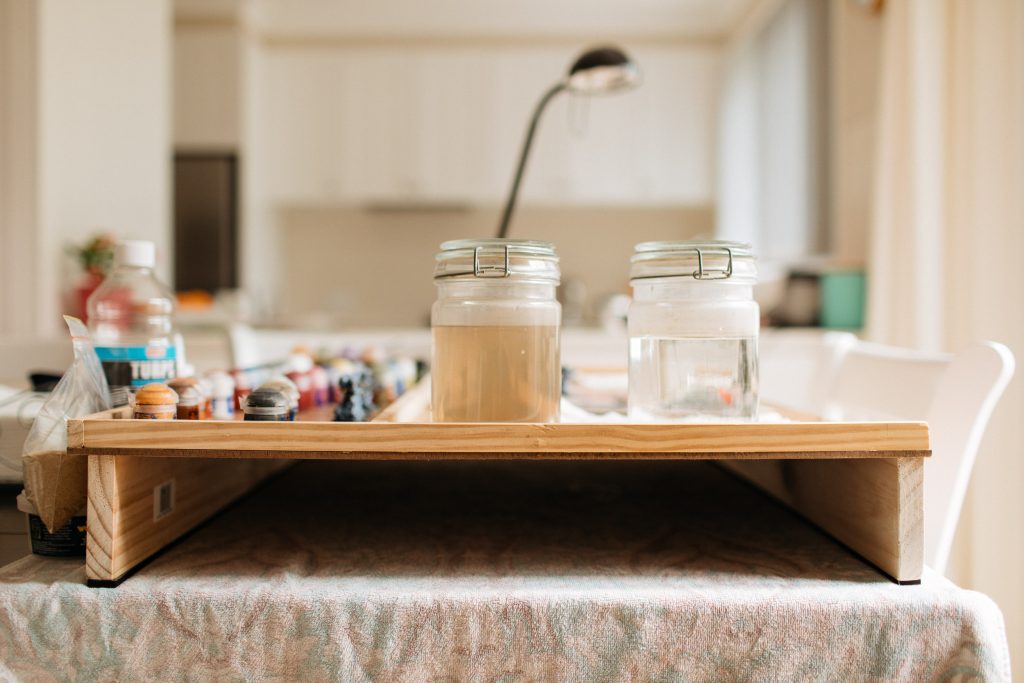
I mentioned in my last post that I’d brought all the paints and miniatures and everything inside because it was too hot in the back room to do any actual painting. Moving everything back and forth turned out to be a massive pain, so I decided to build myself a painting board that I could have everything sitting on, then just pick up and move back and forth as necessary.

After about $20 at Bunnings and some Liquid Nails as well as actual nails, it’s ready to go! The board ended up being somewhat larger than I was expecting, and it was a very tight squeeze with all the other stuff on the desk. Fortunately we still had the two shelves we’d originally put up in the office three and a half years ago and had since removed when we rearranged everything two years ago, so I put them up and moved basically everything that was on the desk onto them instead, and now everything is neat and tidy and organised!

Miniatures painting board

Board

Finally, some actual miniature painting

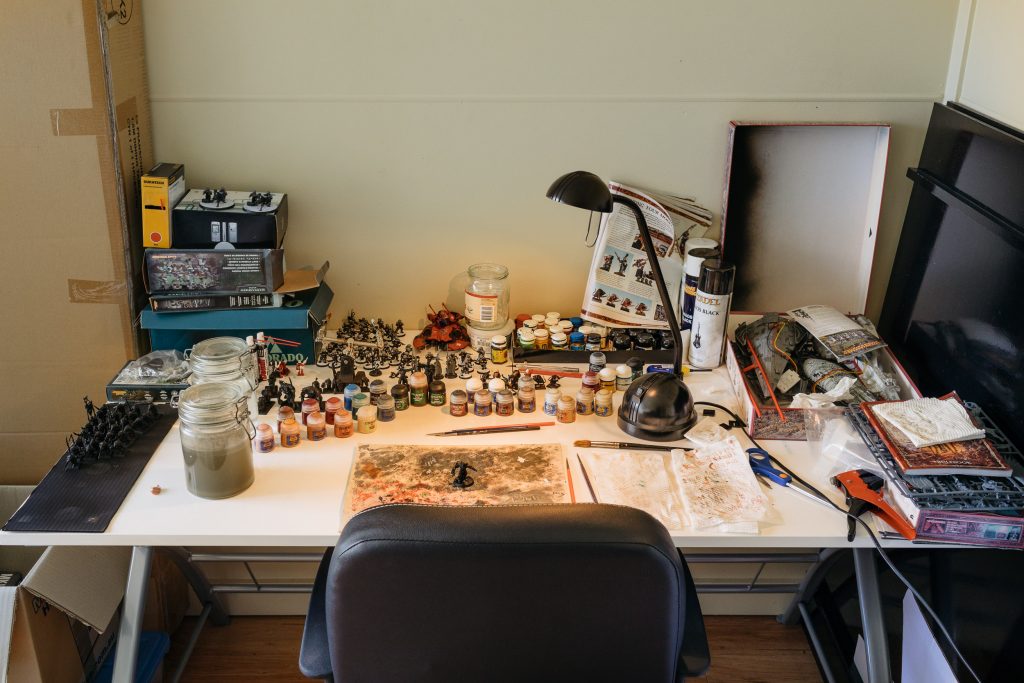
So despite having gotten the back room set up for miniature painting over three and a half years ago, I hadn’t actually done any of it since then. 😛 I also realised I hadn’t actually taken a photo of the setup.

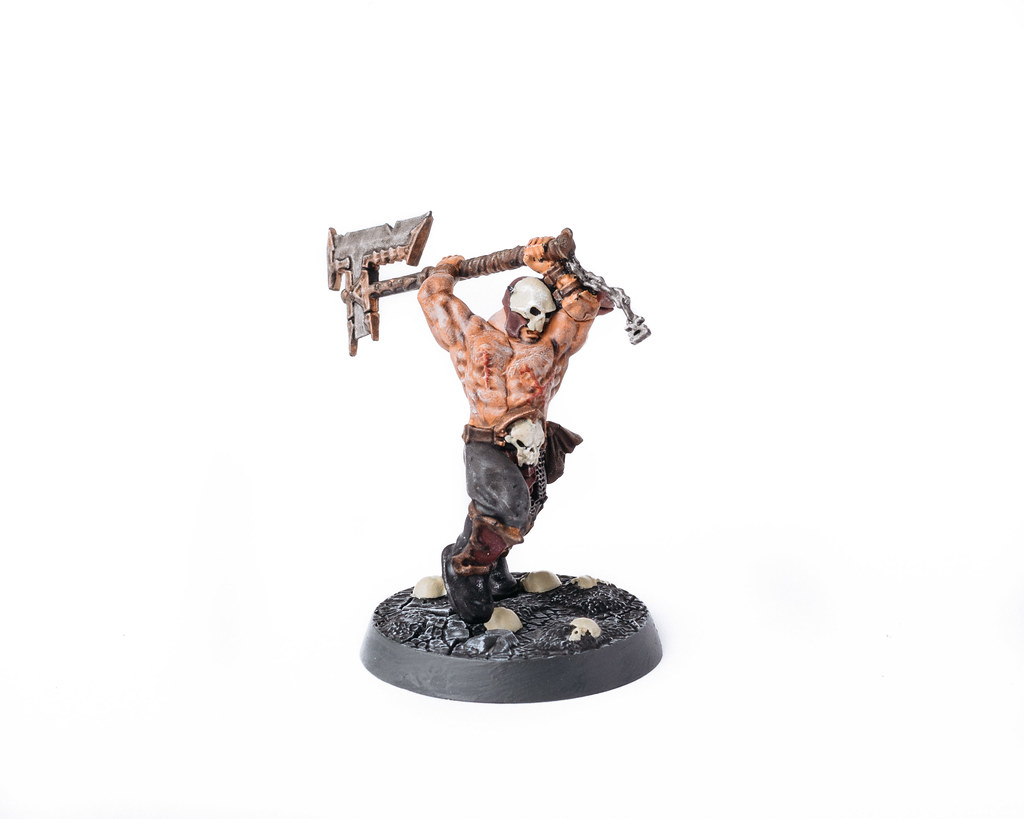
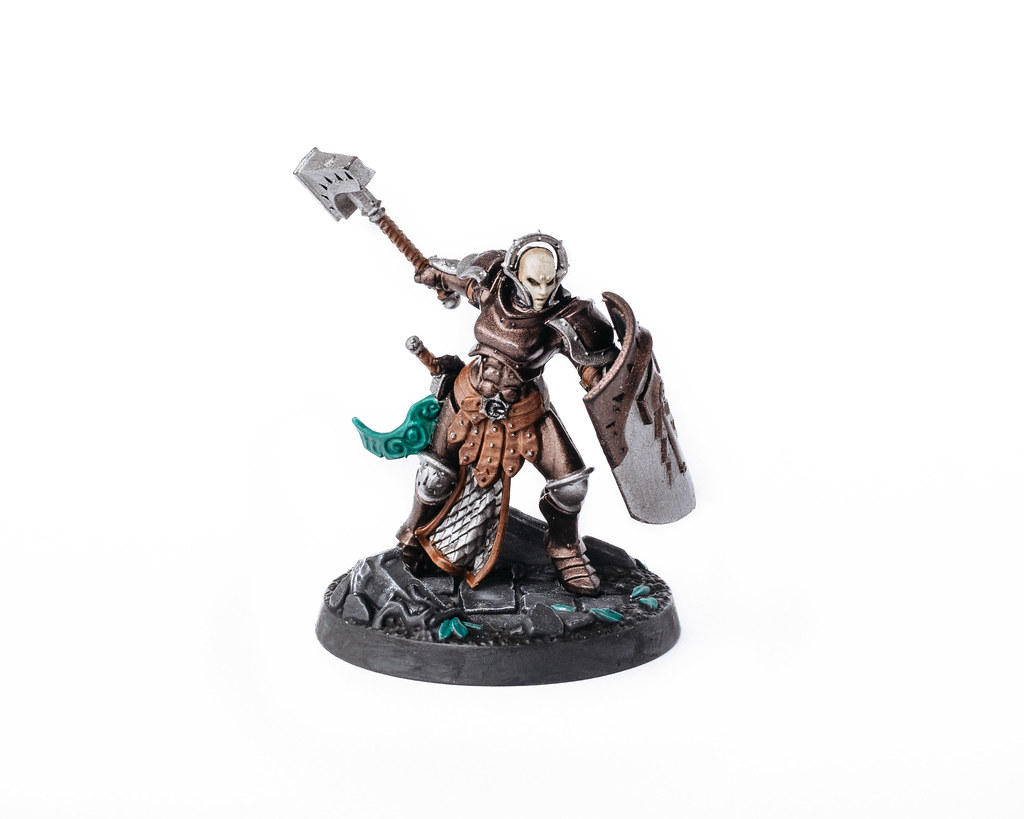
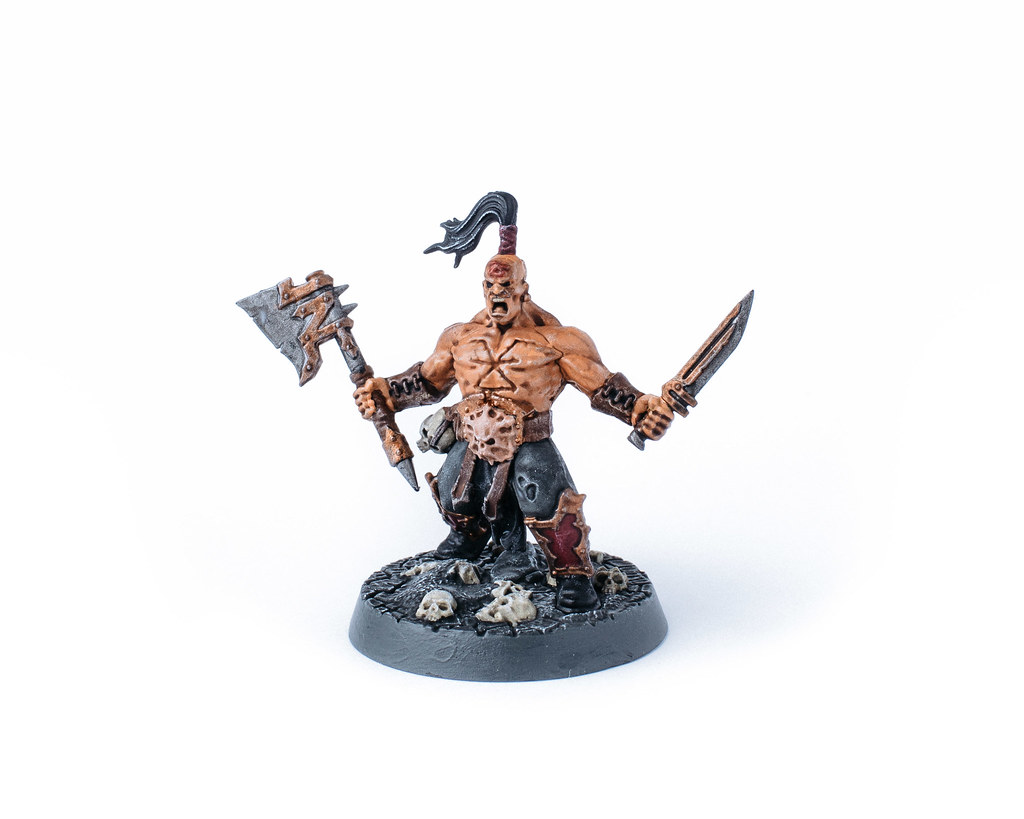
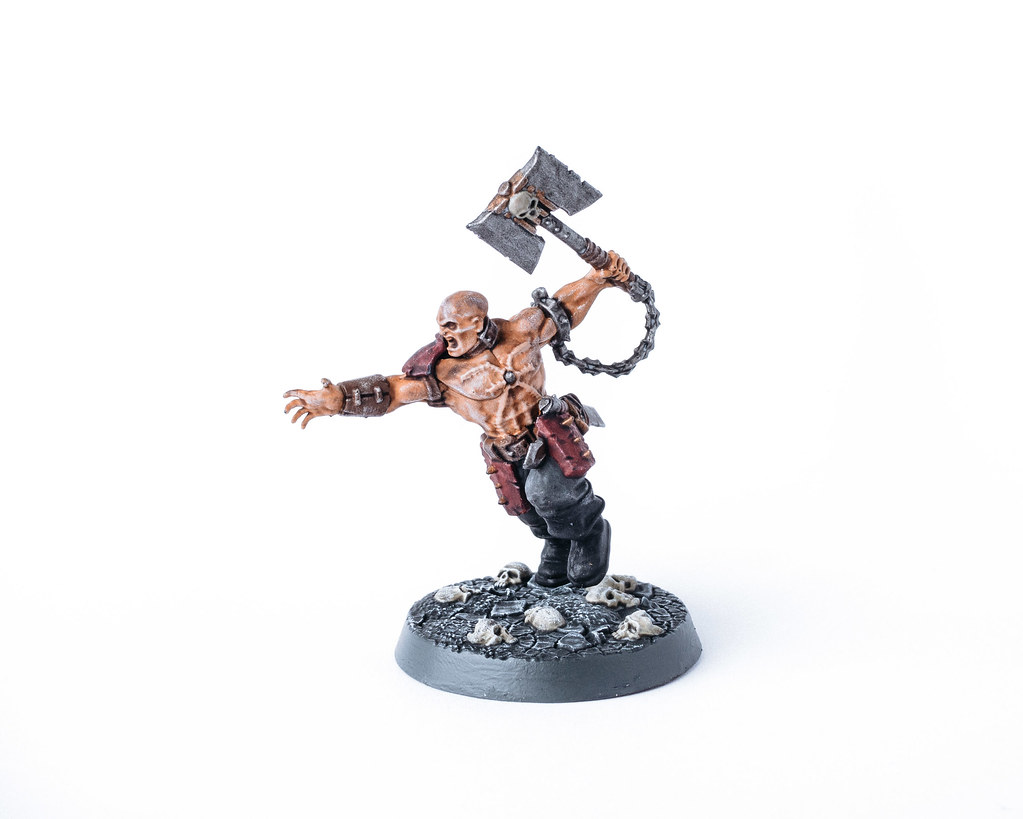
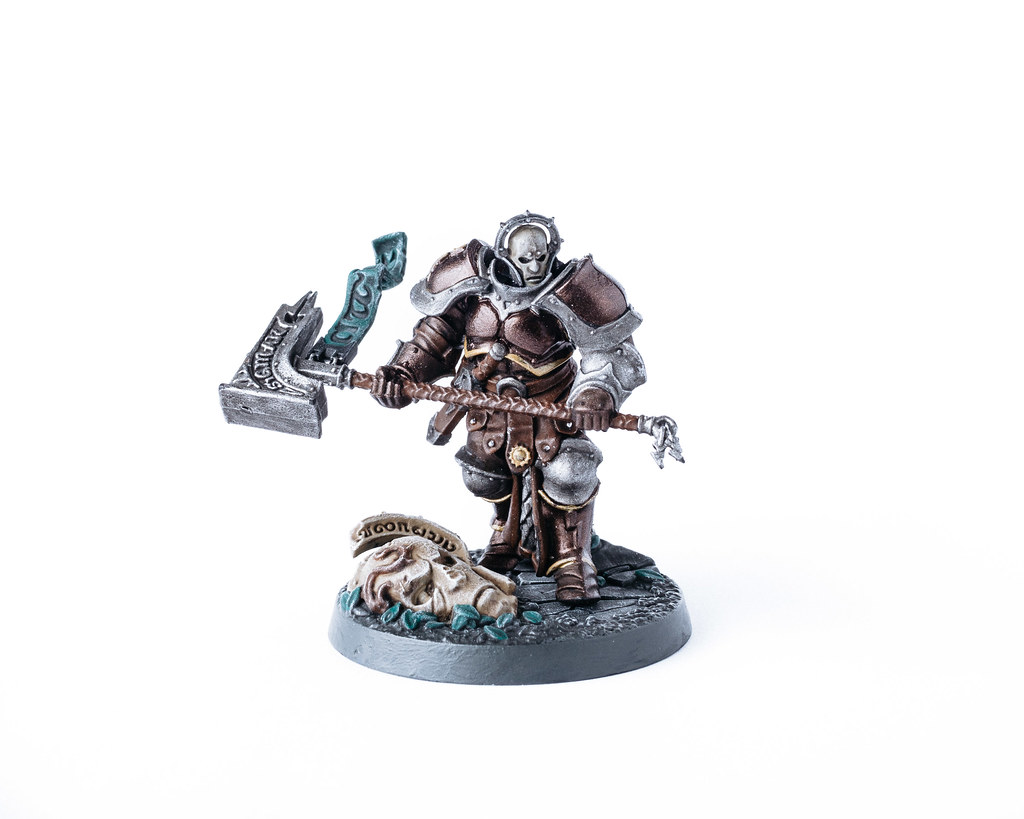
I bought Games Workshop’s latest game Shadespire early last month, it does have miniatures to paint but only eight in the core set, and it’s a board game where the games last about half an hour or so versus the multi-hour affairs that are traditional Warhammer/Warhammer 40,000 games. I figured that with the holidays around and time to kill, and not having the prospect of endless amounts of miniatures to paint, I’d give it a go. I’m pleased to say that I clearly still have the painting skills!

I’ve finished five of them so far, so only three to go, and took some proper photos of them with the full external flash/umbrella setup.

Blooded Saek

Angharad Brightshield

Targor

Karsus the Chained

Obryn the Bold

(I’ll admit that I cheated slightly and didn’t actually paint any of these in the back room, however… during the week and a bit that I was doing them, the weather was really hot and the dinky little air conditioning unit in the back room wasn’t remotely up to keeping things cool, so I ended up bringing all the paints and bits inside and did them at the dining table).

The game Shadespire itself is really neat as well. I’ve only played a handful of games, but rather than just “Kill the other team” you also have specific objectives to accomplish as well. Have a read of Ars Technica’s review of it, they’re a lot more thorough and eloquent than I could be. 😛

Temperature sensors: now powered by Raspberry Pi

The Weather section on my website is now powered by my Raspberry Pi, instead of my Ninja Block! \o/

Almost exactly three years ago, I started having my Ninja Block send its temperature data to my website (prior to that, I was manually pulling the data from the Ninja Blocks API and didn’t have any historical record of it). Ninja Blocks the company went bust in 2015, and there was some stuff in the Ninja Blocks software that relied on their cloud platform to work and I ended up with no weather data for a couple of days because the Ninja Block couldn’t talk to the cloud platform. I ended up hacking at it and the result was this very simple Node.js application as a replacement for their software. It always felt a bit crap, though, because if the hardware itself died I’d be stuck; yes, it was all built on “open hardware” but I didn’t know enough about it all to be able to recreate it. I’d ordered a Raspberry Pi 3 in June last year, intending on replacing the Ninja Block and it’s sometimes-unreliable wireless temperature sensors with something newer and simpler and hard-wired, but I found there was a frustrating lack of solid information regarding something that on the surface seemed quite simple.

I’ve finally gotten everything up and running, the Ninja Block has been shut down, and I’ve previously said I’d write up exactly what I did. So here we are!

Components needed

  • Raspberry Pi 3 Model B+
  • AM2302 wired temperature-humidity sensor (or two of them in my case)
  • Ethernet cable of the appropriate length to go from the Pi to the sensor
  • 6x “Dupont” female to either male or female wires (eBay was the best bet for these, just search for “dupont female”, and it only needs to be female on one end as the other end is going to be chopped off)
  • 1.5mm heatshrink tubing
  • Soldering iron and solder
  • Wire stripper (this one from Jaycar worked brilliantly, it automatically adjusts itself to diameter of the insulation)

Process

  1. Cut the connectors off one end of the dupont cables, leaving the female connector still there, and strip a couple of centimetres of insulation off.
  2. Strip the outermost insulation off both ends of the ethernet cable, leaving a couple of centimetres of the internal twisted pairs showing.
  3. Untwist three of the pairs and strip the insulation off them, then twist them back together again into their pairs.
  4. Chop off enough heatshrink tubing to cover the combined length of the exposed ethernet plus dupont wire, plus another couple of centimetres, and feed each individual dupont wire through the tubing (there should be three separate bits of tubing, one for each wire).
  5. Solder each dupont wire together with one of the twisted pairs of ethernet cable, then move the heatshrink tubing up over the soldered section and use a hairdryer or kitchen blowtorch to activate the tubing and have it shrink over the soldered portion to create a nice seal.
  6. Repeat this feed-heatshrink-tubing/solder-wire/activate-heatshrink process again but with the cables that come out of the temperature sensor (ideally you should be using the same red/yellow/black-coloured dupont cables to match the ones that come out of the sensor itself, to make it easier to remember which is which).
  7. Install Raspbian onto an SD card and boot and configure the Pi.
  8. Using this diagram as a reference, plug the red (power) cable from the sensor into Pin 2 (the 5V power), the yellow one into Pin 7 (GPIO 4, the data pin), and the black one into Pin 6 (the ground pin).

AdaFruit has a Python library for reading data from the sensor, I’m using the node-dht-sensor library for Node.js myself. You can see the full code I’m using here (it’s a bit convoluted because I haven’t updated the API endpoint on my website yet and it’s still expecting the same data format as the Ninja Block was sending).

I’d found a bunch of stuff about needing a “pull-up” resistor when connecting temperature sensors, but the AM2302 page on adafruit.com says “There is a 5.1K resistor inside the sensor connecting VCC and DATA so you do not need any additional pullup resistors”, and indeed, everything is working a treat!